
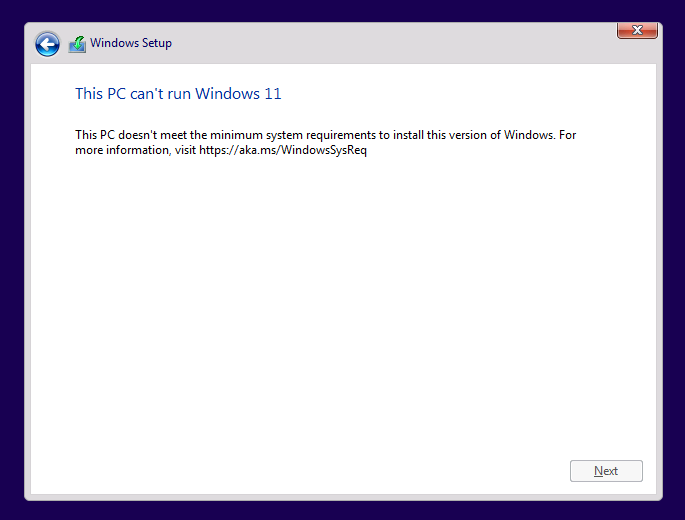
Sometimes you might have a need to create a virtual machine that does not meet the Windows 11 system requirements and the infamous, “This PC Can’t Run Windows 11” message will appear. To resolve this issue check the following in Hyper-V:
- Right Click your virtual machine and select Settings.
- Under Security make sure that Secure Boot is enabled.
- Additionally under Security make sure that the TPM (Trusted Platform Module) is also enabled.
- Under Memory make sure that at least 4GB (4096MB) is allocated.
- Then under Processor make sure that at least 2 virtual processors are allocated.
If needed apply one of the following registry settings to bypass one or more checks, allowing you to install Windows 11 in Hyper-V. Note that these registry settings only work when booting from media and does not work when doing an in-place upgrade from the OS. See Microsoft’s hardware requirements for Windows 11 here.
#TPM Check
REG ADD "HKLM\SYSTEM\Setup\LabConfig" /t REG_DWORD /v "BypassTPMCheck" /d 1
#CPU Check
REG ADD "HKLM\SYSTEM\Setup\LabConfig" /t REG_DWORD /v "BypassCPUCheck" /d 1
#RAM Check
REG ADD "HKLM\SYSTEM\Setup\LabConfig" /t REG_DWORD /v "BypassRAMCheck" /d 1
#SecureBoot Check
REG ADD "HKLM\SYSTEM\Setup\LabConfig" /t REG_DWORD /v "SecureBootCheck" /d 1
#Storage Check
REG ADD "HKLM\SYSTEM\Setup\LabConfig" /t REG_DWORD /v "BypassStorageCheck" /d 1

