
In this post we will setup an AutoPilot proof of concept (User Driven Azure AD Join). It is possible to use both physical and virtual machines, in my case I will be using a Hyper-V Virtual Machine. I will be using Windows 10 1909, but always recommend using the latest version of Windows 10, as Microsoft releases many new features and bug fixes with each version (version 2004 was released while this post was being written).
Like my earlier Introduction to Windows AutoPilot post, the target audience here are those who have no or limited experience with Windows AutoPilot and Intune. With that, lets get to it 
Creating a Tenant
If you already have a tenant you would like to use for this purpose then skip this section and go straight to Azure AD setup.
For those that are new to Microsoft Azure and Microsoft 365, you may or may not have heard the word tenant before. So what is a tenant? I usually describe Microsoft Azure / Microsoft 365 as a large apartment building where your tenant is one of the apartments within that apartment building. Basically, a tenant is your instance within Microsoft Azure / Microsoft 365.
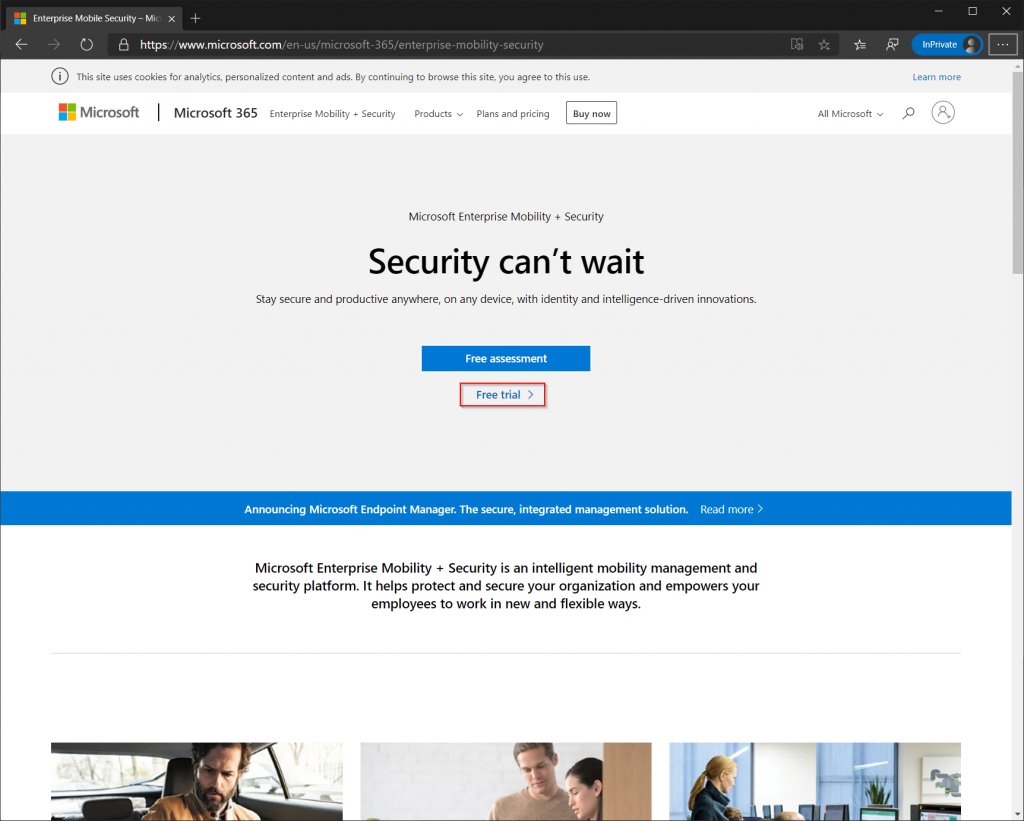
Open an Internet Browser in InPrivate/Incognito Mode (If you are using Microsoft Edge Chromium like me, the shortcut for InPrivate/Incognito mode is Ctrl + Shift + N) and navigate to the Enterprise Mobility + Security E5 Trial Page and select “Free Trial” in the middle of the page. Note that the screenshots may look different as Microsoft frequently makes changes.
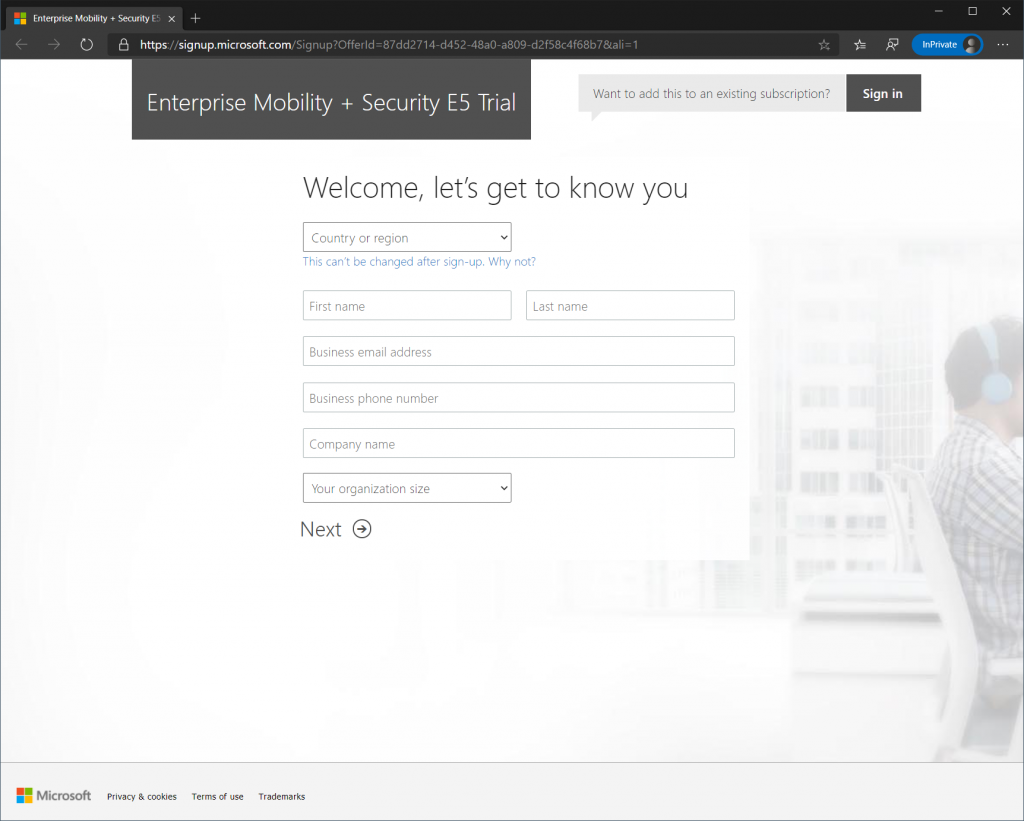
After clicking the “Free Trial” button you will be taken to the sign-up page. Select the country/location that is closest to you. Complete the remaining fields by entering your first name, last name, phone number and email address. In the Company Name field just make something up like “John Doe Consulting”, it is possible to change this value later.
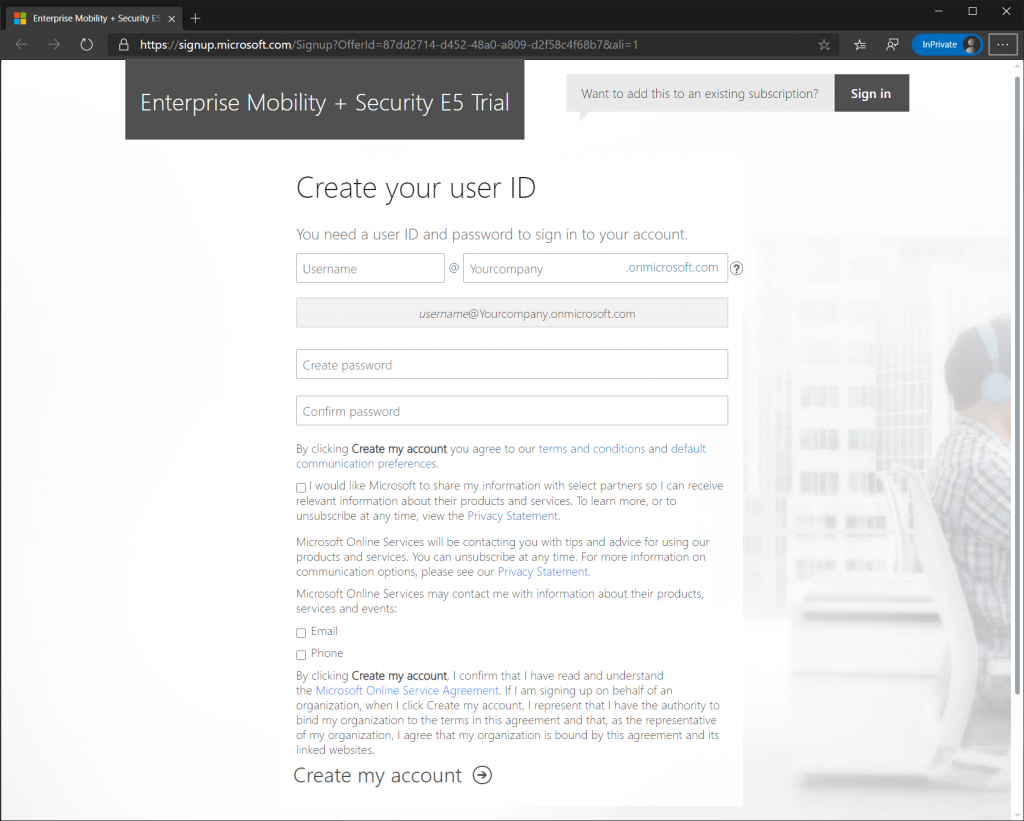
On the next screen enter a username such as your first name. This user will become a Global Administrator providing full administrator rights (make a note of the username and password). The YourCompany field, needs to be globally unique and cannot be changed later. Any user that is created in your tenant will have the format Username@YourCompany.onmicrosoft.com. If you have a custom domain name such as contoso.com, this can be added to the tenant later and will then allow you to create users in the format Username@contoso.com. For simplicity sake custom domain will not be used in this proof of concept. If you would like Microsoft to keep in touch with you select the appropriate box, else click “Create my Account”.
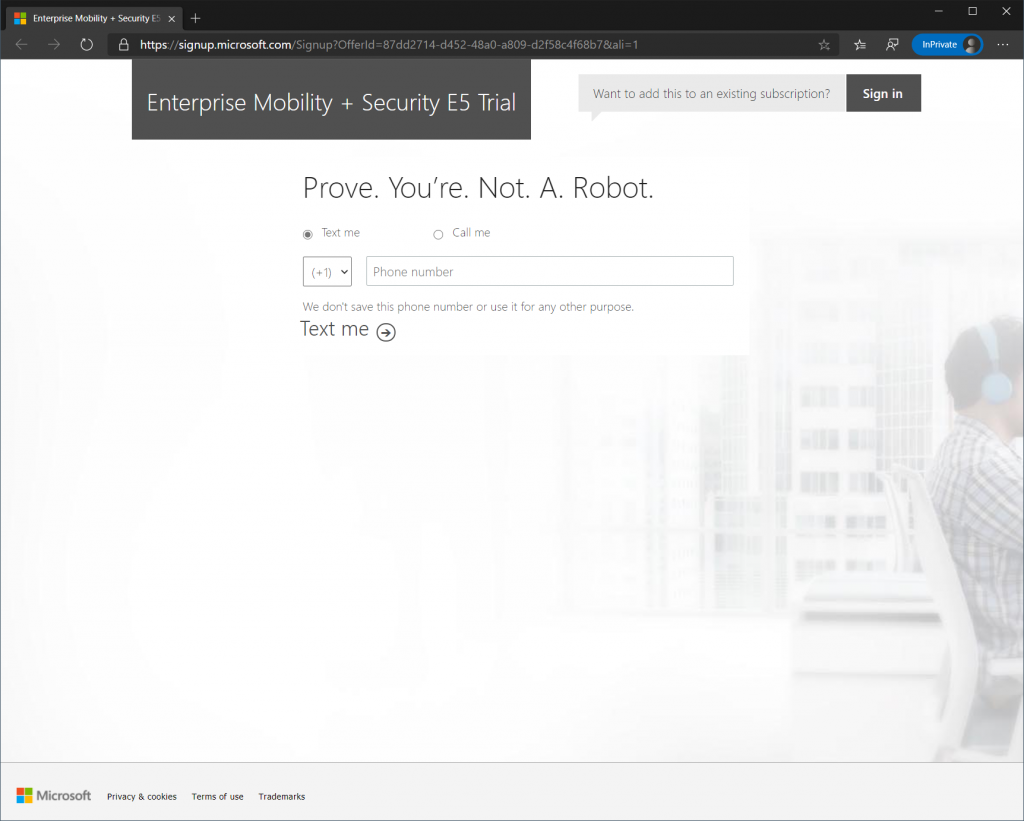
Next validate your identity by providing your country code and phone number.
After verifying your identity wait for the tenant to provision and click the “Ready to go” button.
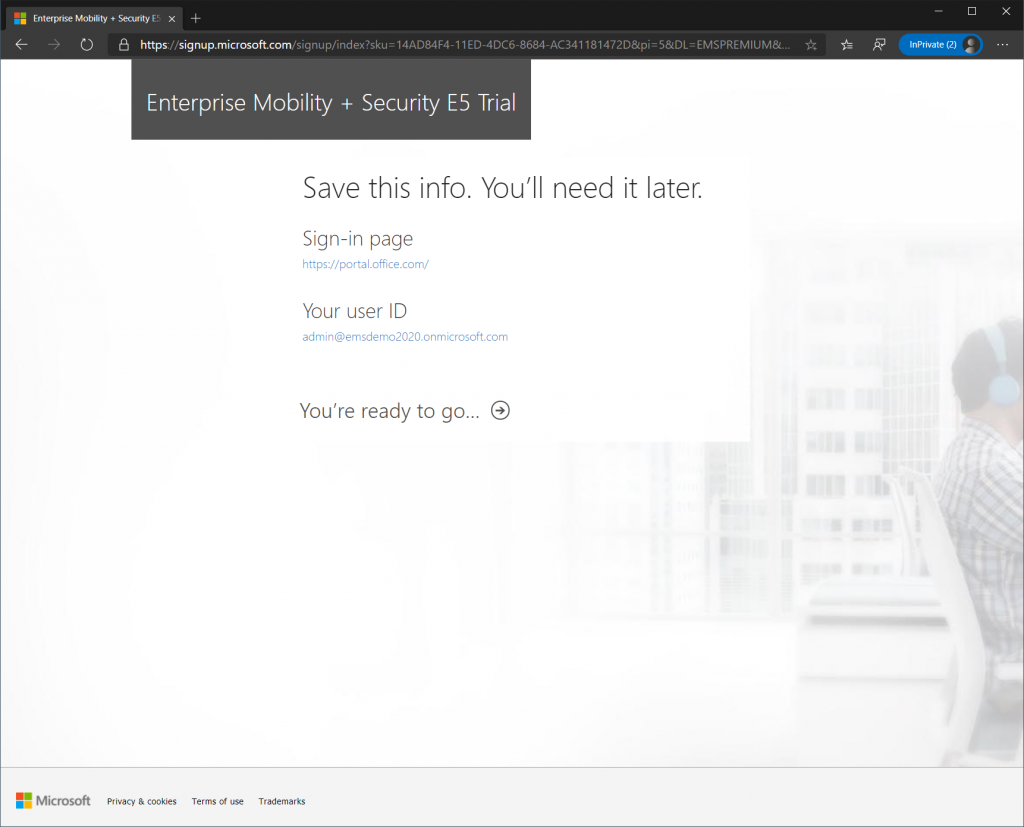
Once you click the “Ready to go” button you should be taken to a welcome page. If you look at the top right corner there should be a link that says “Portal”, Click it or navigate to portal.azure.com.

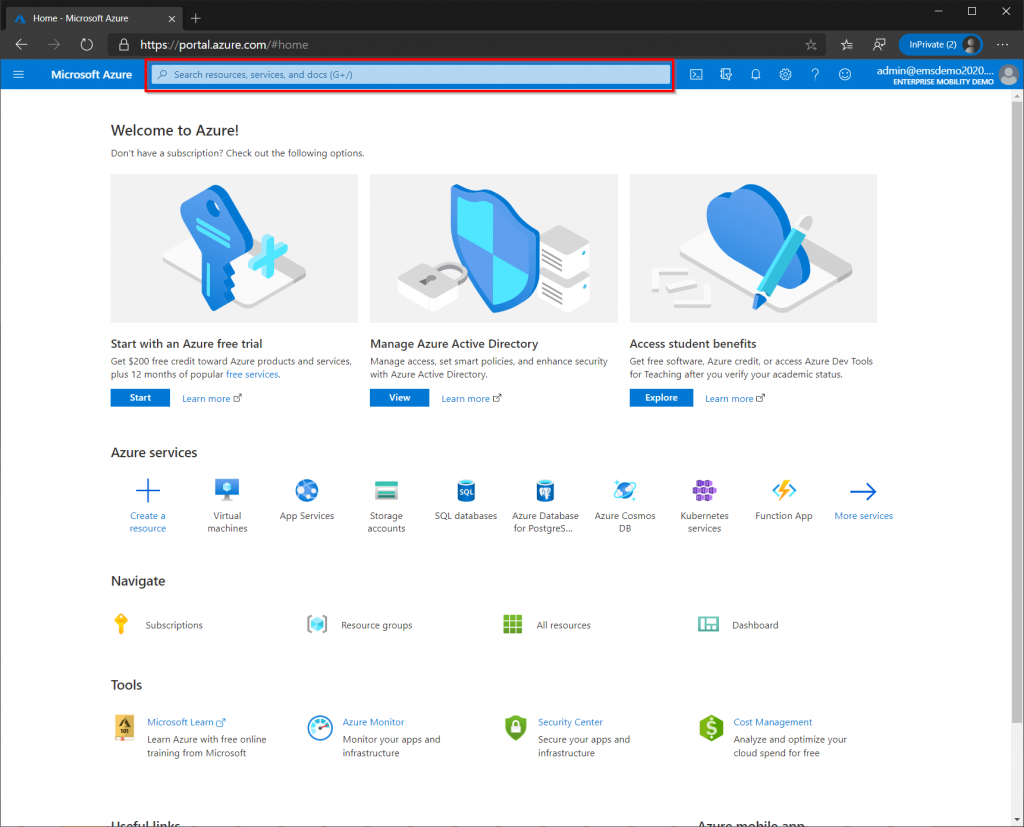
We are now in the Azure Portal. There are hundreds if not thousands of services available in this portal. Note the search bar at the top, where you can search for any product or service within Azure. The Azure Portal might seem overwhelming due to the vast amount of services, so Microsoft has created several smaller portals that focus on certain functions such as Device Management, more on that later.
Branding
Microsoft actually requires that the branding in Azure AD is defined, although AutoPilot functionality works even if branding is not present. However the end-user experience will be much better if logos and colors match that of the organization.
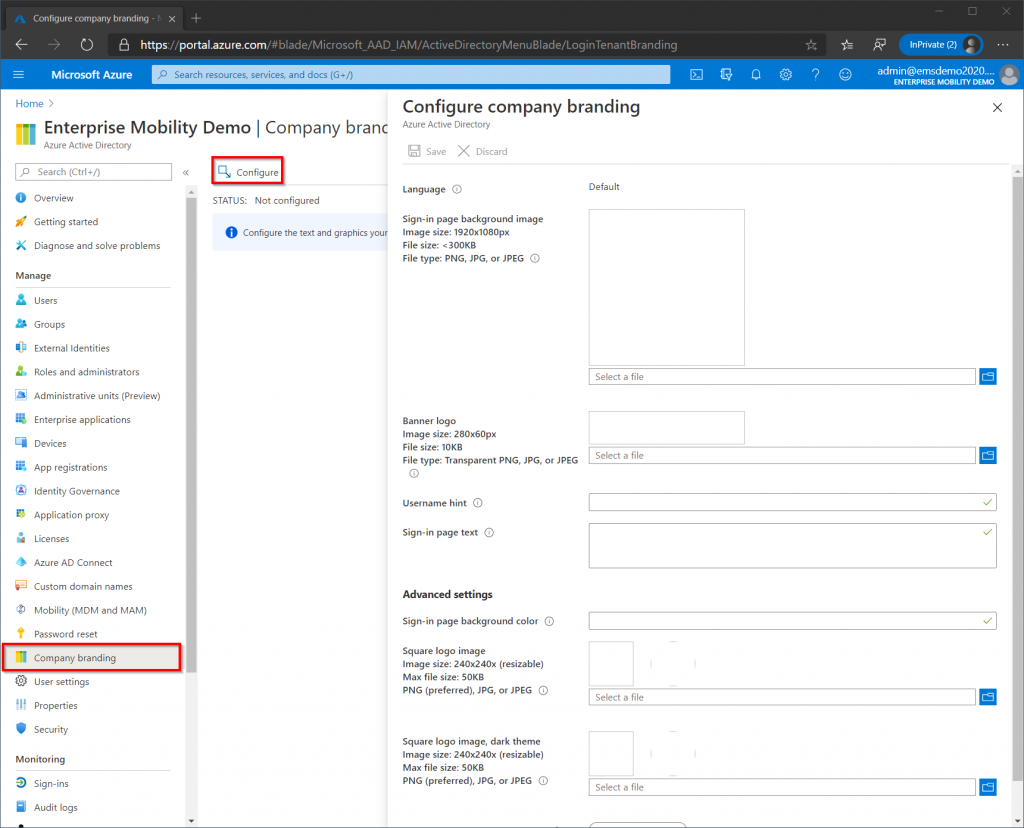
In the Azure Portal search for “Azure Active Directory” in the search bar at the top, the Azure AD blade should now be displayed. Find “Company Branding” on the left-hand side of the Azure AD blade, then click “Configure”.
In this example I will be using Microsoft’s Contoso logos provided by Michael Niehaus. If you would like to use these, download them from here or create your own. If you do decide to make your own, make sure that the resolution and file size are within Microsoft’s limits. Once the branding has been set it can take up to an hour before it is applied. To test if the branding has been applied sign out if your account and try to login again.
You can stay in the Azure Portal if you like as all the tasks we need to do can be done there, however the Endpoint Manager Admin Center is a portal specific for device management and the Intune part of the Azure Portal will be retired on August 1, 2020. The Endpoint Manager Admin Center already has some functionality that is not present in the Azure Portal. Head over to the Endpoint Manager Admin Center by navigating to endpoint.microsoft.com. I encourage you to explore the Azure Portal later.
Endpoint Manager Admin Center
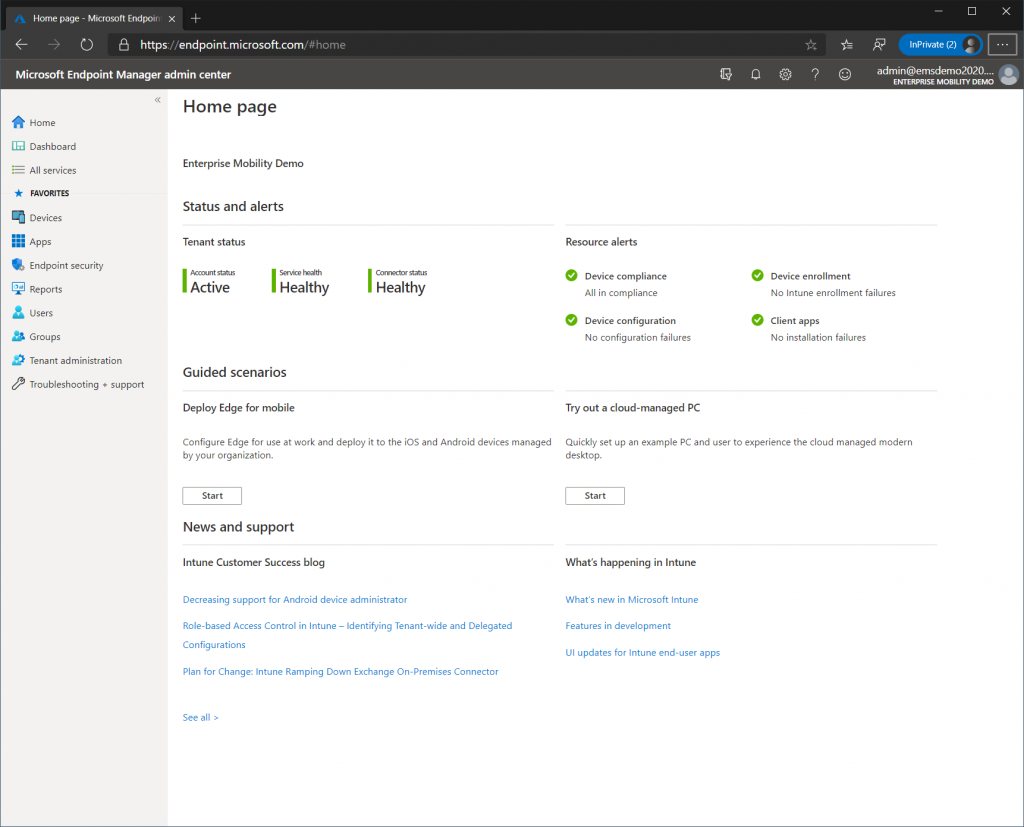
You should now be in the Microsoft Endpoint Manager Admin Center. The start page gives us a good overview of our environment and will provide us with alerts that we might need to resolve. All the remaining Azure Active Directory and Windows AutoPilot configuration will be done in this portal.
Users
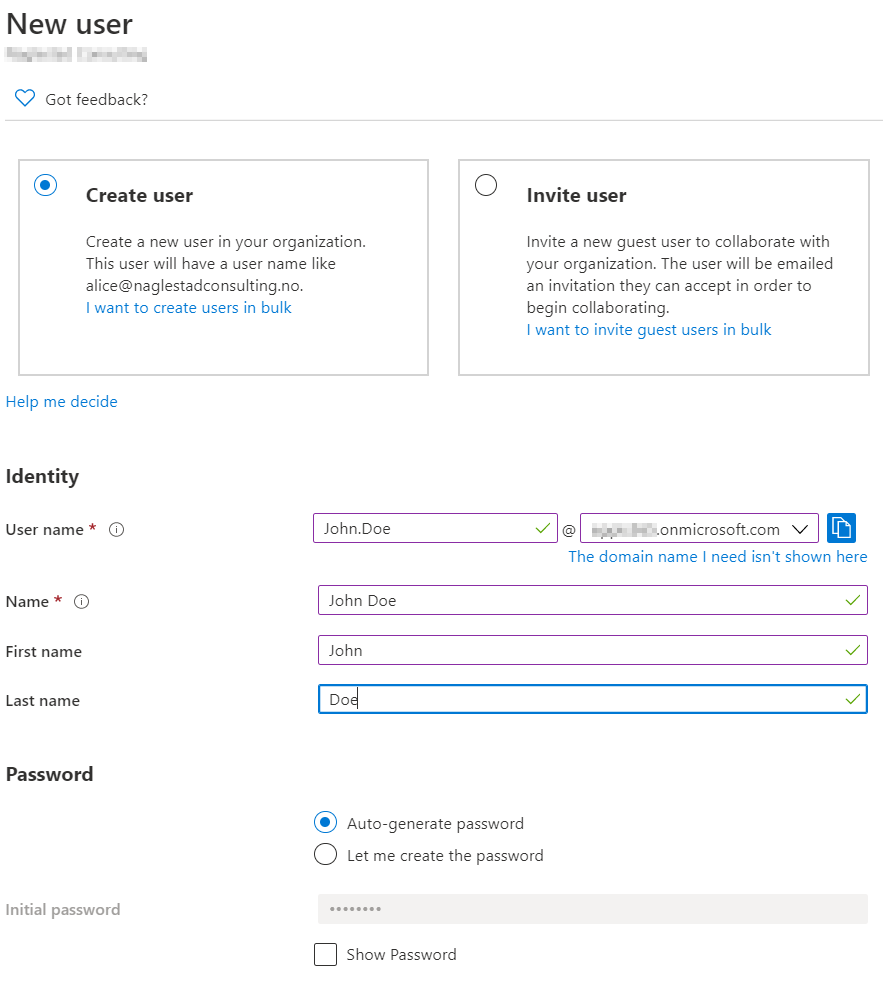
We already have an Admin user that was created during the registration purposes, so lets create a regular user called John Doe for testing purposes.
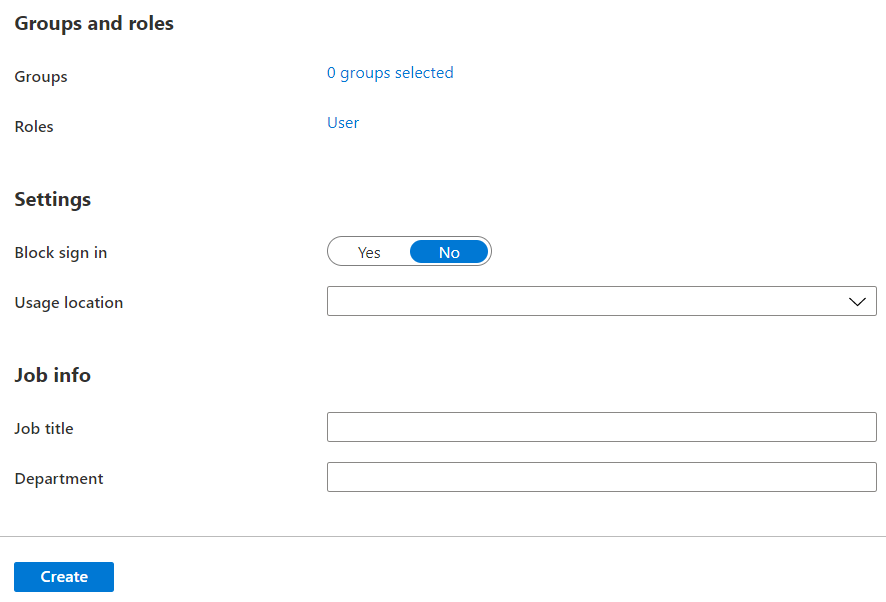
In the Endpoint Manager Admin Center select the User blade from the left-hand side, then click the “New User” button on the ribbon. Make sure that you set a “Usage Location”, if this value is not set we will not be able to provide the user with a license later. Click the show password button and write down the username and password before clicking “Create”.
Groups
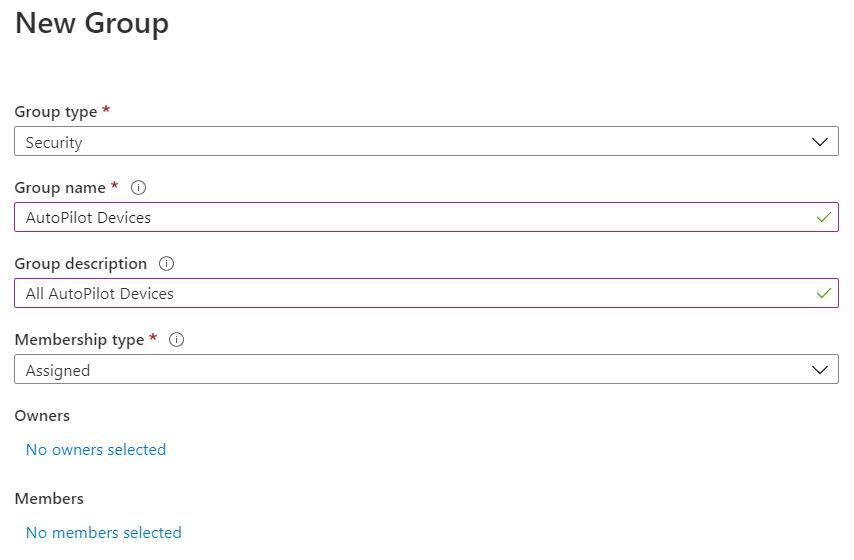
Next we need to create some groups. Open the Groups blade from the left-hand side and create the following Groups listed below. Group Type should be “Security” and Membership Type should be “Assigned” for all of the three groups. It is absolutely possible and a good practice to use dynamic groups for AutoPilot devices and content, but for simplicity sake we will be using assigned groups.
- AutoPilot Devices – Used to assign the Windows AutoPilot Profile to devices
- Windows 10 Users – Used to target configuration and optional software to users.
- Enterprise Mobility + Security E5 (EMS E5 for short) – Used to provide licenses to users
Licensing Users
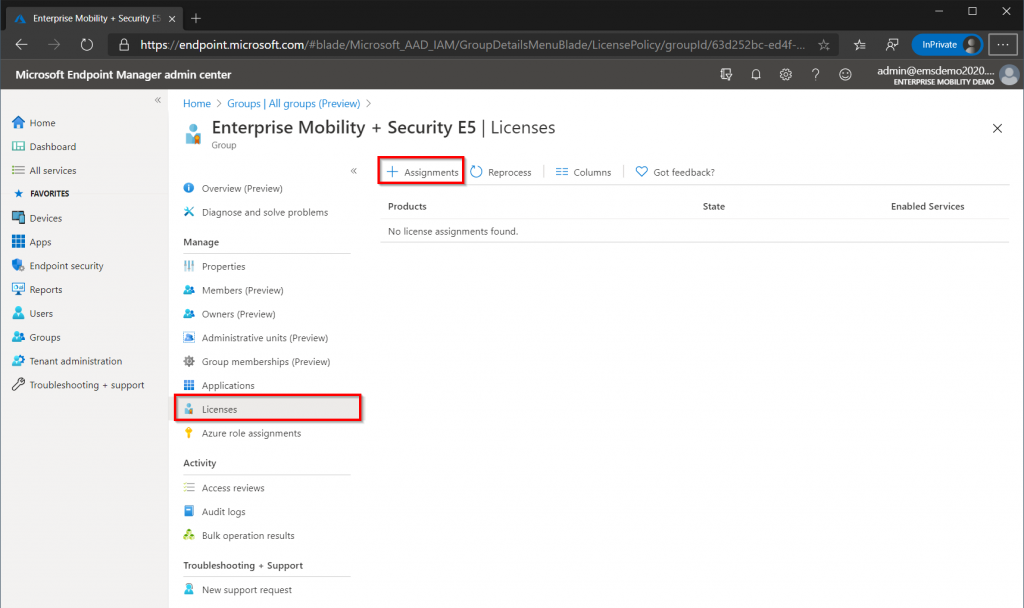
In the Groups blade open the “Enterprise Mobility + Security E5” group that we created in the previous step, select “Licenses” and then select “Assignments”. On the next page select the Enterprise Mobility + Security E5 license (it should be the only one since we only have that license in our trial account) and leave all the boxes checked before clicking save at the bottom. We have now assigned a license to the group, any user that is added to the group automatically gets a license. This is called Group based licensing and is a best practice in Azure environments.
Return to the “Enterprise Mobility + Security E5” group and click members. Add our test user John Doe to the group. The admin user does not need to be part of this group as a license was assigned automatically during the registration phase. It can take a while for the Microsoft backend to assign the license, allow at least 15 minutes before doing troubleshooting.
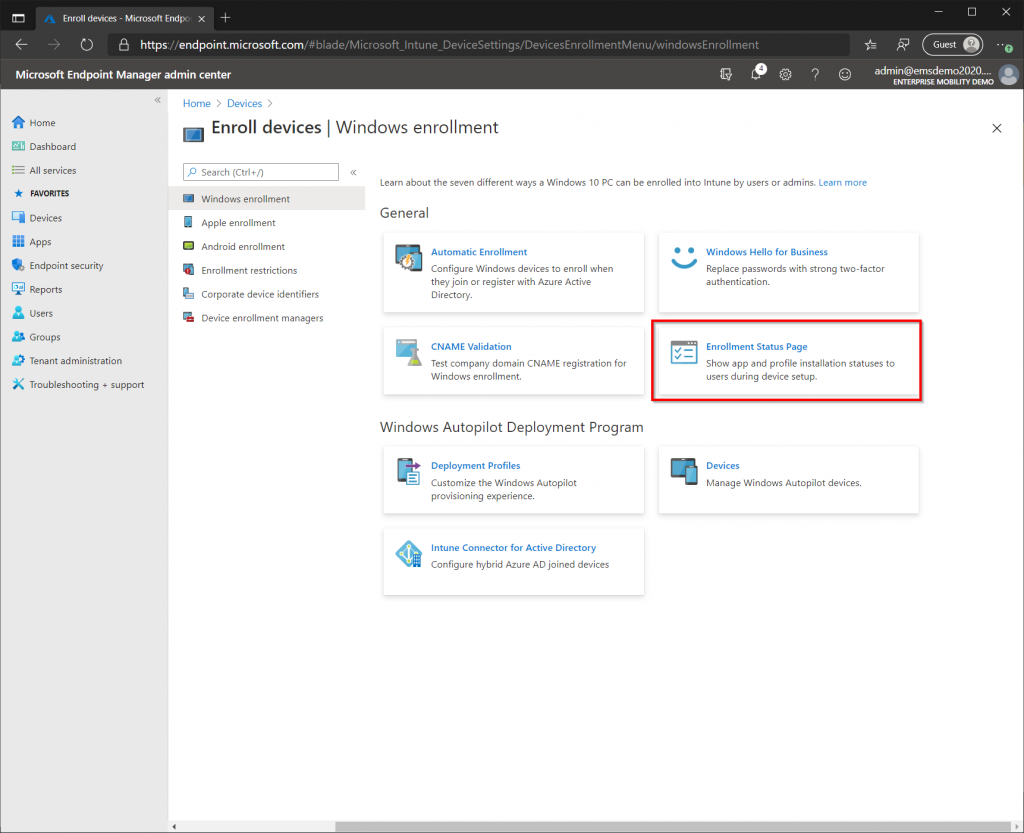
Configure the Enrollment Status Page (ESP)
The Enrollment Status Page or ESP for short is the status page displayed during AutoPilot enrollment. The Enrollment Status Page will track installation of applications, security policies, network policies and more. In addition it also allows administrators to lock the device until certain or all applications have been installed.
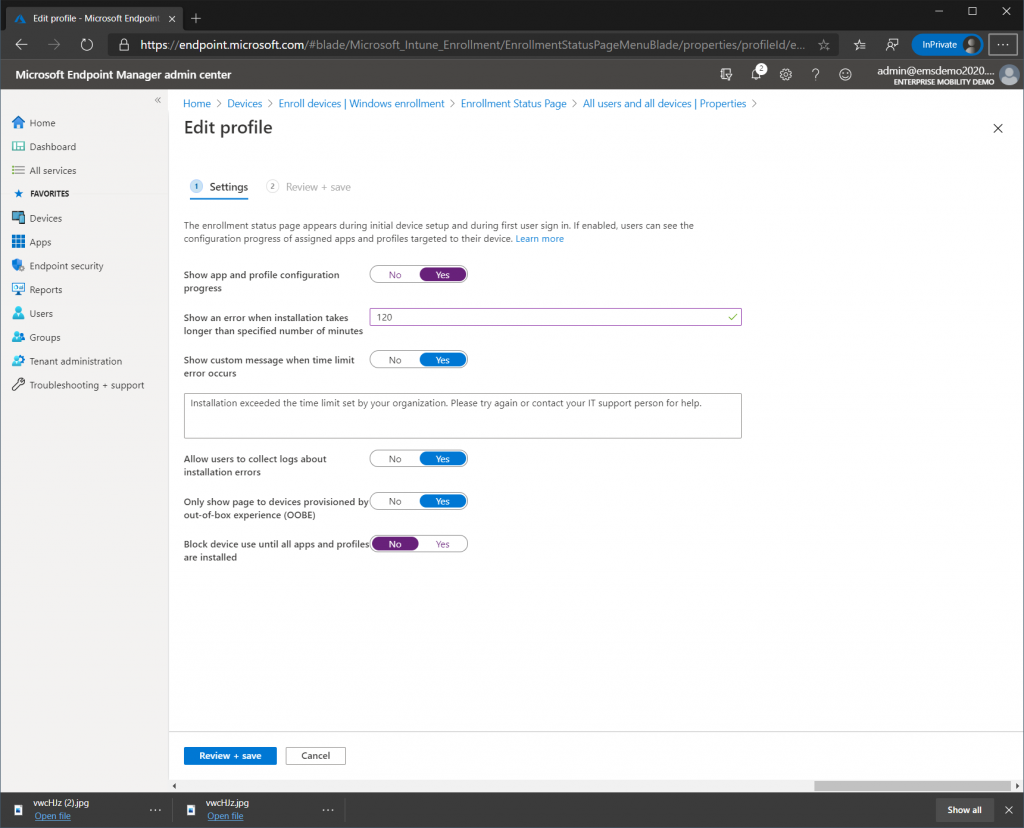
Select the “Devices” blade from the left-hand side then select “Enroll Devices”. Make sure Windows Enrollment is selected then choose “Enrollment Status Page”. Click the default policy for “All users and all devices”, click Properties, then “Edit” next to Settings.
- Show app and profile configuration status: Yes
- Timeout: 120 minutes
- Block device usage until all apps and profiles are installed: No
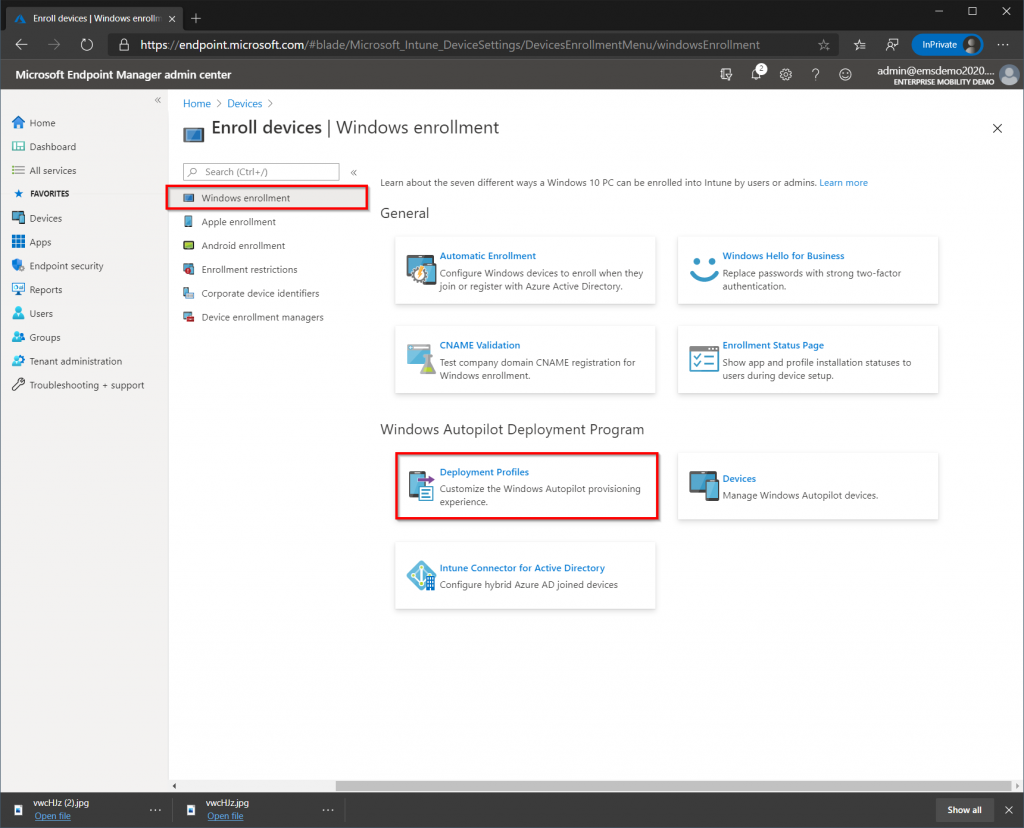
Creating an AutoPilot Profile
Next we need to create an AutoPilot Profile in Intune. The profile defines which AutoPilot scenario should be used and how the machine should go through the Out-of-box Experience (OOBE), which are the questions/settings you would go through after installing Windows 10.
Select the “Devices” blade from the left-hand side, then select “Enroll Devices”. Make sure Windows Enrollment is selected then choose “Deployment Profiles”.
Select “Create Profile” and provide a name for your AutoPilot Profile (example: User Driven Azure AD Join). Make sure that the option “Convert all targeted devices to AutoPilot” is set to No, and click Next.
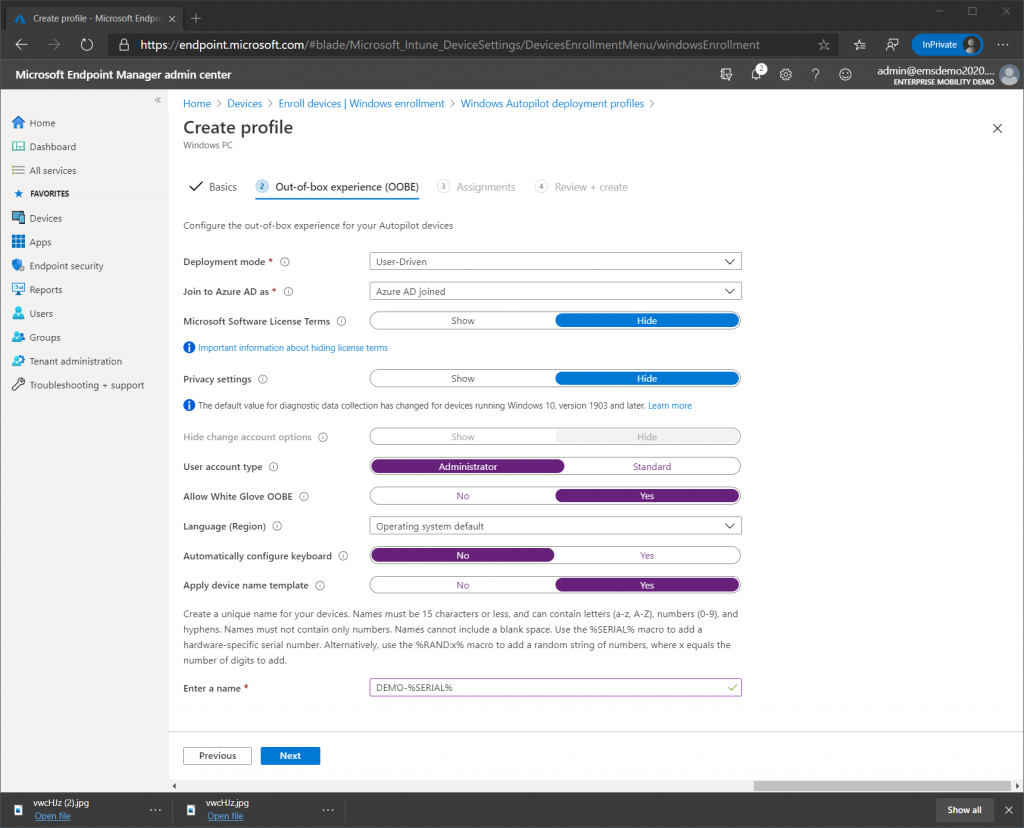
On the Out-Of-Box Experience (OOBE) page set the settings as indicated below. Note the device name template allows you to specify a prefix and either the serial number or a random set of numbers. When ready press Next.
- Deployment Mode – User Driven
- Joint to Azure AD as: Azure AD Joined
- License Terms: Hide
- Privacy Settings: Hide
- Account Options: Hide
- User Account Type: Administrator
- Allow White Glove: Yes (we wont cover but this will allow you to test on a physical device)
- Language: Operating System Default
- Automatically Configure Keyboard: No
- Apply Device Template: Yes
- Name Template: DEMO-%SERIAL%
On the Assignments page add the “AutoPilot Devices” group that we created earlier. Notice that it is also possible to select “All Devices”, it is only possible for a device to have one AutoPilot Profile assigned at anytime so I recommend using groups. Click Next and complete the wizard.
Obtaining the AutoPilot ID
The AutoPilot ID or Windows ID if you wish, is an unique ID that is based on the hardware and software of the device. The ID is used to identity a particular device and assign it to an organization. There are several ways of retrieving the ID but in our case we will use a PowerShell script to extract the ID. When new machines are purchased from OEM’s like Dell, HP or Lenovo you have the option for the vendor to extract and import the ID into your tenant on your behalf.
If you have a physical Windows 10 device that you can re-install use that, if not use a virtual machine like me. Install Windows 10 normally on the Virtual Machine/Physical Device, Windows 10 1703 will work but I recommend using the latest version available as there are lots of improvements to each Windows 10 version (screenshots are from 1909). If you don’t have a copy of Windows 10, an evaluation version can be obtained from the Microsoft Evaluation Center, just remember to choose the Enterprise version and not the LTSC version.
Once Windows 10 is installed open PowerShell as an Administrator and enter the following three PowerShell commands (Select “Yes” on any prompts). Note that internet access is required to obtain the script.
Install-Script -Name Get-WindowsAutoPilotInfo -Verbose -Force
Set-ExecutionPolicy -ExecutionPolicy RemoteSigned -Force
Get-WindowsAutoPilotInfo.ps1 -OutputFile C:\AutoPilot.csv
You should now have an AutoPilot.csv file on the C:\ drive. Copy this file from the Virtual Machine to the host computer, or open a browser and import the hardware hash (AutoPilot ID) into the Endpoint Manager Admin Console using the steps below.
Importing AutoPilot ID & Assigning an AutoPilot Profile
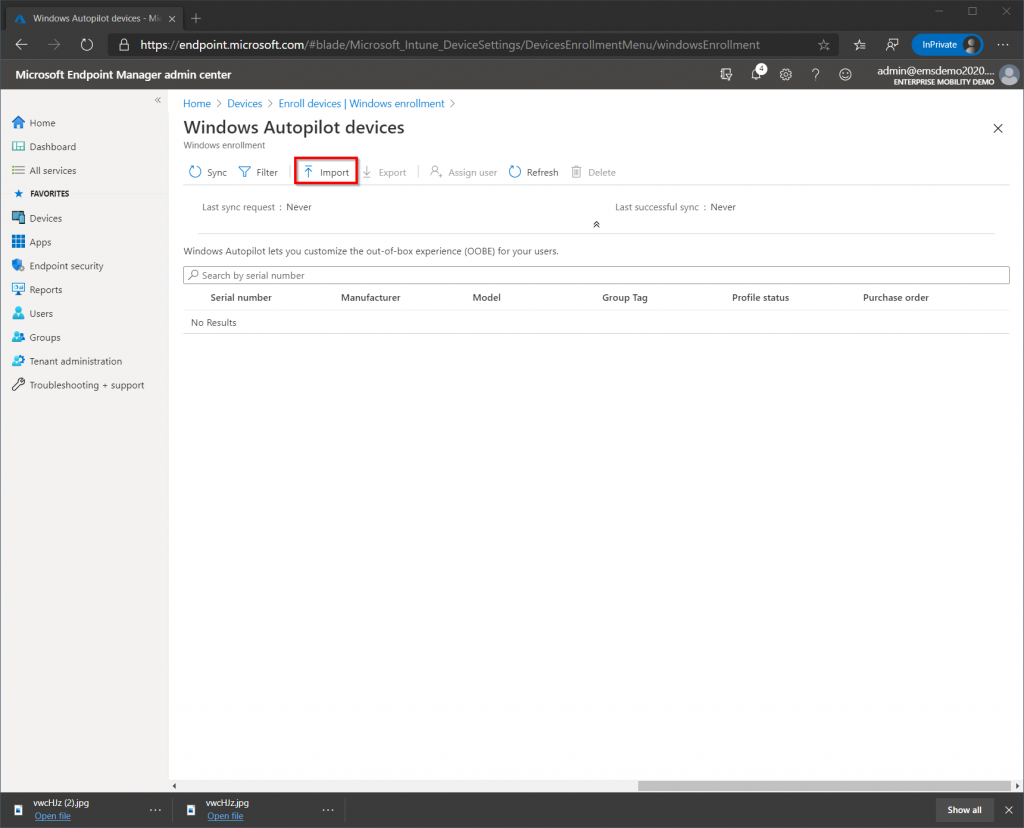
In the Endpoint Manager Admin Center select the Device blade, then “Enroll Devices” like before when we created the AutoPilot Profile. Make sure Windows Enrollment is selected then select Devices.
Select Import and navigate to the CSV file that we retrieved from our test client. Note that is could take as much as 15 minutes or more for the device to import (the notification bell at the top will display if the import is complete or not). Once the import has been completed push the refresh button in the console (do not refresh the browser page). If the device is not displayed click the “Sync” button and wait a couple of minutes before pushing the refresh button again. It could take some time but the device will be displayed eventually.
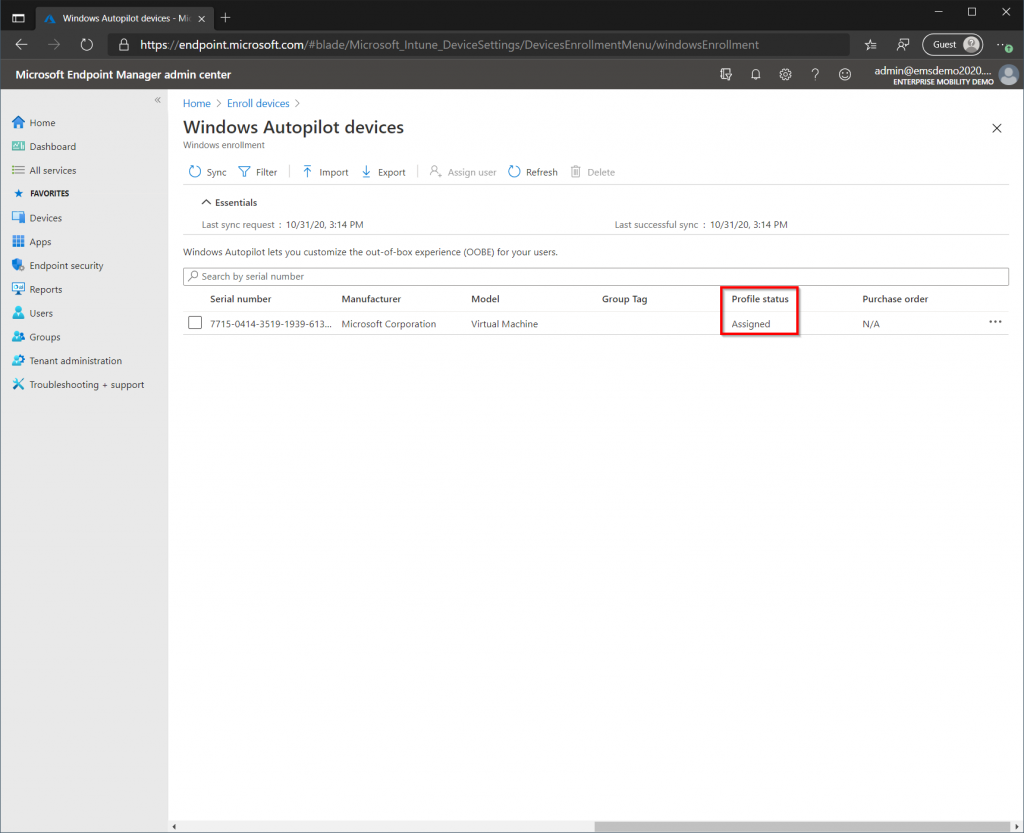
Once the Device has been imported, information about the device such as the Serial Number, Model, Manufacturer and AutoPilot Profile Status will be displayed. A new object with the serial number of the device has also been created in Azure AD. We need to add this object to our AutoPilot Devices group, so that the AutoPilot Profile will be assigned to this particular device.
Select the “Groups” blade from the left-hand side then select the “AutoPilot Devices” group. Select “Members”, then “Add Members” from the ribbon. Locate the AutoPilot device that we imported by looking for its serial number. Once the computer has been deployed with AutoPilot, the object name will change from the serial number to the DEMO-%SERIAL% name template we specified in our AutoPilot Profile.
Once the device has been added to the group allow 30 minutes or more for the AutoPilot Profile to apply. To check if the AutoPilot Profile has been assigned go back to the Autopilot Devices Page (where we imported the ID) and check if the Profile Status has changed to “Assigned”.
Configuring Windows Automatic Enrollment
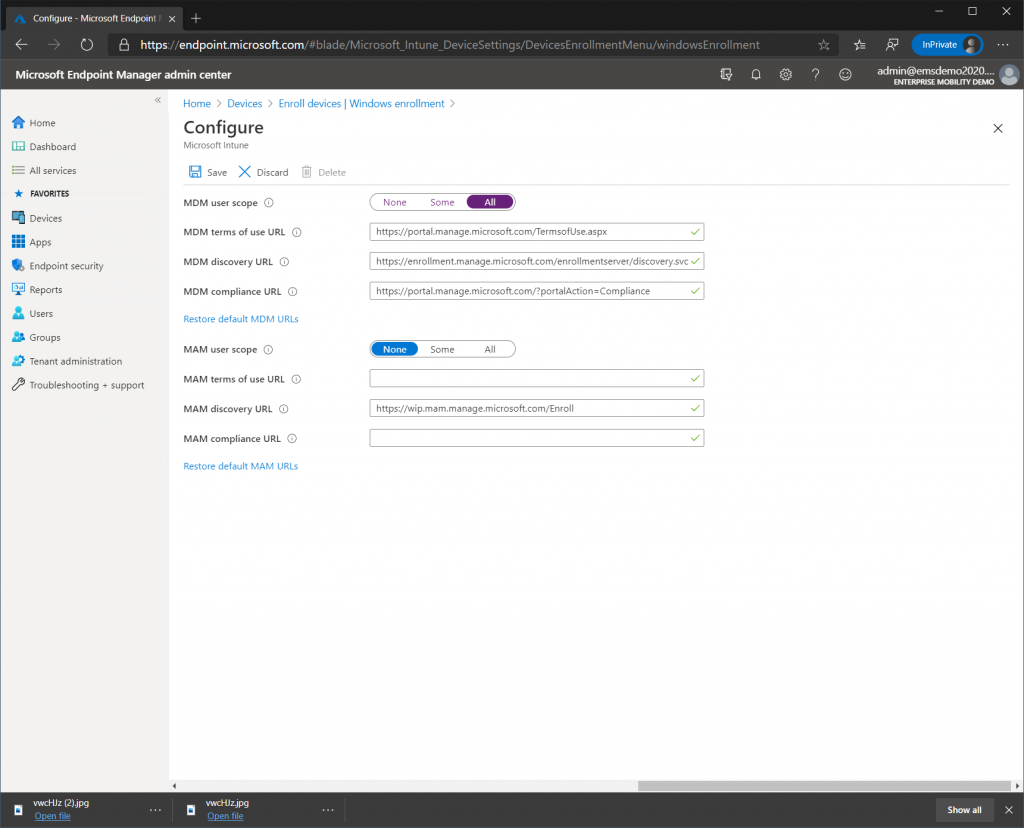
Next we need to configure Windows Automatic Enrollment, this automatically enrolls any Windows device that joins Azure AD into Microsoft Intune. Select the “Devices” blade from the left-hand side then select “Enroll Devices”. Make sure Windows Enrollment is selected then choose “Automatic Enrollment”. Change the “MDM User Scope” to All and click save.
Deploying Configurations/Settings
Most people who have worked with enterprise environments are familiar with Group Policy Objects (GPO), and how we can use them to specify settings on servers and clients in an Active Directory environment. With Intune we use the MDM or Mobile Device Management stack instead, think of it as GPO 2.0. MDM was not developed by Microsoft, instead it its is an open standard that has been used for a long time on mobile devices such as iOS and Android. MDM policies like GPO’s can be used to specify settings on our Windows client.
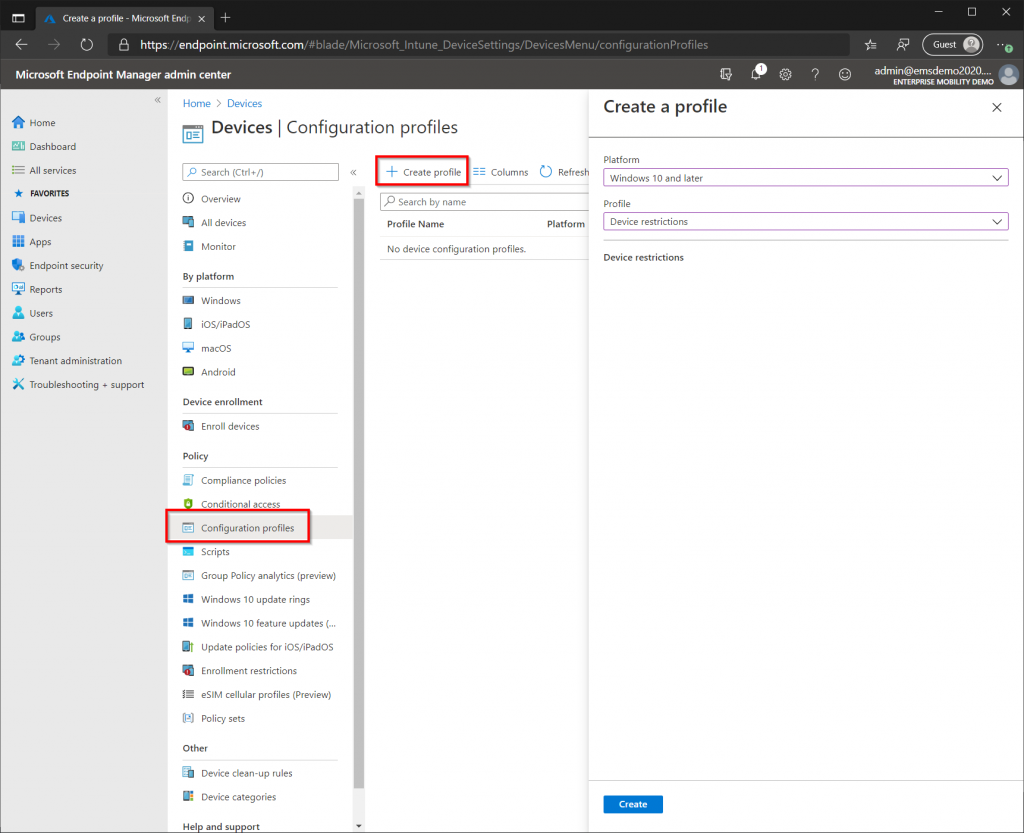
In the Microsoft Endpoint Manager Admin Center, select the “Devices” blade from the left-hand side, then select “Configuration Policies”. Select “Create Profile” and choose “Windows 10” as the Platform and “Device Restrictions” as the profile. Give the policy a name, for example Device Restrictions and click next. On the “Configuration Settings” page we are presented with a long list of settings. When specifying settings I recommend to keep things simple to start with and make more advanced changes as you become more familiar with Intune.
Since we want to keep things simple I will only specify two settings. Under “Control Panel and Settings” disable the “Gaming” option. When a user opens the settings app in Windows 10 this menu will not be available. Also under “Microsoft Defender Antivirus” enable “Real-Time Monitoring”, which prevents the end-user from disabling Real-Time Monitoring.
On the “Assignments” page select “All devices” and click next. On the “Applicability Rules” page just leave the rules blank then complete the wizard. There tons of settings to choose from, so explore the possibilities under Device Restrictions and other profiles yourself.
If you are familiar with the Security Baselines that Microsoft publish for each Windows version, you will be glad to know that the security recommendations in these baselines are incorporated directly into Intune. These can be found under “Endpoint Security” but we wont configure them in our proof of concept.
Deploying Applications
For our proof of concept we will deploy Microsoft Edge Chromium, Microsoft 365 Apps (formerly Office 365 Pro Plus) and 7-Zip as required applications. These will be installed to all our devices during AutoPilot or any existing devices that are under management. In addition we will make Google Chrome available an optional application that our end-users can install through the Company Portal app. For production environments, automatically installing the Company Portal application as part of the AutoPilot deployment is a good idea. We will not cover this as it requires Windows Store for Business integration with Intune, and the Company Portal can easily be installed free of charge through Windows Store.
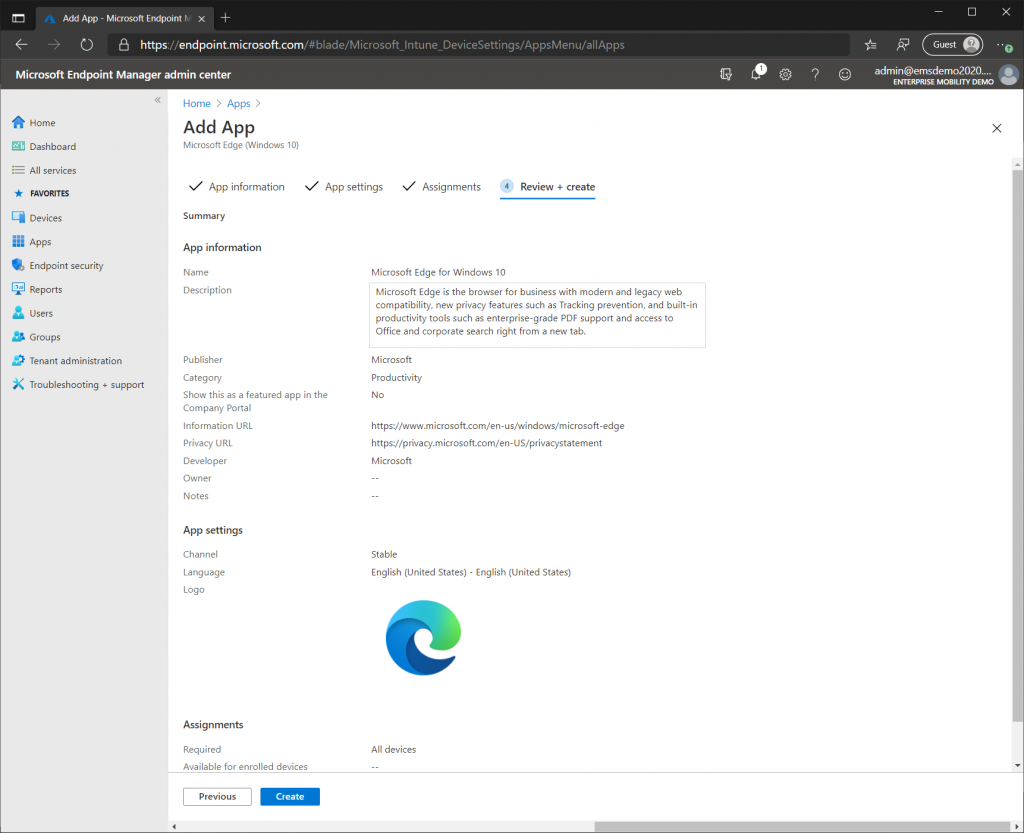
So lets start with Microsoft Edge Chromium. Select the “Apps” blade from the left-hand side then select “All Apps”. On the ribbon select “Add” and choose Windows 10 under “Microsoft Edge, version 77 and later”. On the “App Information” page just leave the defaults. For the “App Settings” page select the desired channel, I am going to stick with Stable and since I prefer all my applications in English I will choose English (United States). Then on the “Assignments” page select “All Devices” before completing the wizard.
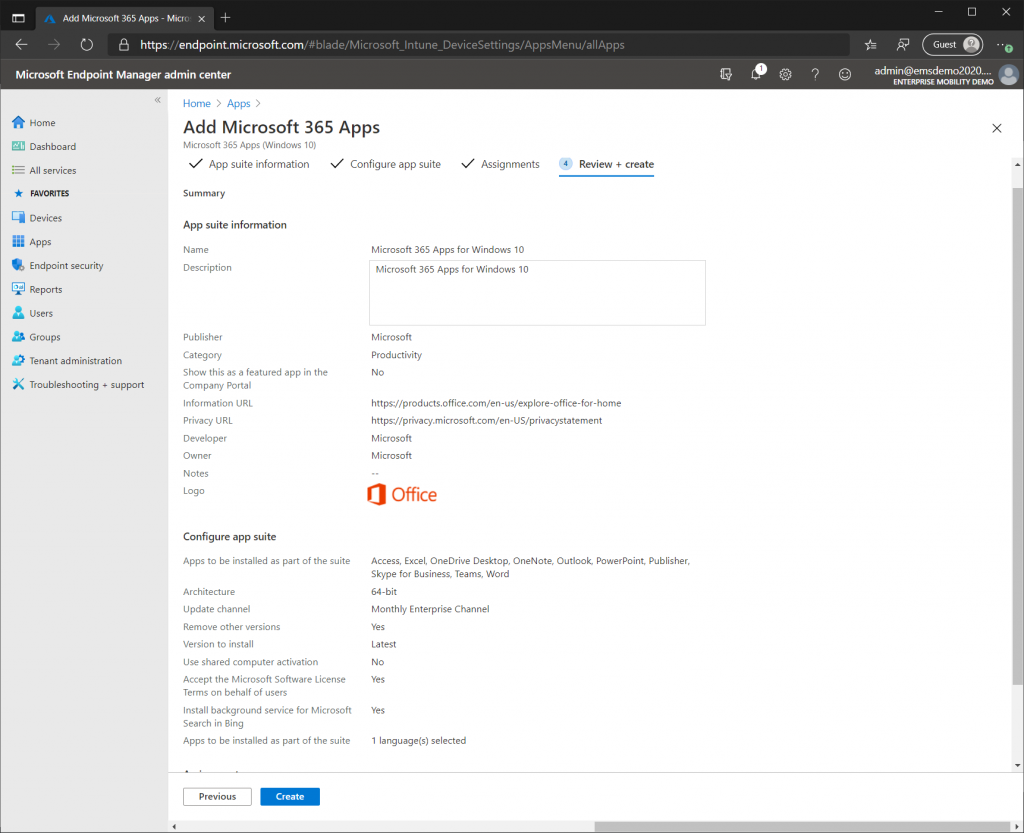
Now lets add Windows 365 Apps. Click the “Add” button under “All Apps” like before but this time select Windows 10 under “Microsoft 365 Apps”. As before leave the defaults on the “App Suite Information” page. On the “Configure App Suite” page I am going to select “Monthly Enterprise Channel” as the Update Channel and set the “Accept terms on behalf of users” to “Yes”, other than that I am going to keep the defaults. On the “Assignments” page add “All Devices” and complete the wizard.
Note: The Microsoft 365 Apps suite is a large download and will increase the time of your AutoPilot deployment significantly. If you do not have a fast internet connection reconsider deploying Microsoft 365 Apps. We don’t have a license for Microsoft 365 Apps, but it does work for a few days without a license. To test the full Microsoft 365 Experience add an Office license to the tenant.
For Google Chrome and 7-Zip we need to first obtain the source files before uploading them to Intune. For 7-Zip download the latest 64bit MSI from here, and for Google Chrome download the Enterprise MSI from here.
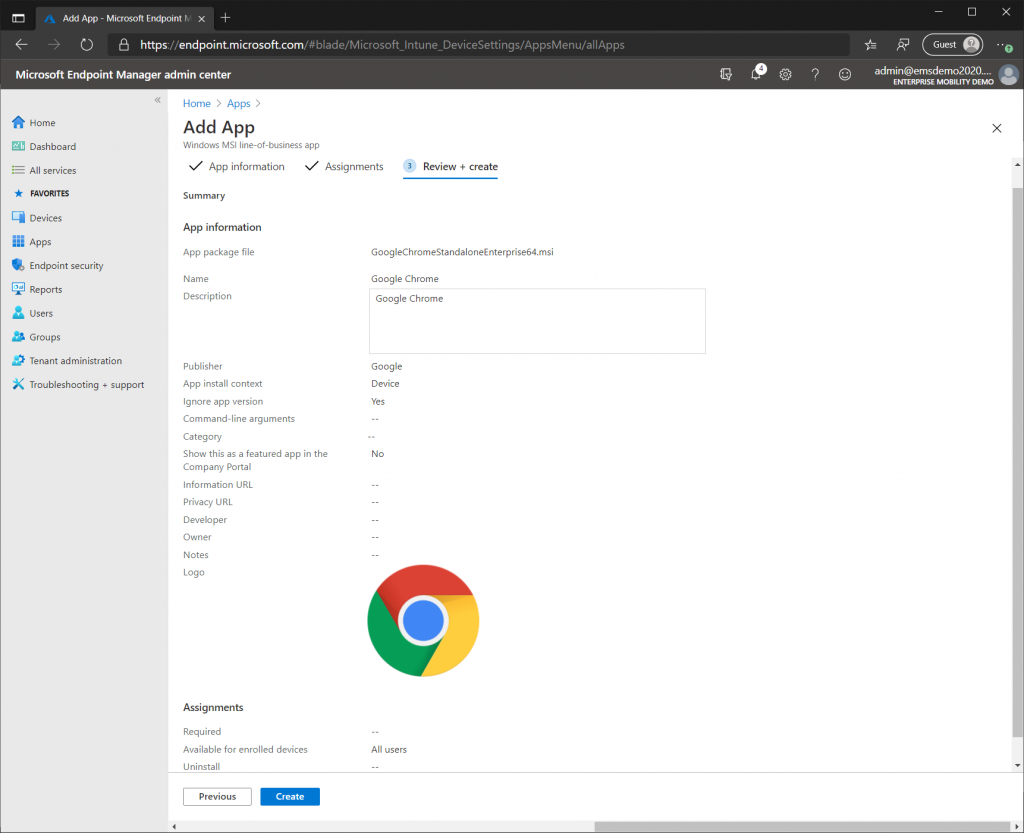
As before click the “Add” under “All Apps” but this time select “Line of Business App”. Select the GoogleChromeStandaloneEnterprise64.msi within the zip file downloaded from Google. On the “App Information” page make sure that the “Ignore App Version” is set to Yes. This is important since Google Chrome constantly updates itself and we always want the latest version. Specify “Google” as the publisher and add a logo if you want. On the “Assignments” page add “All Users” under “Available for enrolled devices” then complete the wizard. Once you click create Intune will start to upload the MSI file from your computer. This can take some time depending on your upload speed.
Try 7-Zip by your self by simply repeating the steps for Google Chrome.
Resetting Windows 10
Now that we have configured Windows AutoPilot and published some settings and apps, we need to reset our Windows 10 device so that it removes all settings and returns to OOBE (Out-Of-Box Experience) so we can deploy it with AutoPilot.
To do this open Settings -> Update & Security -> Recovery.
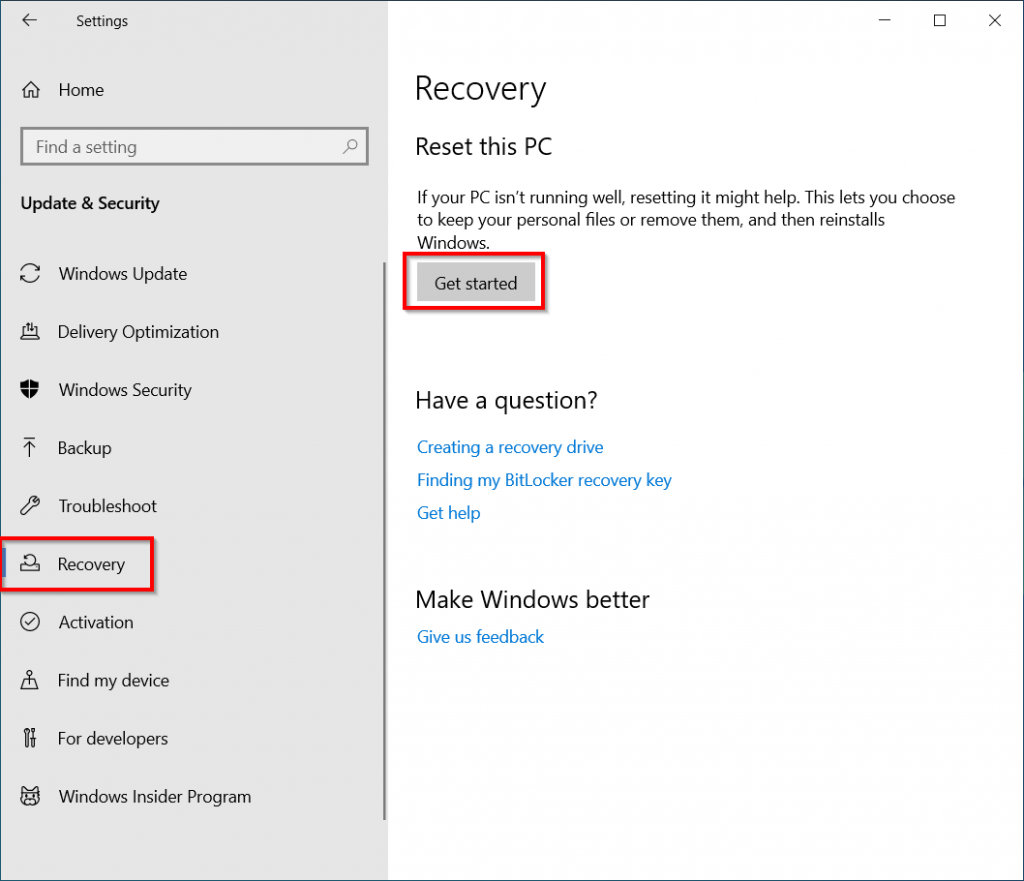
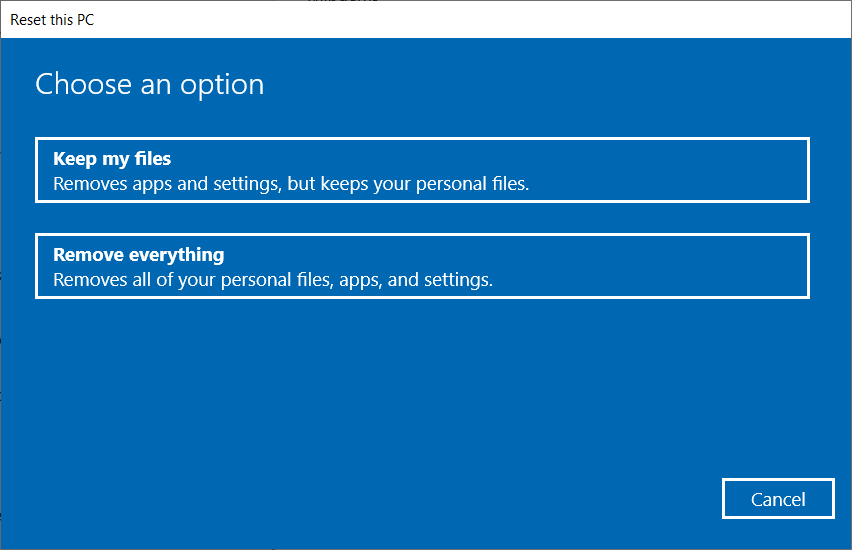
Select “Remove everything”
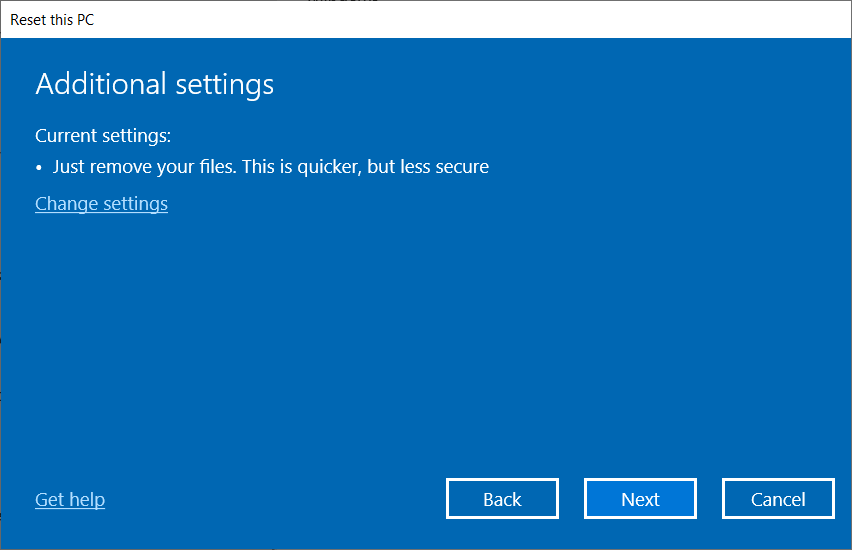
Click Next
Click Reset
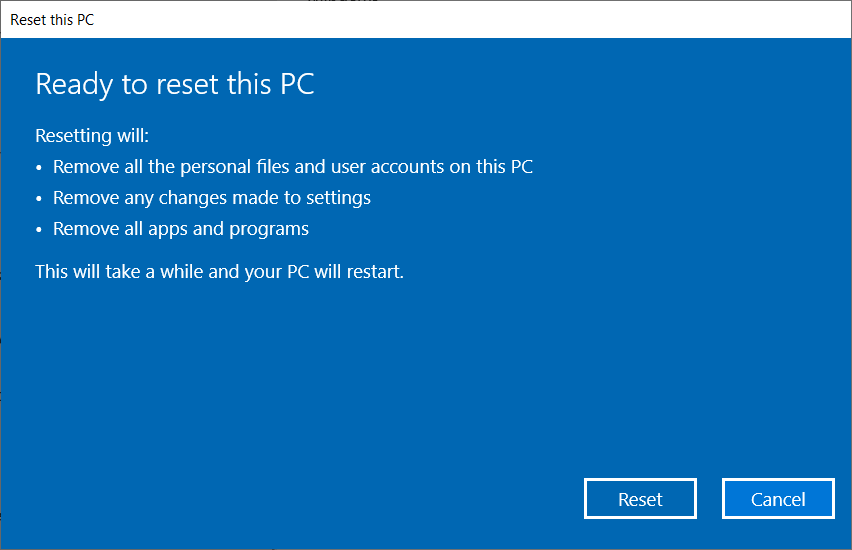
The reset procedure can take as much as 45 minutes to complete and removes any applications and data on the device.
Multi-Factor Authentication (MFA)
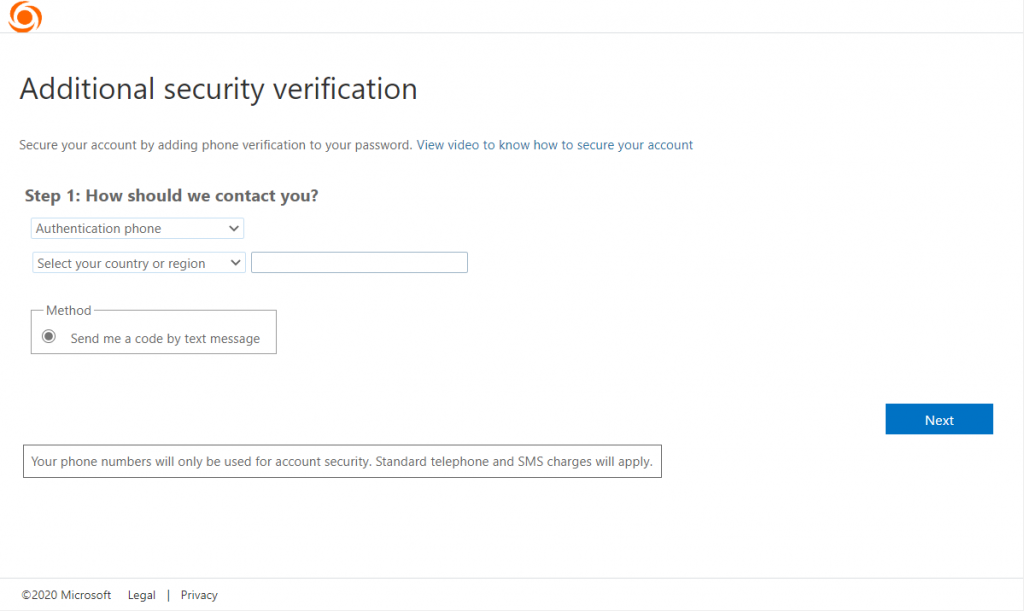
While our Windows 10 device is being reset, we should add MFA to our admin and test user. In your browser navigate to http://aka.ms/MFASetup. In Step1, specify your country code and mobile phone number and click Next. Then in Step2, type the 6 digit code that is sent to your phone then click Done. Sign-out and repeat the process for our test user John Doe.
Running AutoPilot and Verifying Results
Once our Windows 10 Client has been reset, it should be back in OOBE (Out-Of-Box Experience) and should ask you to select the region and keyboard settings. If everything was done correctly the device will ask for a user credential and will then provision the device with our applications and settings.
The video below shows an example of how the AutoPilot deployment works. Note that the applications were made available and required in the video, so that they would show up in the Company Portal. Also the Company Portal was added to the deployment for simplicity but as mentioned earlier it can easily be installed from the Windows Store post-deployment.
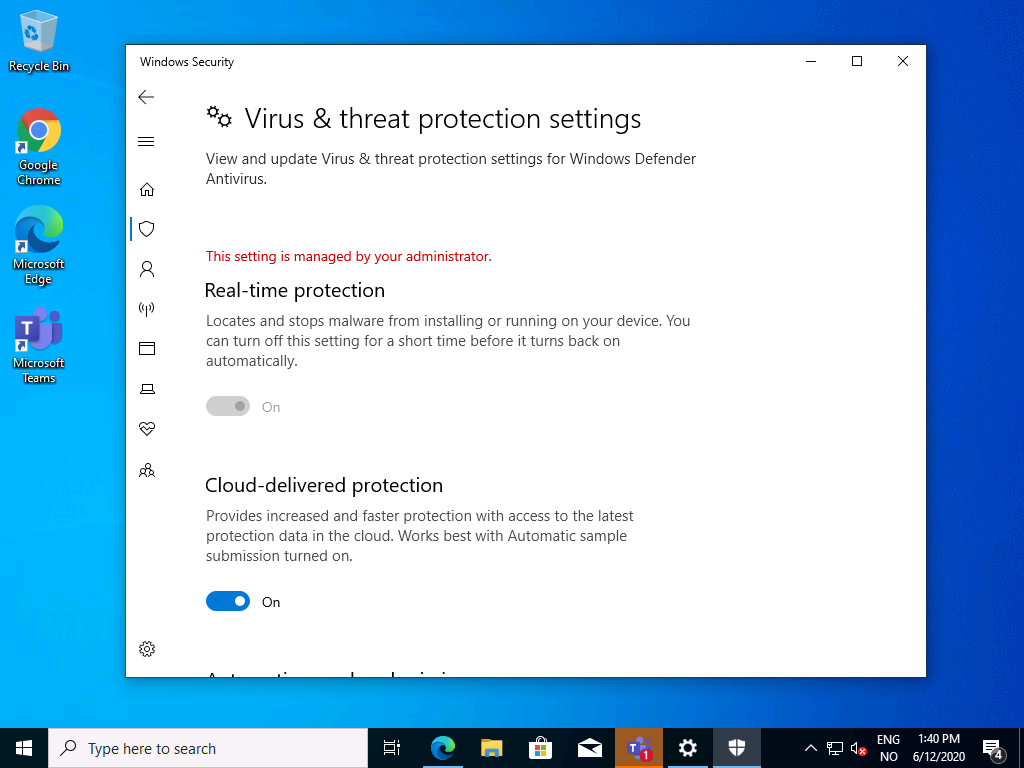
If we look at the Windows Defender Antivirus settings, we can see that Real Time Protection cannot be disabled because we are enforcing that setting in the Device Restriction policy.
Also we can clearly see that the Gaming option in Windows Settings has been removed.

Conclusion
In this post we demonstrated how to setup an AutoPilot proof of concept based on a User Driver Azure AD scenario. I hope the post was informative and that you managed to deploy and learn some concepts around Windows AutoPilot.

