
In this post we will upgrade our Configuration Manager LAB environment to the latest version. At the time of writing the latest version in mainstream is version 1910, however 2002 has been released to the Fast Ring. It is actually recommended to use the latest version so we will go straight to the 2002 version. The procedure described should work for future versions of Configuration Manager as well.
Fast Ring vs Mainstream
Whenever the Configuration Manager Team at Microsoft release a new version, they always release it to the Fast Ring first. This allows administrators to opt-in to a new version of Configuration Manager, before it is released for everyone (usually a few weeks later). The opt-in is specific for that version and does not give early access to future releases. Even though the Fast Ring might sound like a preview process the software is fully supported by Microsoft. Only mainstream versions are displayed in the Configuration Manager console by default. In order to opt-in for a Fast Ring version, a PowerShell script must be run (the specific script that needs to be run is located within the upgrade checklist for each version).
Upgrade Checklist
Before running any upgrade there are several things we should check, especially in production environments. Everything is allowed in LAB environments but good practice nevertheless.
1. Verify that all sites are running the same version – If you only have one site then this is not a problem.
2. Verify that you have an active Software Assurance (SA) agreement with Microsoft, else you are not entitled to the update. This is not relevant for the Technical Preview Branch of Configuration Manager or if you are evaluating the product.
3. Verify that .NET 4.5.2 or later is present – It will be installed automatically if not present, but its a good idea to verify first.
4. Verify that the latest version of Assessment and Deployment Kit (ADK) is installed.
5. Make sure that there are no issues with you sites, databases or system roles – Check under Monitoring -> System Status. If any make sure to remediate those before starting the upgrade.
6. If you have more than one site, verify replication between all your sites. Check under Monitoring -> Database Replication.
7. Make sure to have all critical updates installed for the Operating System.
8. If you are using database replication disable it before updating.
9. If you are using SQL Server Always On, set the availability group to manual failover.
10. Disable site maintenance tasks before stating the update.
11. Create a collection if you want to pilot the new Configuration Manager agent (recommended for production environments).
12. Disable Antivirus software.
13. Backup the Site Database before stating the update.
14. Verify there is no pending reboot.
Running the Fast Ring Script
Remember this part is only relevant if you wish to upgrade to a version that is not in mainstream yet. All mainstream updates should be visible in the console after checking for updates.
Logon to LABCM01, download the opt-in script for version 2002 from here and unzip the script. Fur future versions check the documentation for opt-in scripts to those versions.
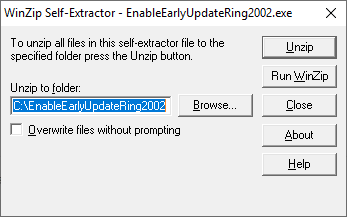
Open PowerShell and execute the downloaded script.
.\EnableEarlyUpdateRing2002.ps1 -siteServer LABCM01 -Verbose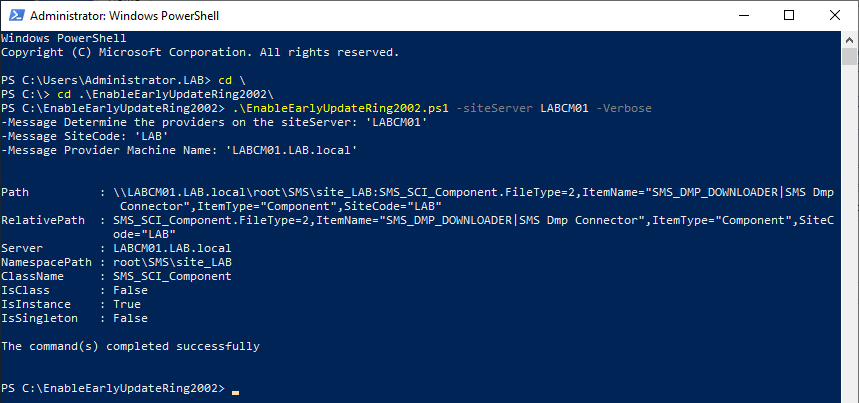
Starting the Upgrade
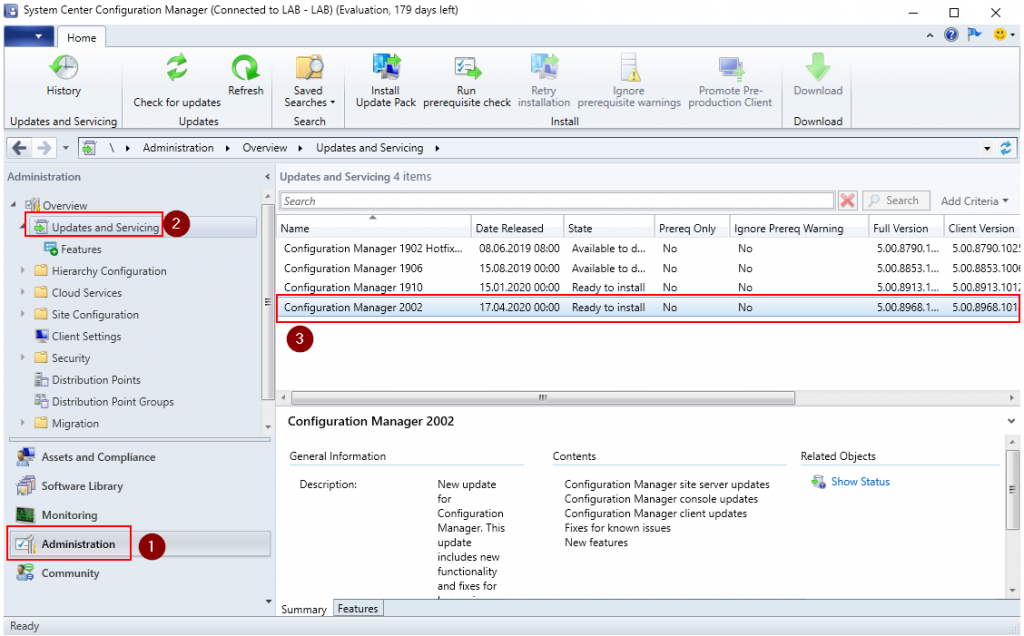
Go back to the Configuration Manager Console, navigate to the “Administration” workspace and select “Updates and Servicing”. Configuration Manager 2002 should be visible in the list, if it is not present click the “Check for Updates” button in the ribbon at the top. The new update should start downloading automatically, if not click the Download button.
It can take a while before Configuration Manager downloads and extracts the upgrade payload, so have some patience. Click Refresh at intervals or look in the dmpdownloader.log file.
Once the state changes to “Ready to install” click “Install Update Pack” from the ribbon.
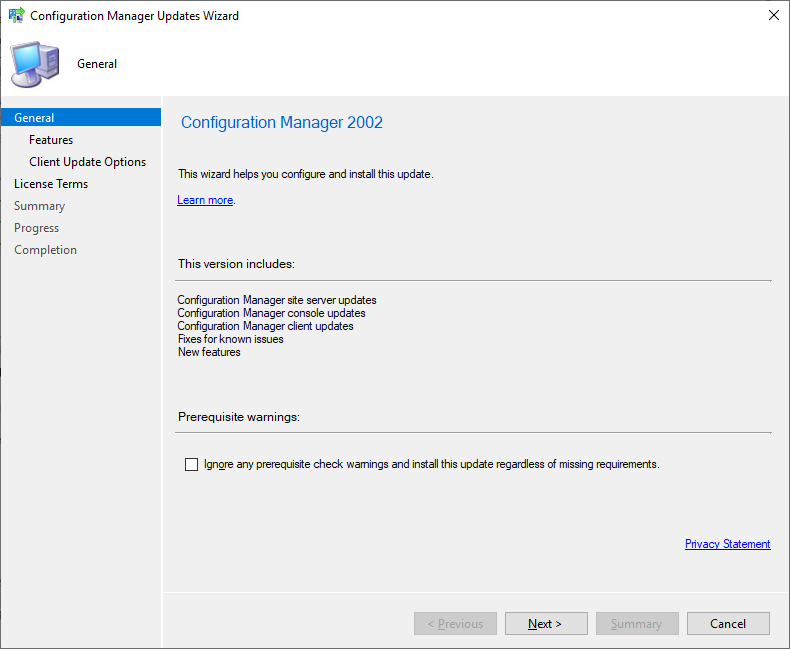
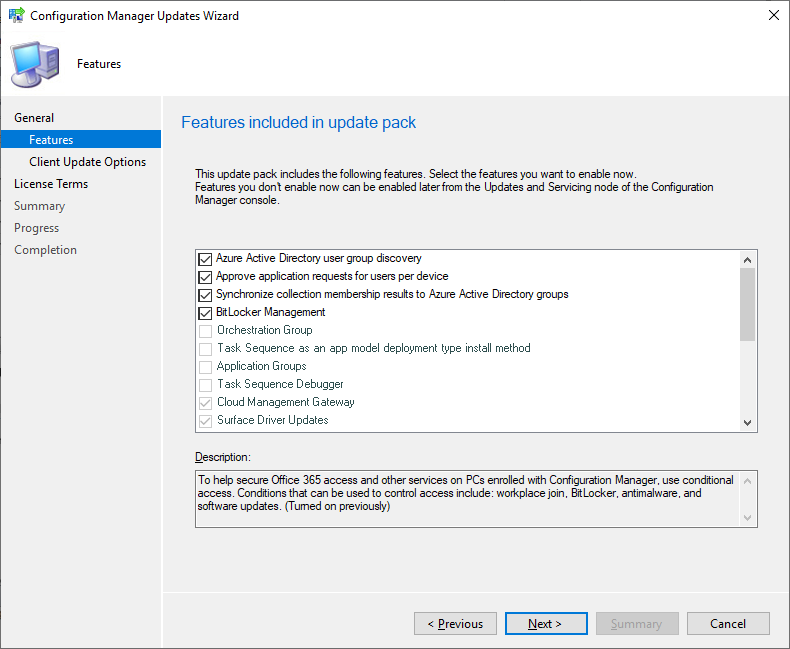
There might be additional features released with the upgrade, enable the ones you want but i generally enable all of them. Features that are not enabled now can be enabled later.
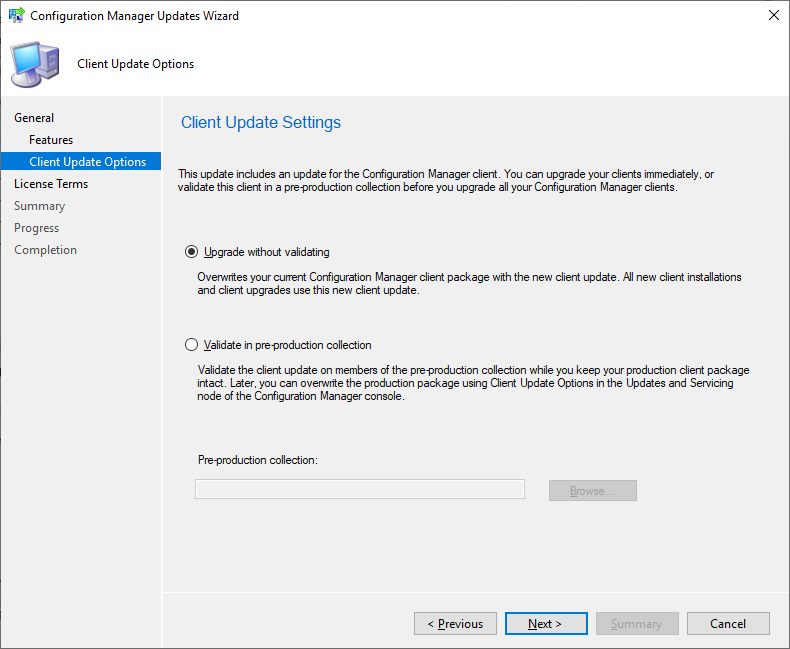
New major versions of Configuration Manager come with an updated client package. In production it is a good idea to test this client package on a few computers before deploying it to all your clients and servers. If you want to test the new client package specify a Pre-Production collection, else select upgrade without validation.
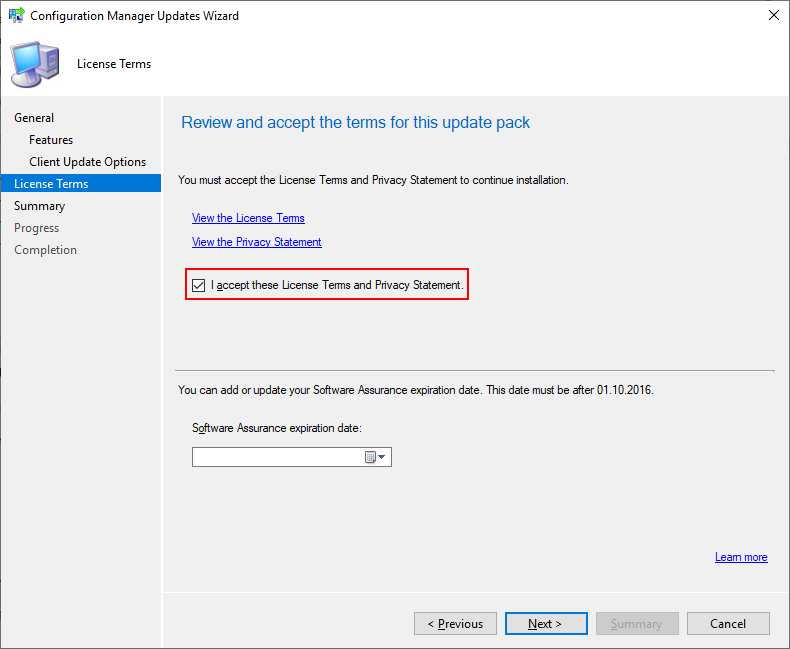
Accept the License Terms and Privacy Agreement. If you have a Software Assurance agreement with Microsoft you can specify the expiration date.
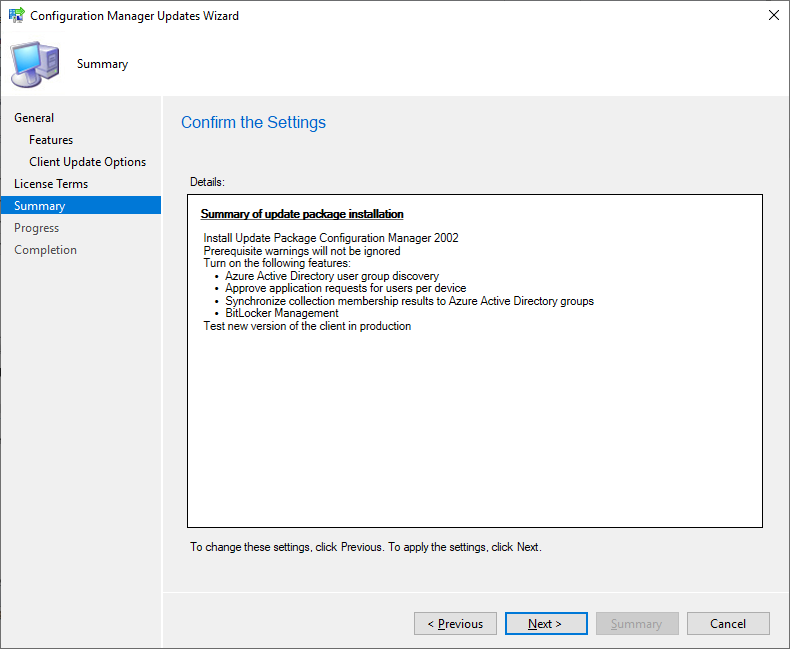
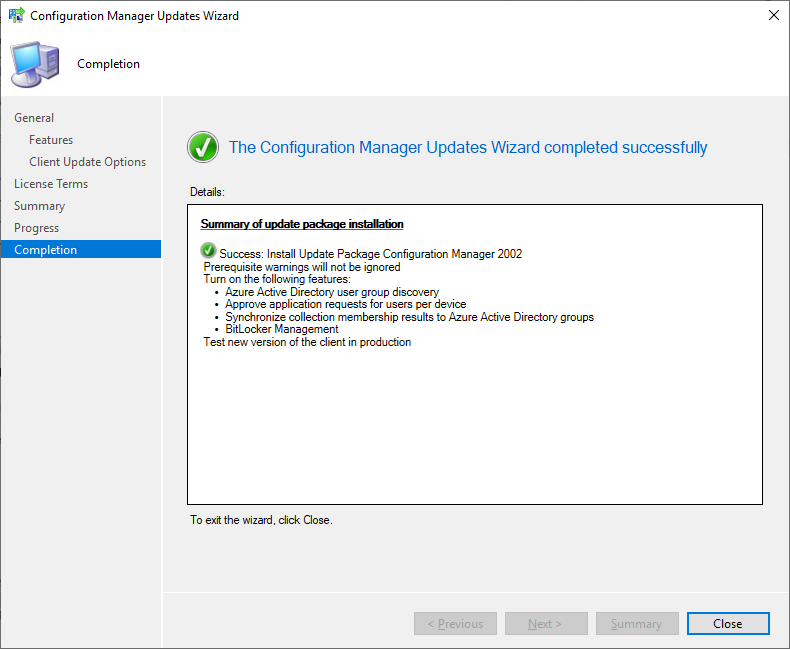
Review the settings and click “Next” to confirm the upgrade.
If everything went successfully, Configuration Manager should now start upgrading.
Monitoring the Upgrade
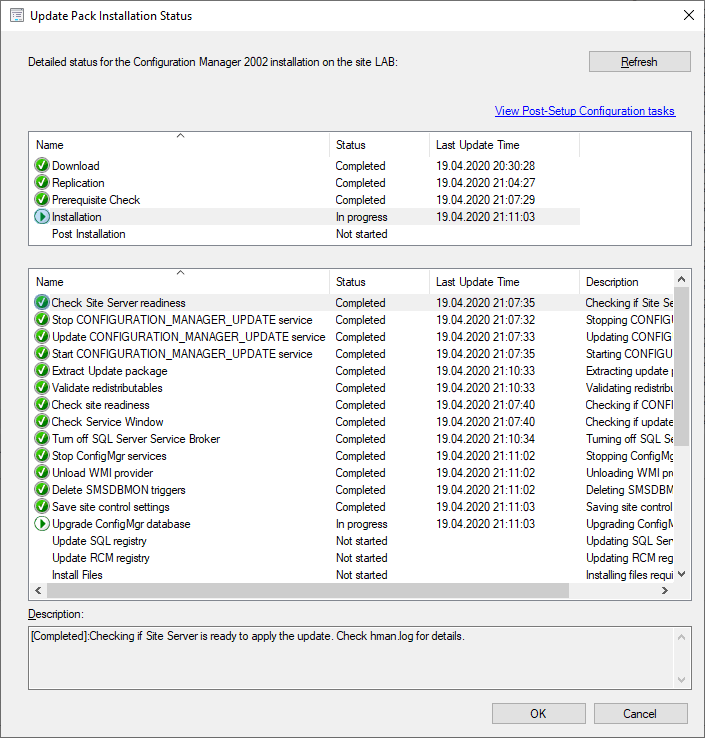
Configuration Manager has a really nice feature that gives information on what is going on with the upgrade, and also tells us what log files we should reference if something should go wrong. Switch to the “Monitoring” workspace and click “Updates and Servicing Status”, select Configuration Manager 2002 from the list and press “Show Status” in the ribbon. Upgrading Configuration Manager can take a while (1-2 hours++) so have patience, even if there is no change in status window.

Upgrading the Console
When an old console is started for the first time after an upgrade the following message is displayed, indicating a new version of the console. Failure to install the new console could lead to data corruption as the message indicates.
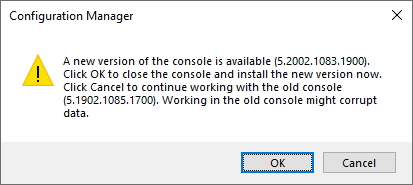
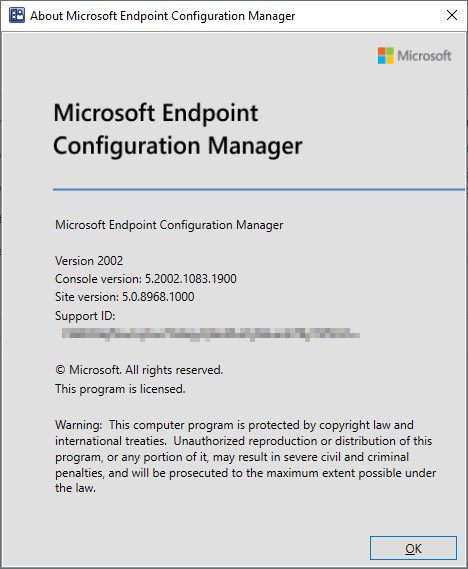
Click OK to install the new version (setup files are downloaded automatically from the site server) and re-open the console once completed. Check the version by clicking the blue button in the top left corner in the console and selecting “About Configuration Manager”. Verify that that version is now 2002.
Upgrading Connected Consoles
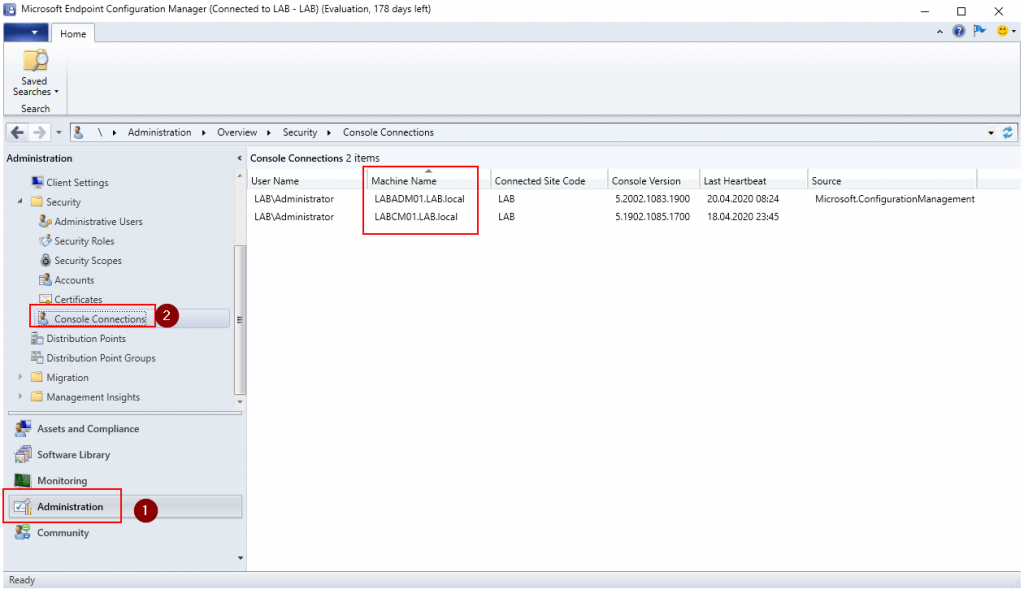
Switch to the “Administration” workspace, expand Security and select “Console Connections”. This allows you to see all the devices that have a connection to your Configuration Manager environment. Notice that my LABCM01 server actually has an older version of the console than the LABADM01 server, this is because i was doing the upgrade from LABADM01 and haven’t upgraded the console on LABCM01 yet. This is a handy feature in larger environments where there might be a lot of machines that have the Configuration Manager console installed.
Site Reset
The Configuration Manager Team at Microsoft recommend doing a site reset after the site server has been upgraded. A site reset will reset the file and registry permissions for Configuration Manager but will not make any changes to the infrastructure. I prefer to do this a day after the upgrade just to make sure that all the background tasks have been completed.
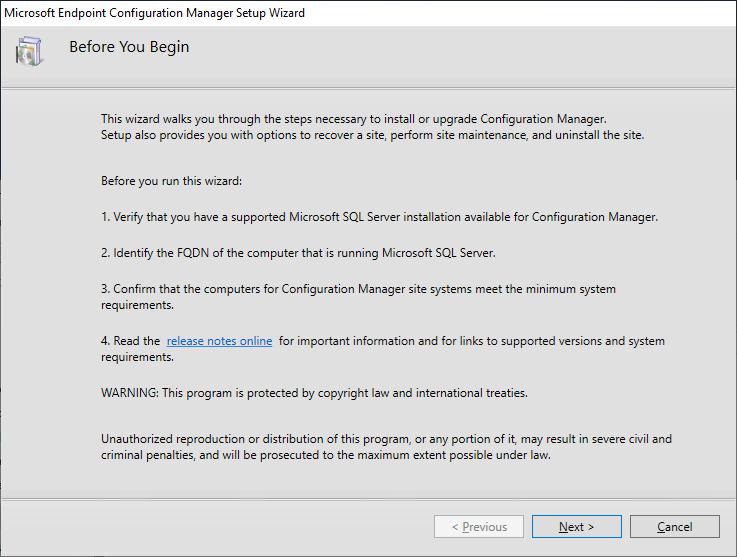
Open the Configuration Manager Setup Wizard either from the start menu or by navigating to the Configuration Manager installasjon directory. In my case the location of the would be: D:\Program Files\Microsoft Configuration Manager\bin\X64\setup.exe.
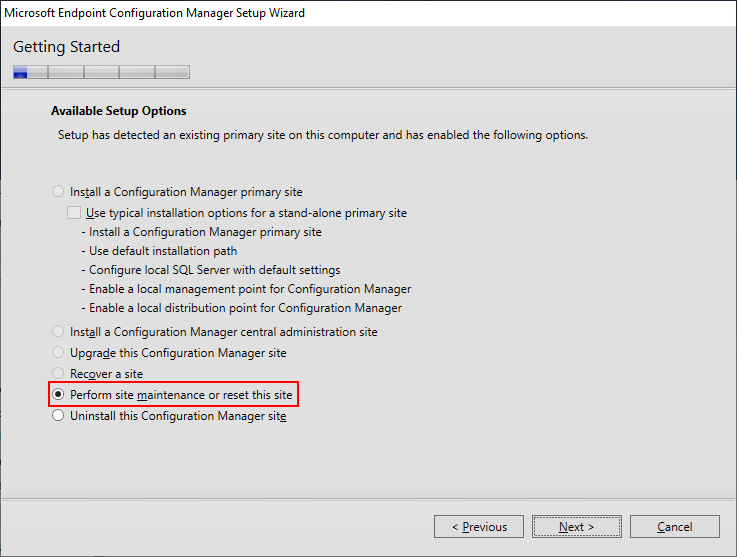
Select “Perform site maintenance or reset this site”.
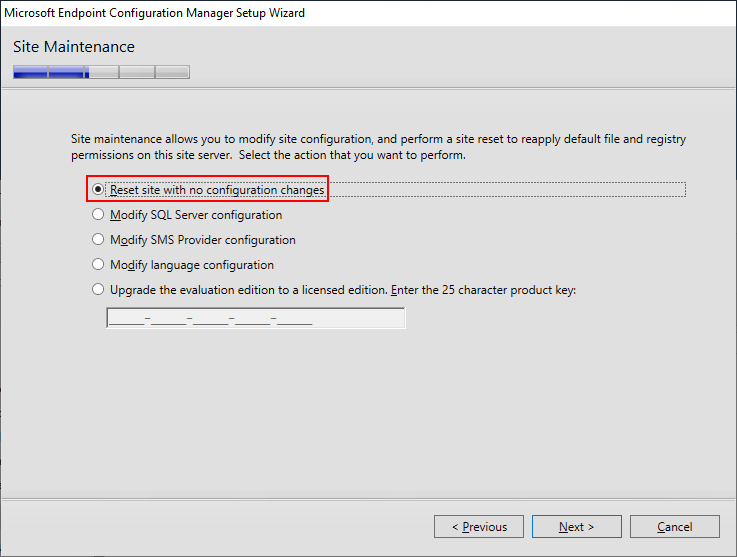
Select “Reset site with no configuration changes”.
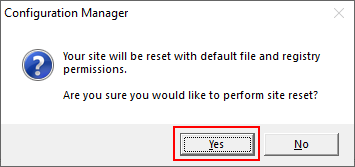
Click “Yes” to start the site reset.
Allow a few minutes for the site reset to complete.


