Having a lab environment on your laptop/desktop machine can be practical to test new functionality and learn new products and services. However it can be a good idea to put a router between your lab environment and a production environment, as this provides a barrier between the two. In this post we will install pfSense on a Hyper-V virtual machine, but any hypervisor such as Virtual Box, VMware etc. should work just fine.
Contents
- What is pfSense
- Creating a Virtual Switch
- Creating a Virtual Machine
- Installing pfSense
- Configuring pfSense
- Web Configuration
What is pfSense and where to get it?
The pfSense project is a free network firewall distribution, based on the FreeBSD operating system with a custom kernel and including third party free software packages for additional functionality. pfSense software, with the help of the package system, is able to provide the same functionality or more of common commercial firewalls, without any of the artificial limitations. It has successfully replaced every big name commercial firewall you can imagine in numerous installations around the world, including Check Point, Cisco PIX, Cisco ASA, Juniper, Sonicwall, Netgear, Watchguard, Astaro, and more.
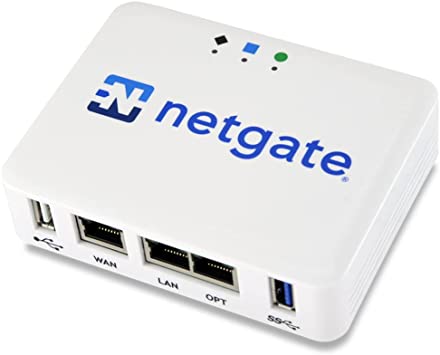
pfSense can also be purchased pre-installed on a variety of devices that is applicable from homes to large enterprises. Have a look at some of the physical devices here. For our Virtual Machine we will use the free community edition.
Download the latest version of pfSense here.
Architecture: AMD64
Installer: DVD Image (ISO)
The downloaded file needs to be extracted with a utility like 7-Zip before the ISO file is exposed.
Creating a Virtual Switch
A virtual switch provides network access to virtual machines. In Hyper-V there are the three different switch types:
- External – Creates a binding to one of the network interfaces on the host computer that allows communication with other machines on the network and internet.
- Internal – Allows communication between the physical host computer and any virtual machine running on the host computer.
- Private – Only allows communication between virtual machines that are running on the host computer.
For this LAB all our servers or clients will be on an Internal or Private switch, while the pfSense router will be connected to both an external and internal switch.
Creating a Virtual Machine
In Hyper-V create a new Virtual Machine and use the following values in the wizard:
- Name: LABRTR01 (choose what you want)
- Generation: 2
- Memory: 512MB+ (make sure dynamic memory is disabled)
- Disk: 10-20GB
- Install Operating System from a Bootable CD/DVD Rom: Specify the downloaded ISO file.
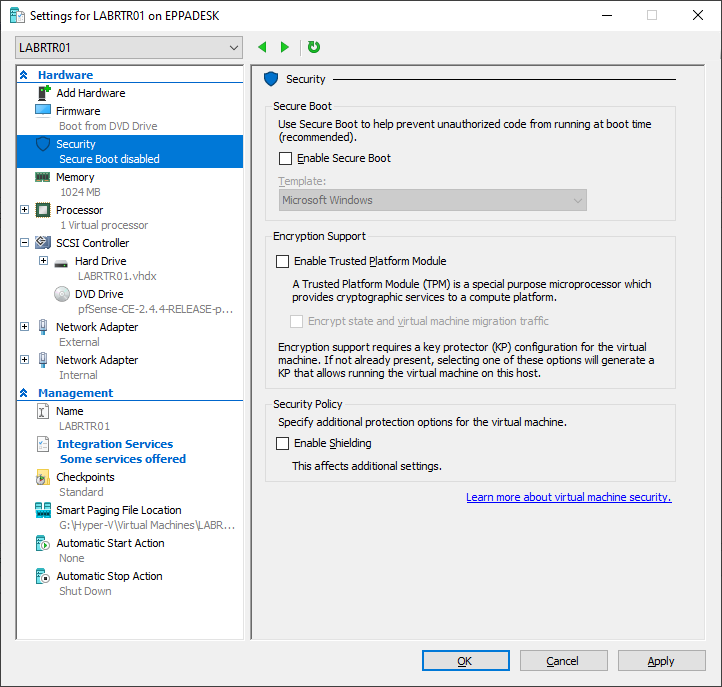
Next open the Settings for our newly created Virtual Machine and make the following changes.
- Select New Hardware and add a secondary Network Adapter
- Make sure DVD Drive is set as the second boot option in Firmware
- Under Security disable Secure Boot (keep this enabled for Windows Systems)
- Make sure that the first Network Adapter is set to External Switch
- Make sure that the second Network Adapter is set to Internal Switch
- Disable Time Synchronization and Guest Services in Integration Services
- Disable Use Automatic Checkpoints box in Checkpoints (disabled by default on Windows Server)
- Automatic Start Action: None (set to your preference)
- Automatic Stop Action: Shutdown (set to your preference)
The PowerShell script below can be used to set most of these settings. Note that the script attempts to set these settings on all of the virtual machines in Hyper-V, edit to suit your needs. Below is also a screenshot of the Virtual Machine configuration.
$virtualMachines = Get-VM

foreach ($vm in $virtualMachines) {
    $OSDrive = Get-VMHardDiskDrive -VM $vm
    $DVDDrive = Get-VMDvdDrive -VM $vm
    $NetworkAdapter = Get-VMNetworkAdapter -VM $vm

    Set-VMFirmware -BootOrder $OSDrive, $DVDDrive, $NetworkAdapter -VM $vm
    Set-VMFirmware -EnableSecureBoot On -VM $vm
    #Enable-VMTPM -VM $vm
    Set-VM -AutomaticStartAction Nothing -AutomaticStopAction ShutDown -StaticMemory -AutomaticCheckpointsEnabled $false -ProcessorCount 2 -VM $vm
    Disable-VMIntegrationService -Name "Time Synchronization" -VM $vm
    Disable-VMIntegrationService -Name "Guest Service Interface" -VM $vm

}
Installing pfSense
At the boot screen, wait a couple of seconds or press enter to start the boot process.
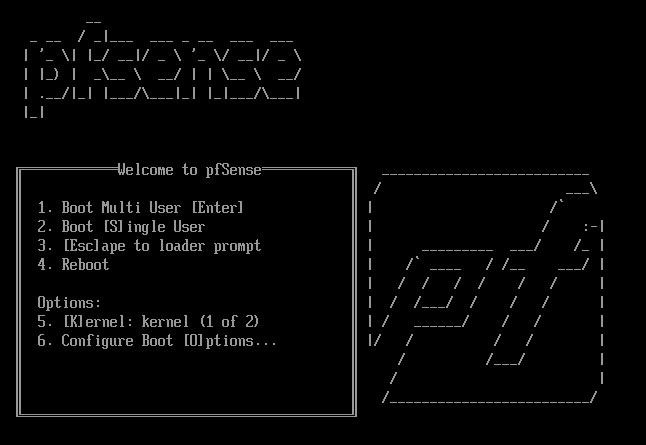
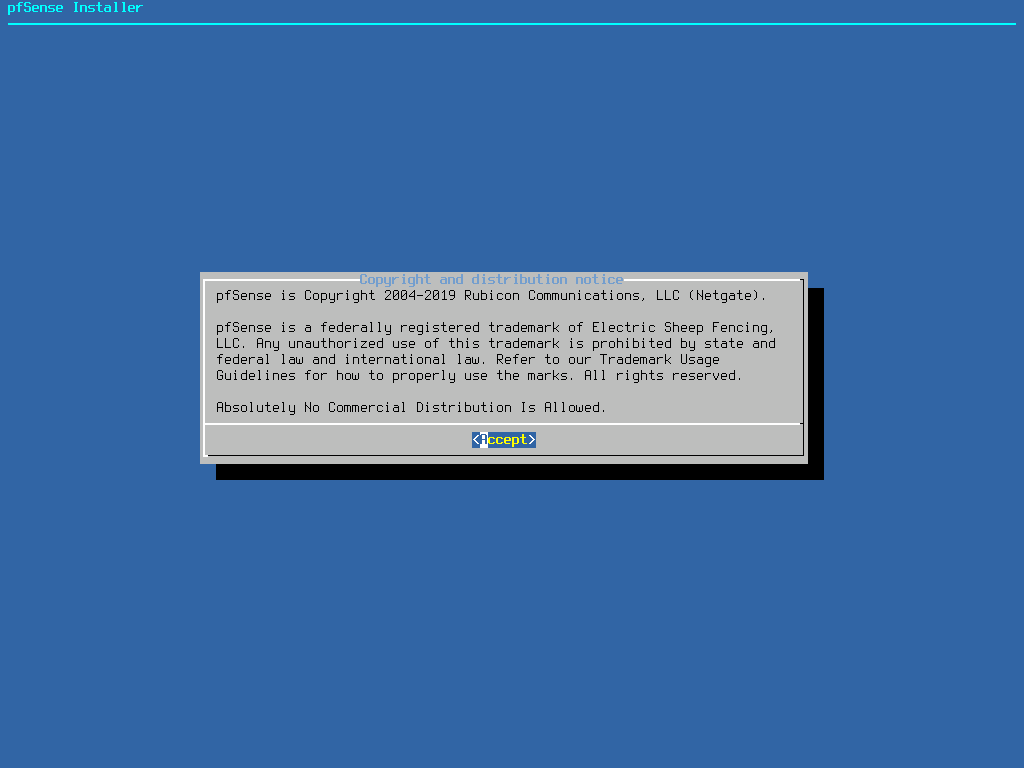
Accept the distribution notice.
Select Install.

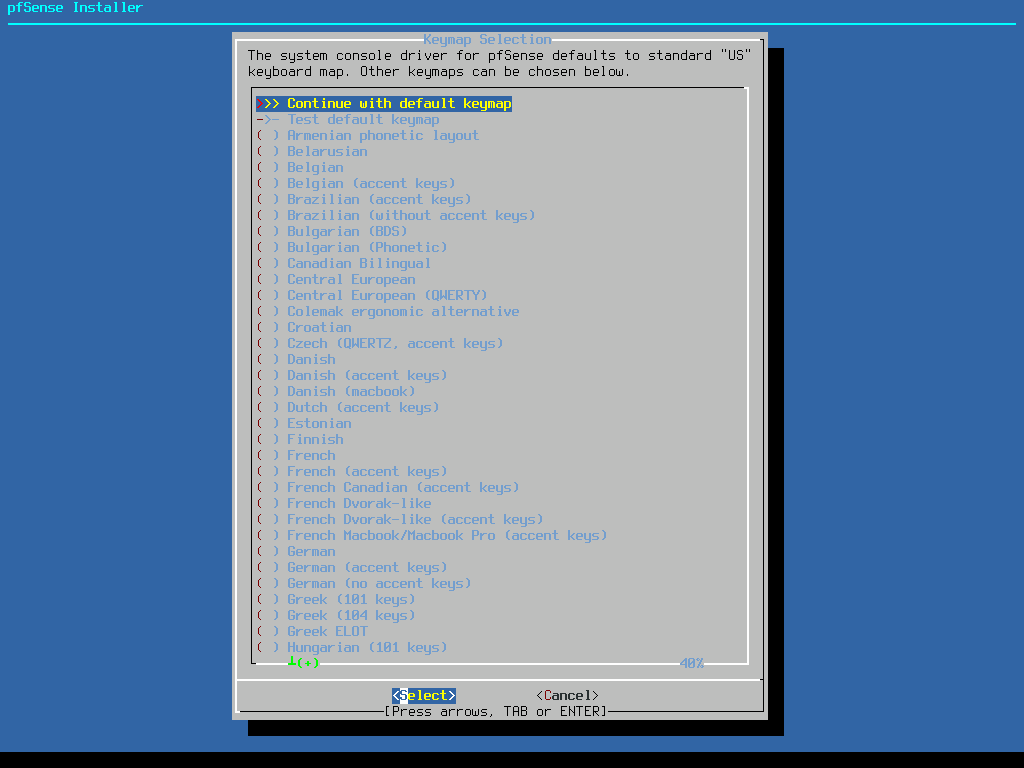
Select your keymap (keyboard layout) or continue with the default keymap.
Partition the disk manually if you are comfortable with this, otherwise just select Auto.

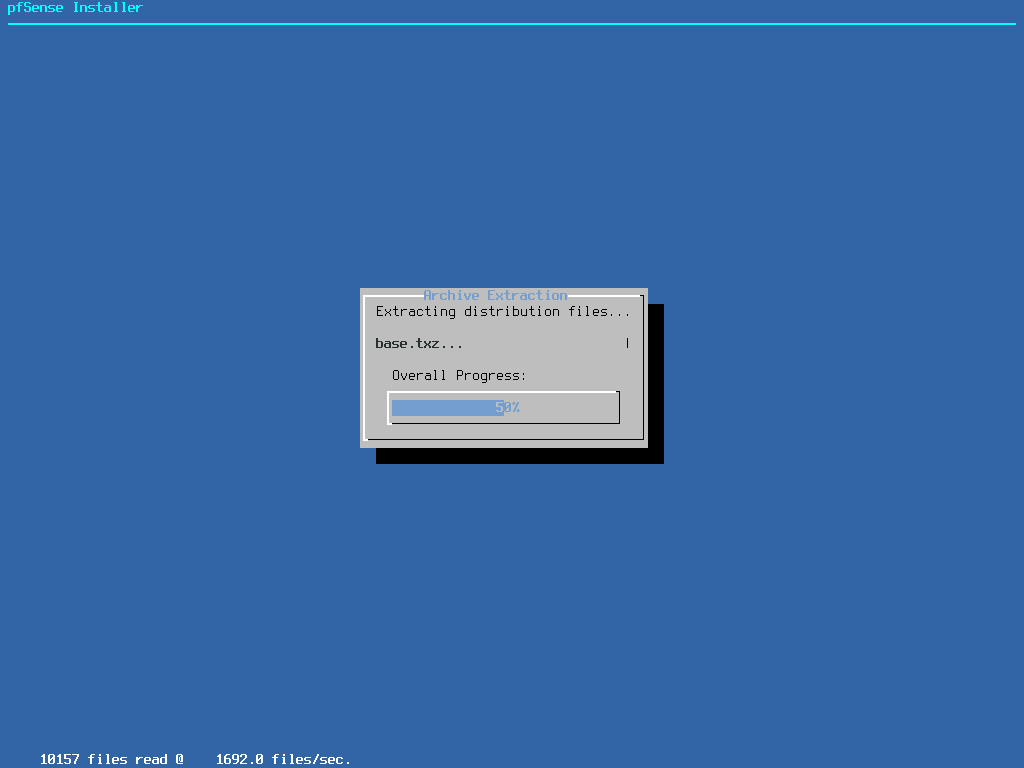
Wait for the system to be installed, it should only take a few seconds on a modern computer.
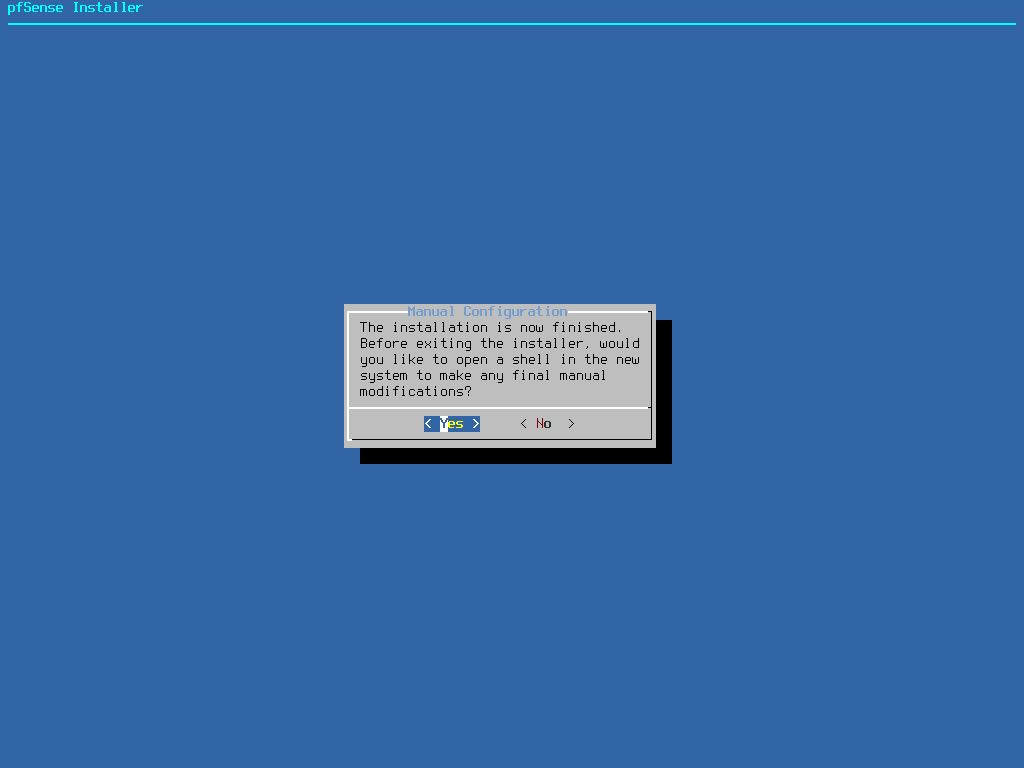
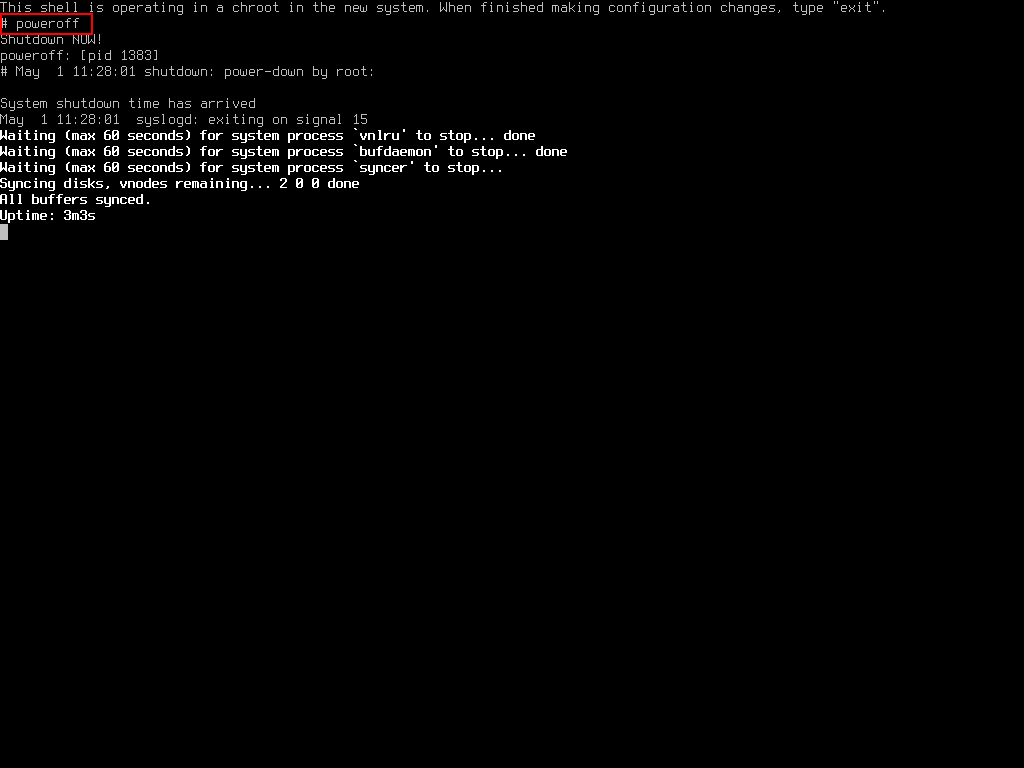
Once the installation has been completed, select Yes to drop to a command line.
In the command prompt type poweroff to shut down the virtual machine.
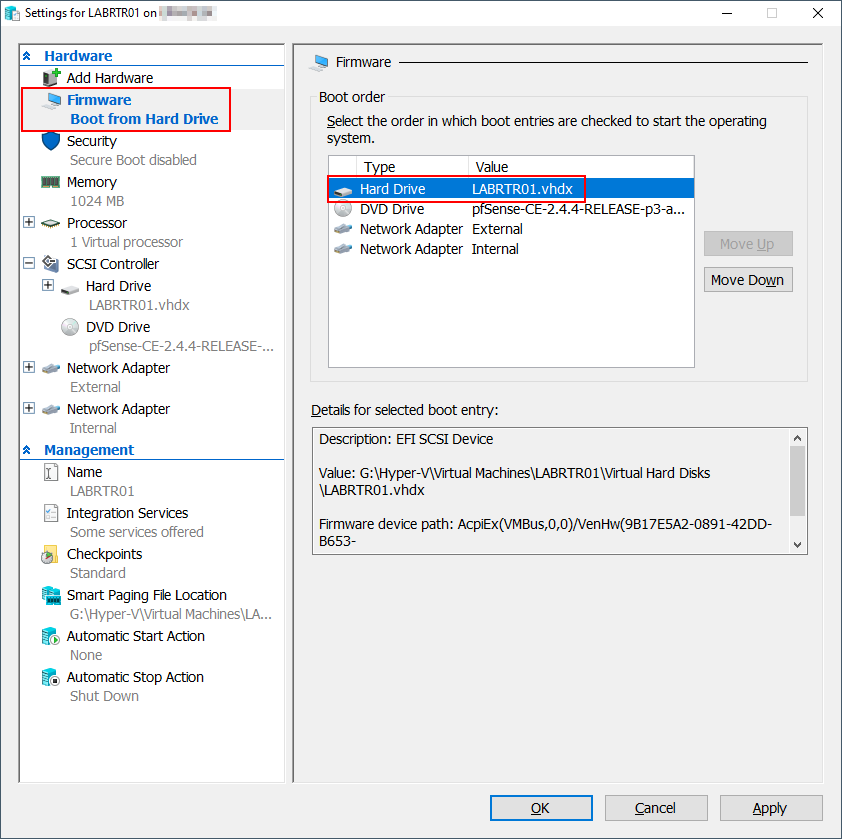
Once the virtual machine has been shutdown, go back into settings and change the Boot Order so that the hard drive is listed first. Next power on the virtual machine and wait for it to boot. The DVD/ISO file will no longer be required and can be removed if desired.
Configure pfSense
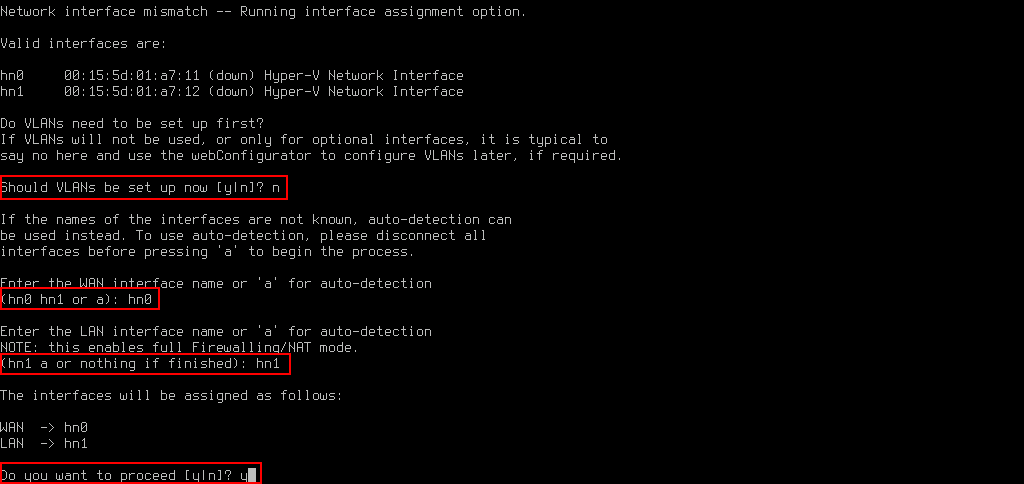
Once the virtual machine is started we need to tell pfSense which interface is the WAN (external) side and which is the LAN (inside) side.
Should VLANs be setup now = n (not needed for the majority of setups)
WAN Interface = hn0
LAN Interface = hn1
Important: This guide is assuming that the first interface on the virtual machine is the external (WAN – hn0) adapter and the second is the inside (LAN – hn1) adapter.
pfSense sets the LAN interface IP address to 192.168.1.1 by default. However for my LAB I will be using 192.168.3.1. If you need or want to change the IP address, select Option 2 from the menu and then select Interface 2 which is our LAN interface. Skip to the Web Configuration step if you want to keep the defaults.
Important: The WAN and LAN IP-address should be on different network segments.
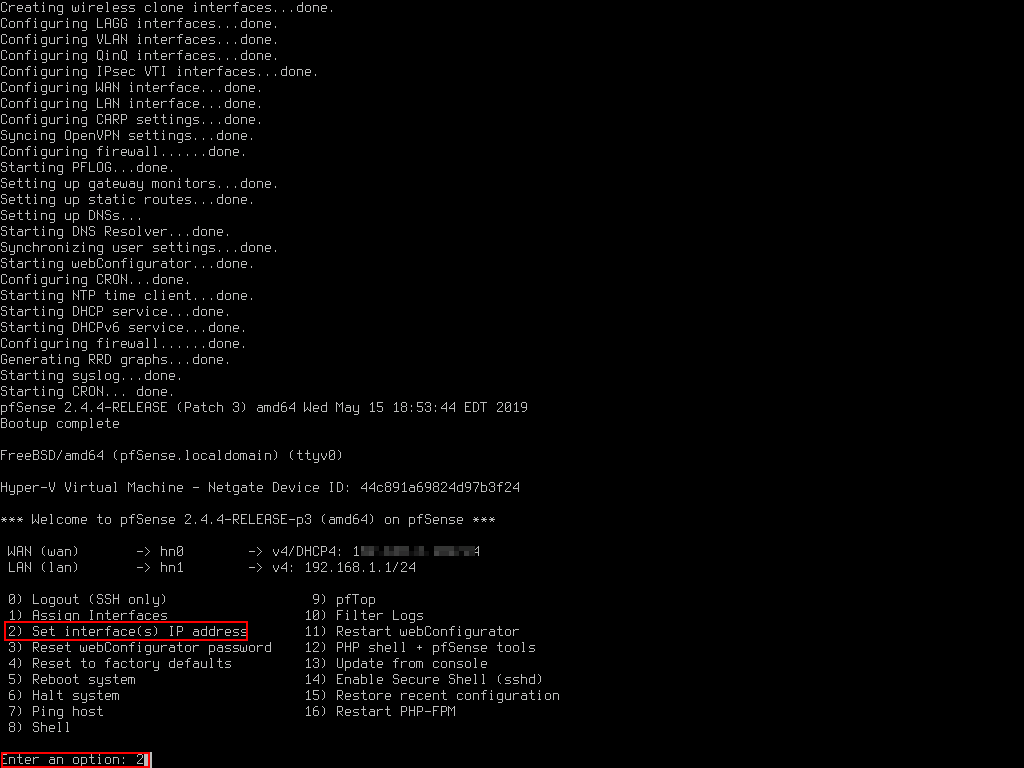
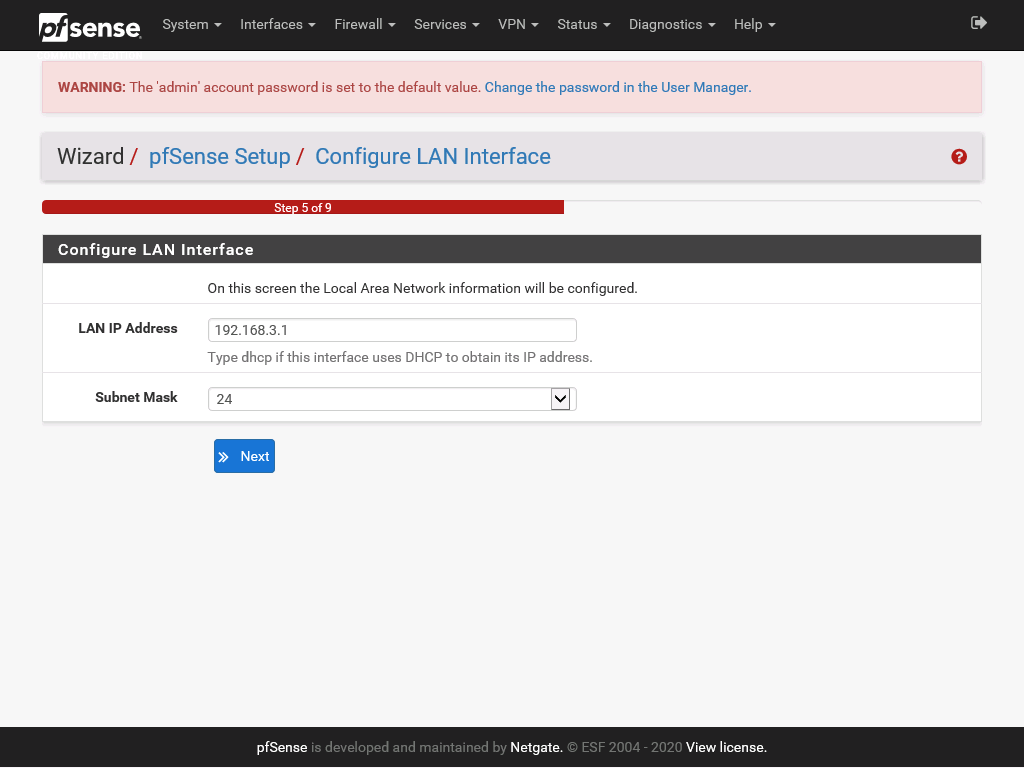
IP: 192.168.3.1 (change to suit your needs)
Subnet Bit: 24
Enable DHCP: n
HTTP as the webConfigurator protocol: y
Important: If you decide to enable DHCP service, make sure that you are absolutely sure that it is the LAN interface. If the DHCP is setup on the external/WAN interface it would most likely cause interference with your corporate or home network. If you are unsure, leave DHCP disabled.
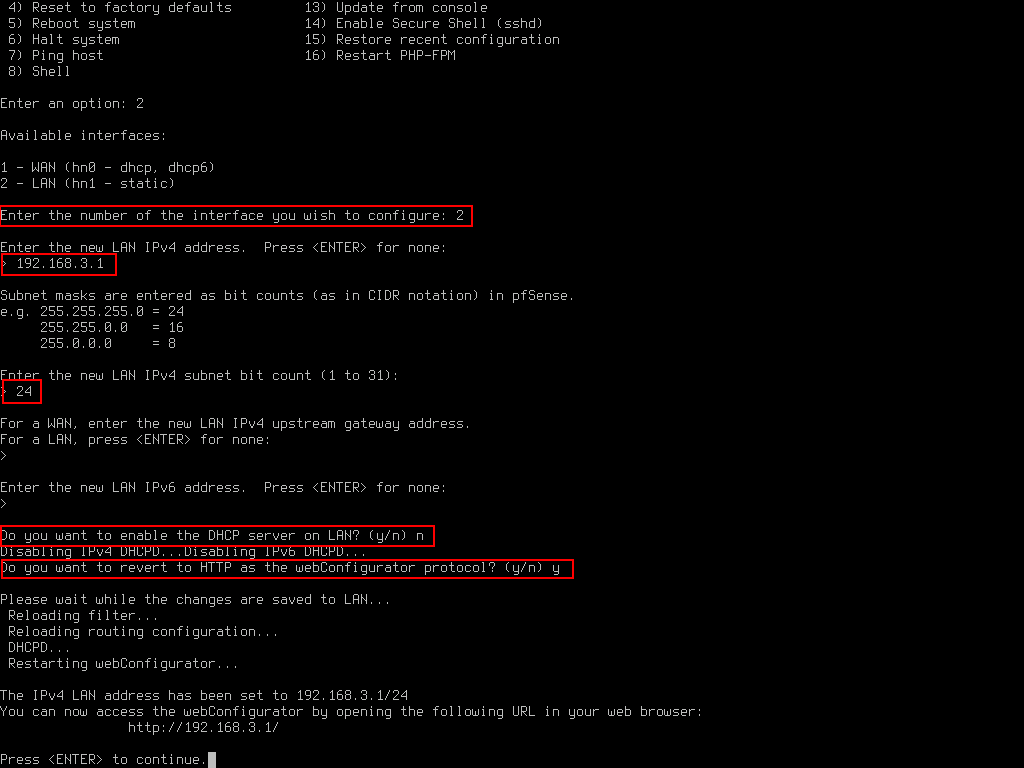
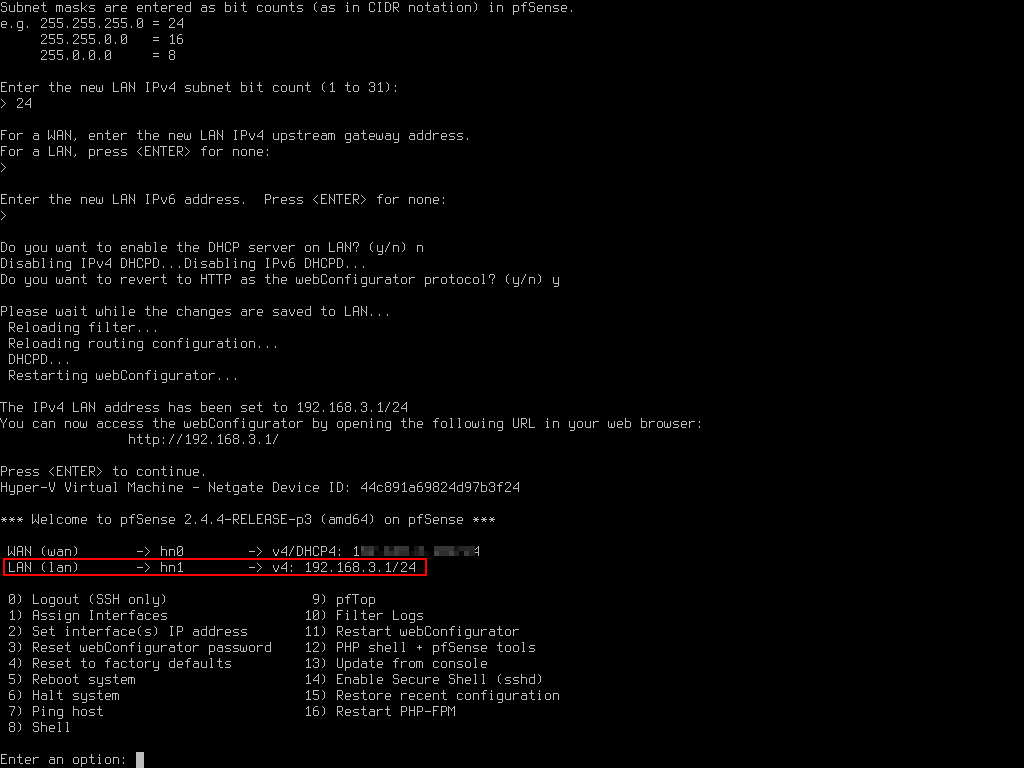
Once completed, check that the LAN interface has been set correctly.
Web Configuration
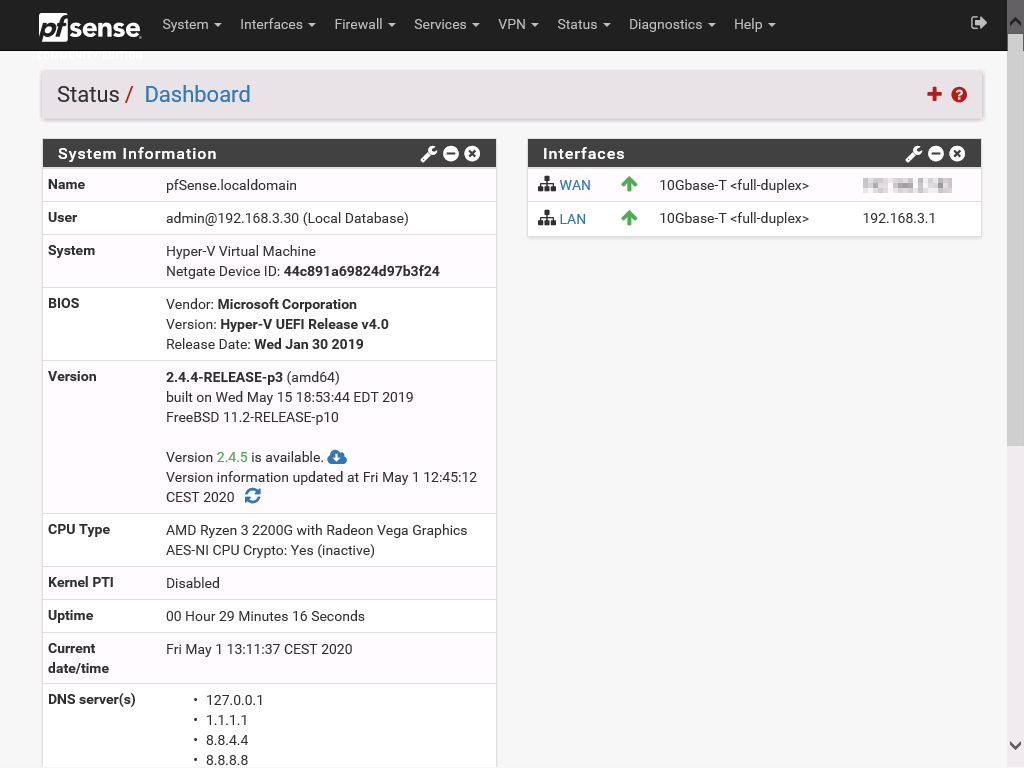
Now that we have configured our network interfaces we should be able to reach our pfSense from another virtual server that is also connected to the Internal network. In my example below a Windows Server 2019 server was installed and an IP address of 192.168.3.20 was set manually. If you network settings are correct, you should be able to ping the pfSense router (192.168.3.1) from the Windows Server.
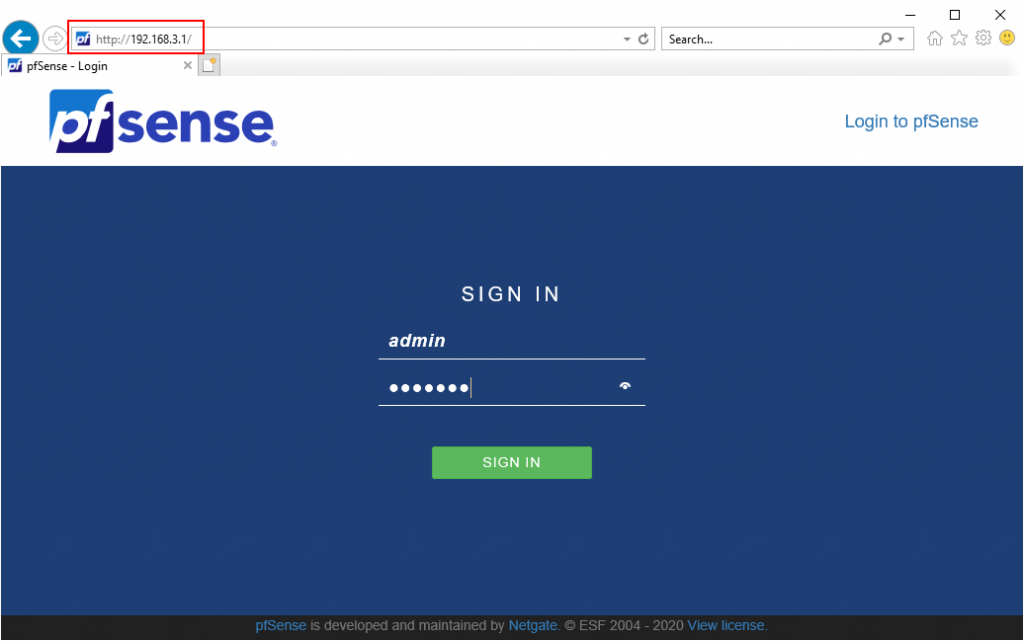
Open up a web browser and navigate to http://192.168.3.1. This should bring up the pfSense logon screen. The default username and password is:
Username: admin
Password: pfsense
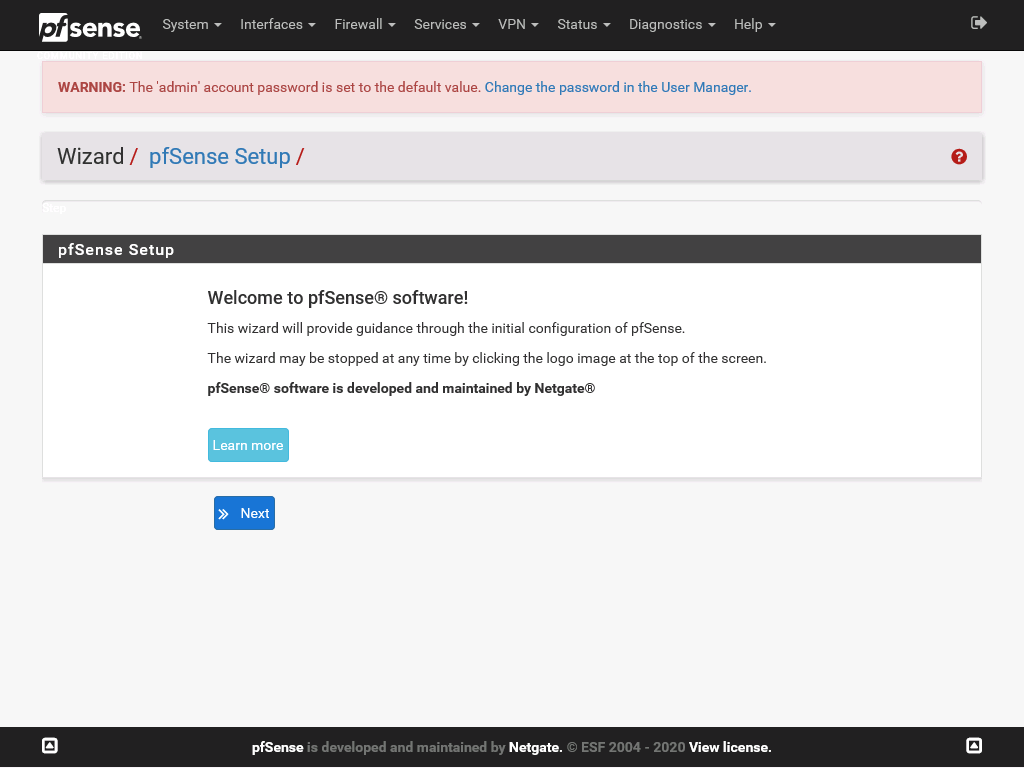
On the Welcome Screen press Next to continue.
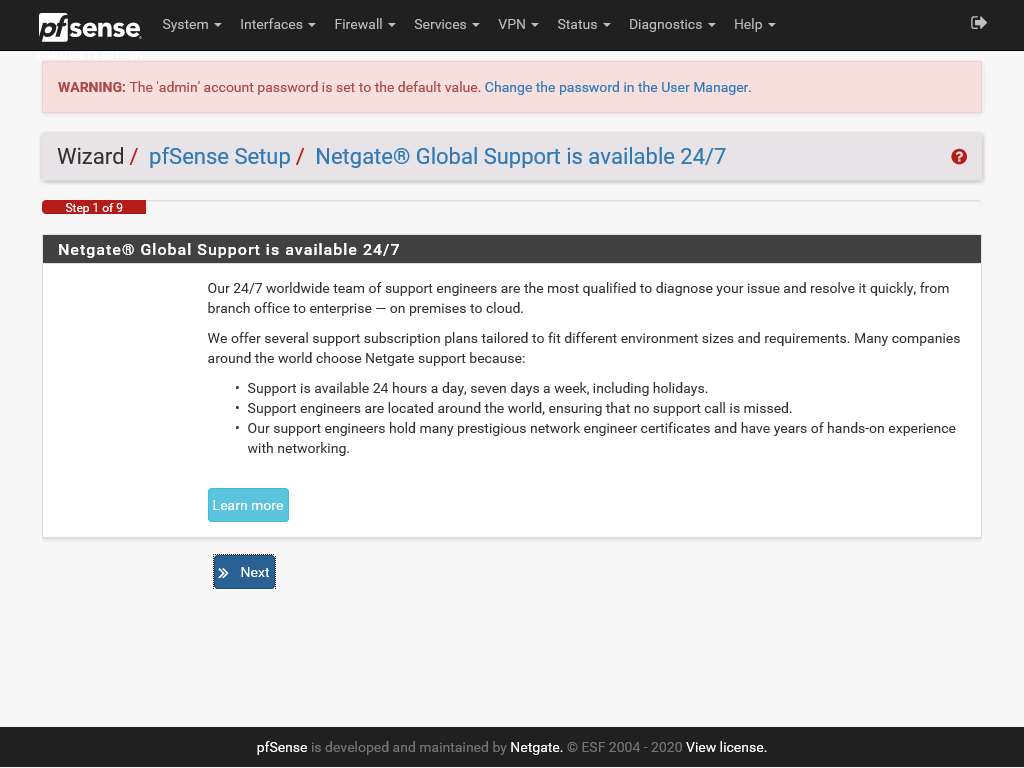
On the Netgate Global Support page, press Next
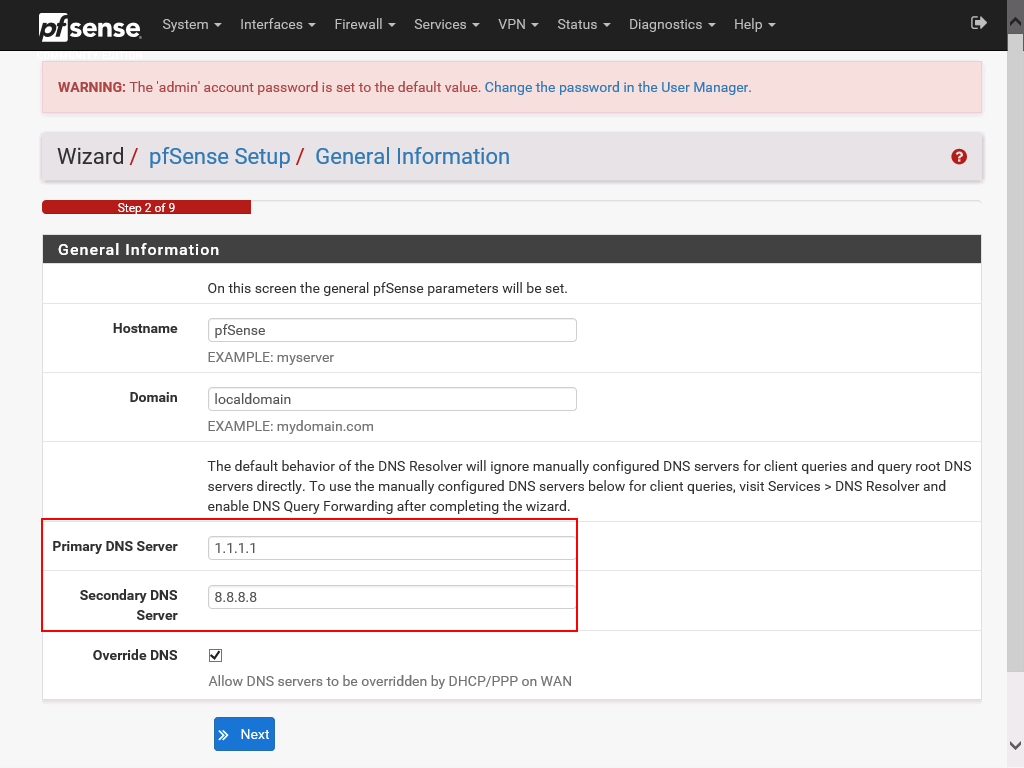
On the General Information screen specify a hostname and a domain if desired, but more importantly specify an external DNS server. I prefer the public Cloudflare DNS servers (1.1.1.1 and 1.0.0.1) but Google (8.8.8.8 and 8.4.4.8) would also work.
On the Time Server Information page specify your Timezone, the time server hostname can be kept to its default setting.

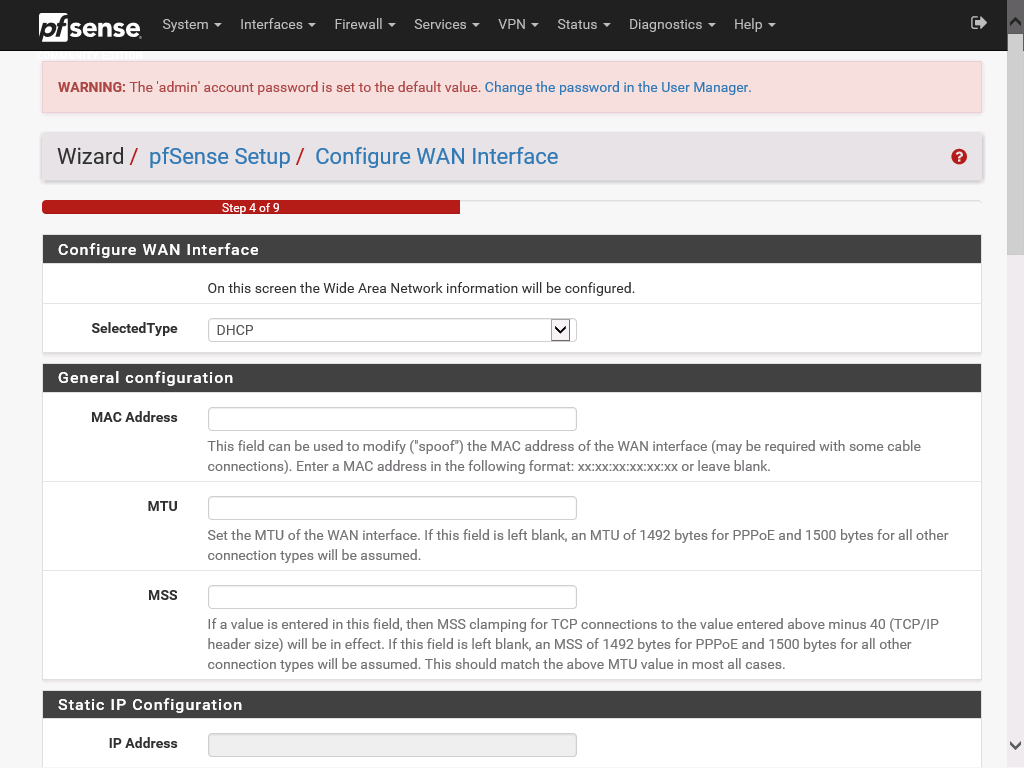
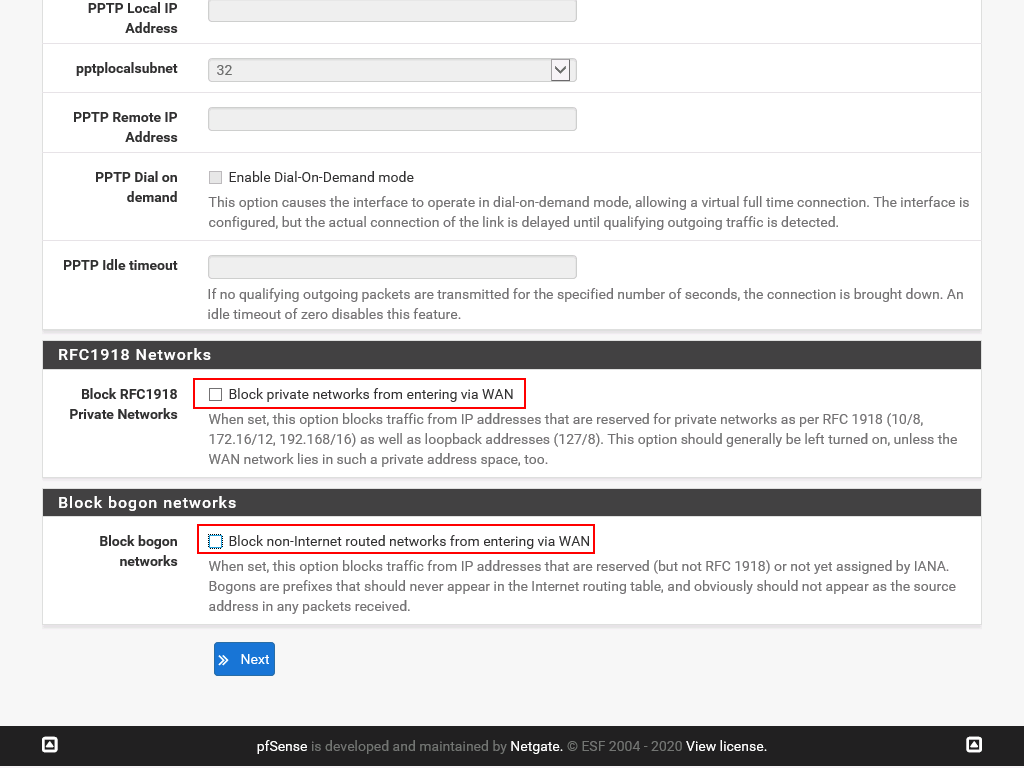
On the Configure WAN Interface page specify how the WAN interface should be configured. The DHCP option should be just fine in our scenario. At the bottom of the screen uncheck the two checkboxes, the second one that blocks bogon networks can technically be enabled but for simplicity we will keep it disabled.
On the Configure LAB Interface page the IP address that we specified earlier should already be set. Press Next to confirm this setting.
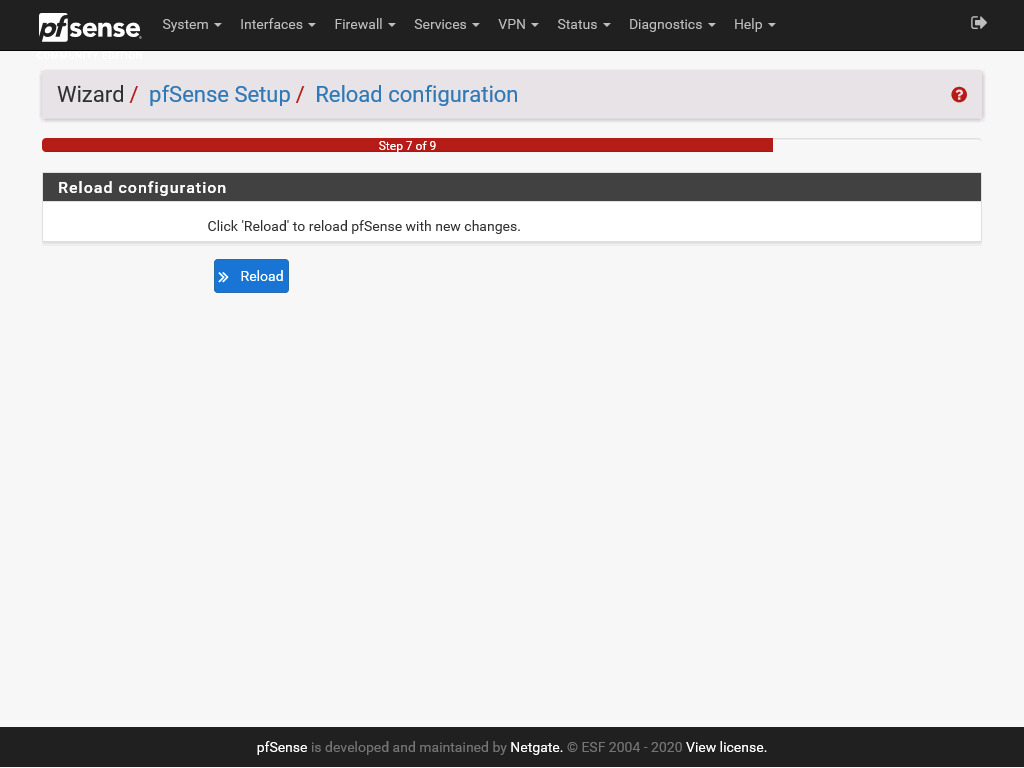
Reload the configuration to apply new settings.
pfSense has now been configured and we can go to the main dashboard by clicking Finish.
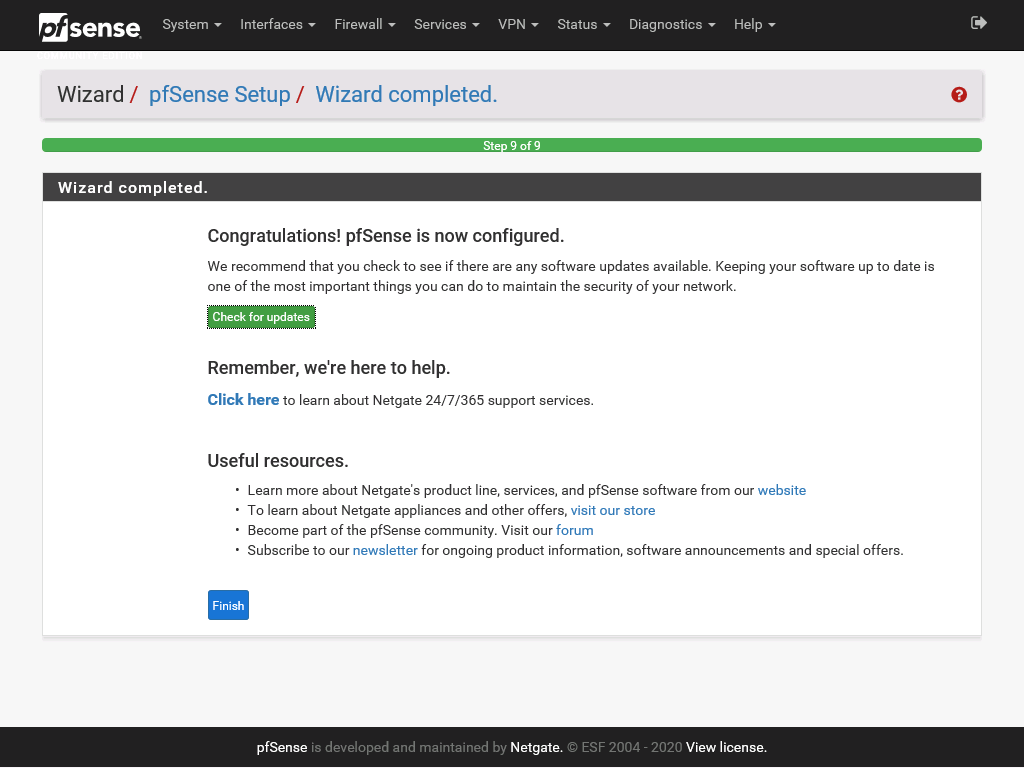
We should now be at the main dashboard. Here we can add widgets to display information regarding our firewall and network. To configure pfSense services, such as firewall, VPN and more see the pfSense documentation.