Windows 11 is being released on 5th of October 2021 and includes a lot of new visual changes to the operating system, this also includes improvements in the Out-Of-Box-Experience or OOBE. Provisioning Autopilot Devices will therefore look quite differently in Windows 11 compared to Windows 10. In this post we will walk through the Autopilot provisioning process in Windows 11, not from a technical perspective but just showing the new visuals.
If you cant wait until the 5th of October to test Windows 11 then head over to Microsoft’s Windows Insider page and download Windows 11 from there. The images in this post are taken from Windows 11 build 22458 (Dev Channel).
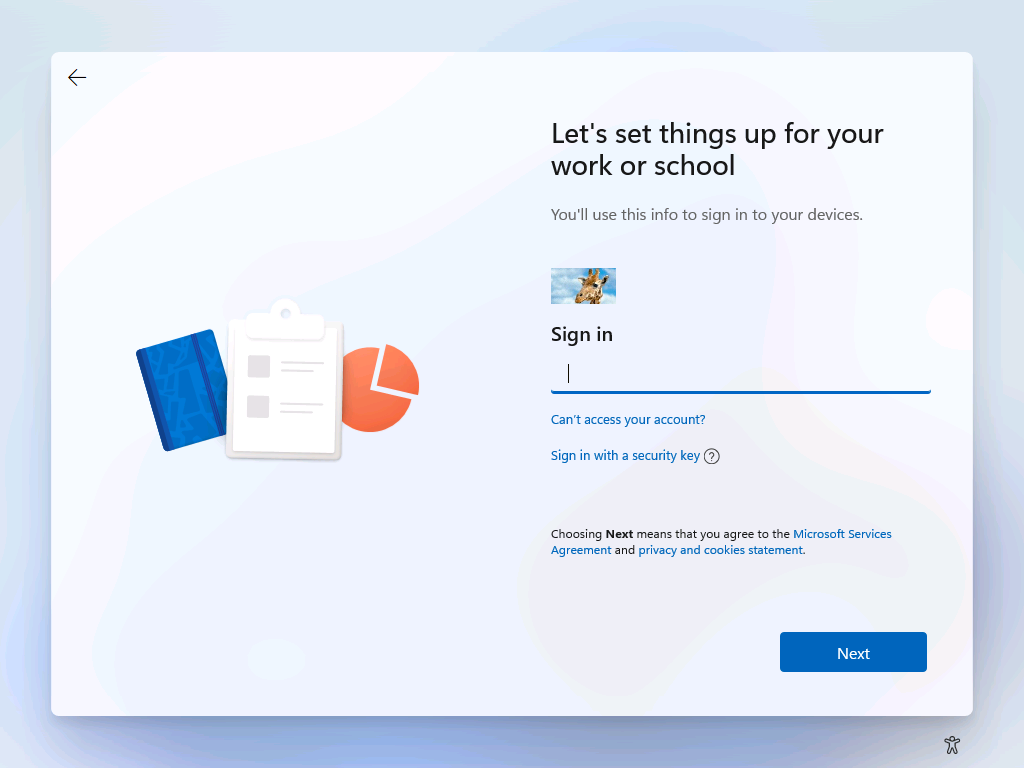
We start by signing into our work or school account as always. AutoPilot has supported Passwordless Authentication for a while, hence the Sign-in with a security key option. Read my post on Getting Started With Passwordless Authentication to learn more.
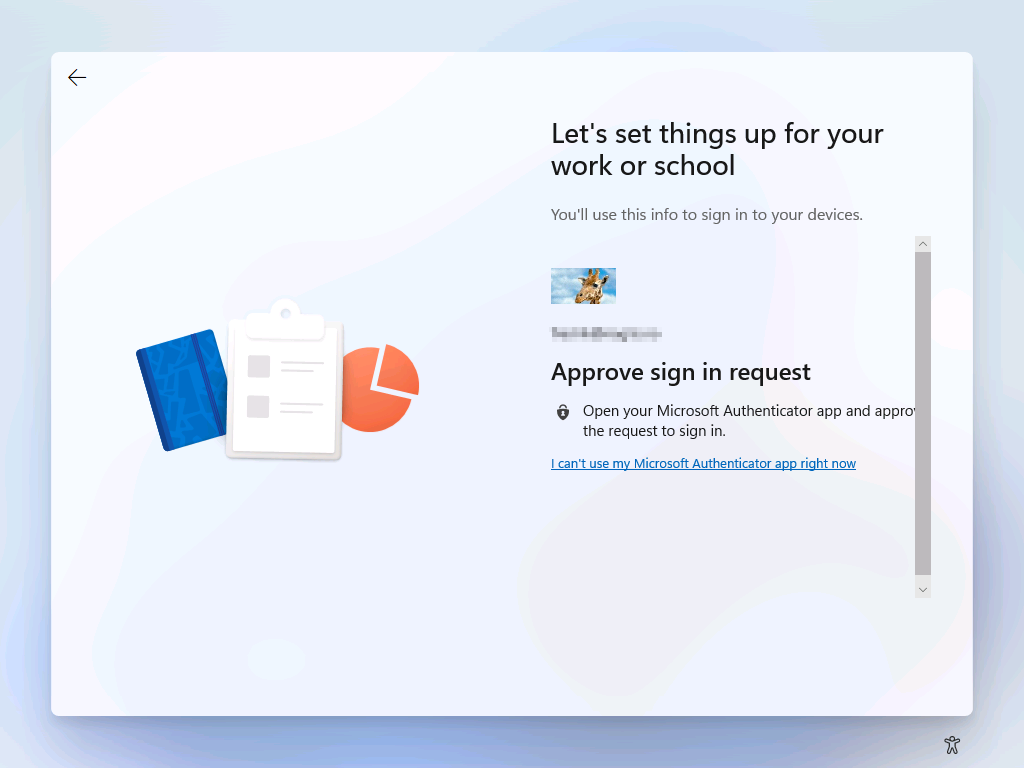
Next we complete the Multi-Factor Authentication request using the Microsoft Authenticator-app.
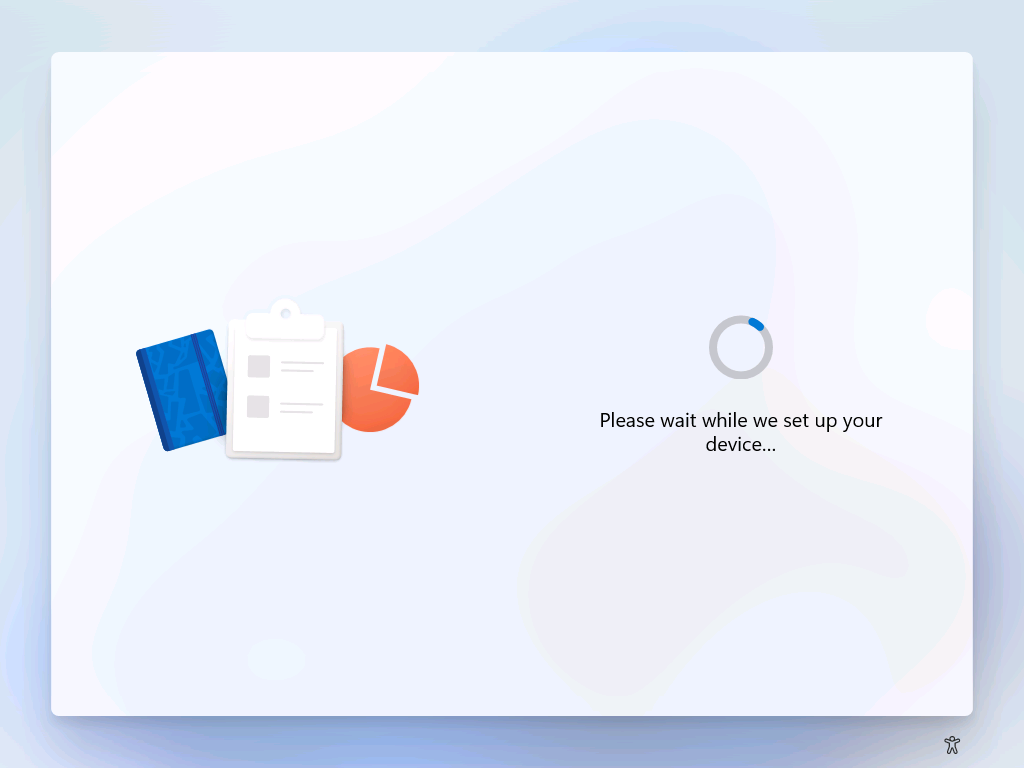
Wait for the device configuration to begin.
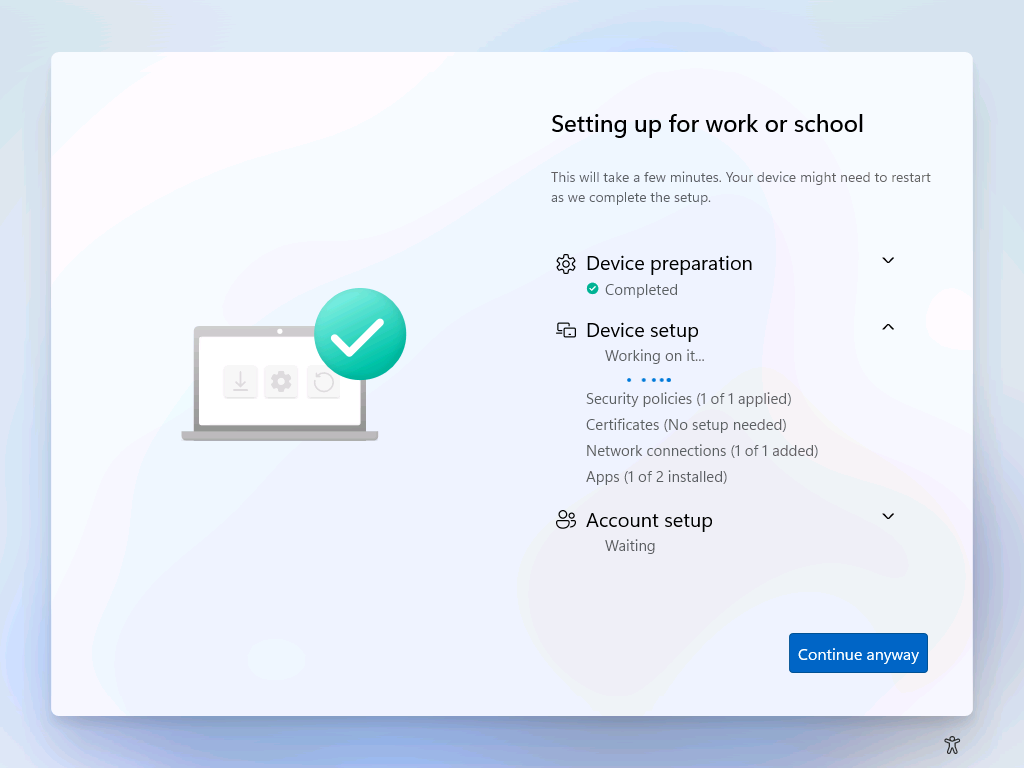
The User Enrollment Status Page looks the same as it did in Windows 10, though I am kind of amused that they left a large static image on the left hand-side instead giving the status information more room.
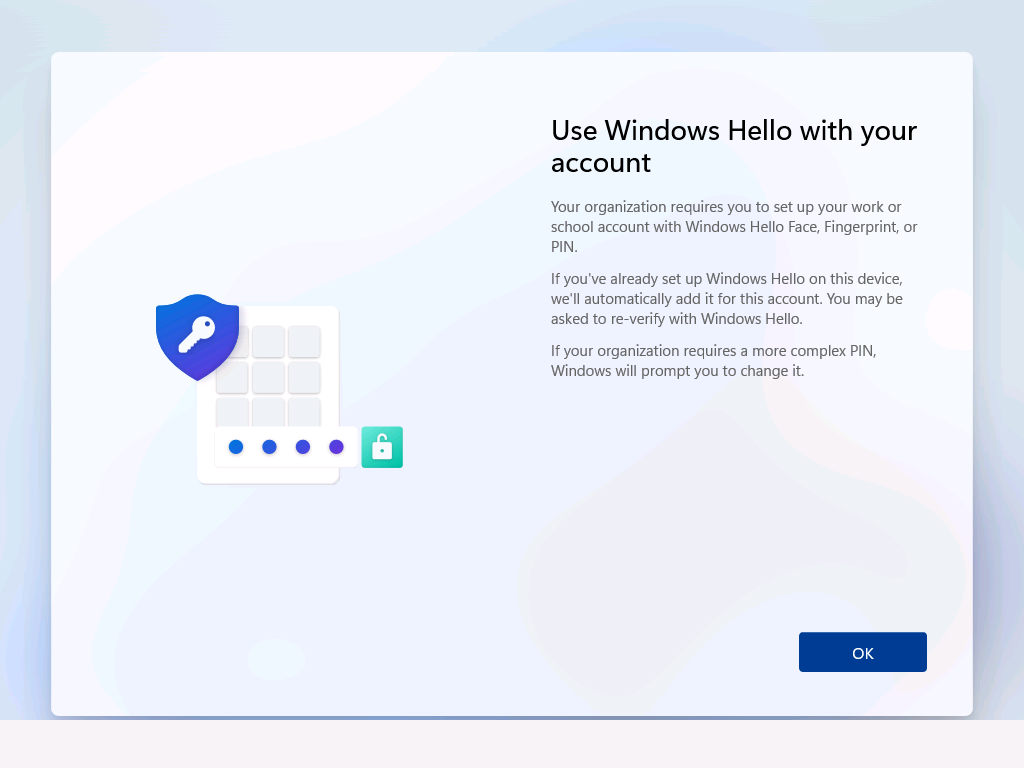
After our device has been configured we are taken to the Windows Hello page (if enabled), allowing sign-in using a PIN or Biometrics.
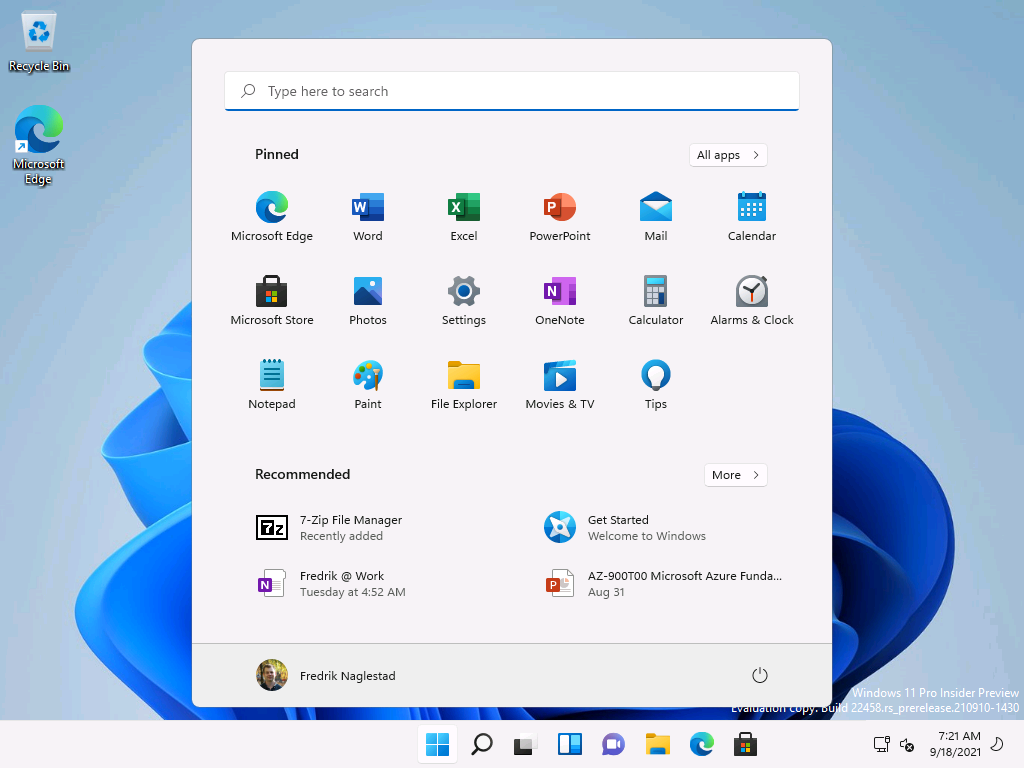
Once Windows Hello has been configured we are taken to the desktop and the new start-menu is displayed.
