If your organization has an Active Directory Premium 2 license (included in EMS E5 or Microsoft 365 E5) then you are most likely already utilizing PIM (Privileged Identity Management) for just-in-time access to resources in Azure and Microsoft 365. For those that are unfamiliar with PIM, it allows specific users to elevate their rights when they need to preform a specific administrative task. Examples could be making a change in Exchange Online, Azure Active Directory, setting up a resource in Azure or in this case: doing administrative changes, such as installing an application on an Azure AD joined client. Utilizing PIM drastically reduces the security footprint and it is highly recommended for all organizations to leverage this functionality.
Configure Additional Administrators
In Azure Active Directory select the Devices blade, then select Device Settings. Notice there is a link to manage additional administrator for Azure AD joined devices.
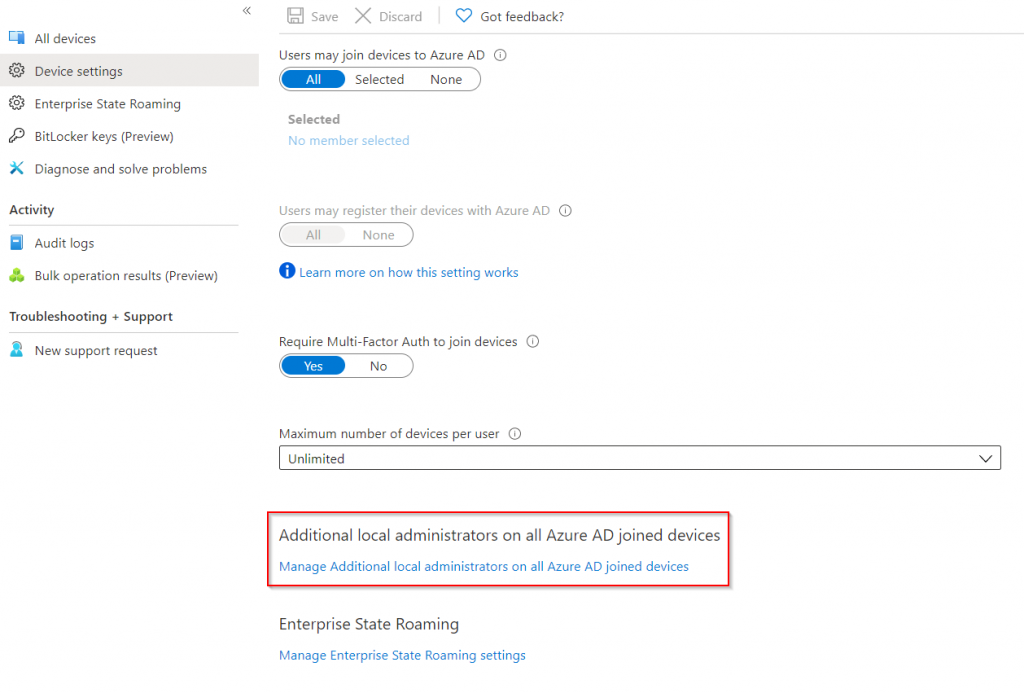
On this blade we can add a user or a group as a permanent local administrator on our endpoints. However since we have PIM licenses we wont be doing any changes on this page, but its always good to know how we could add additional administrators to our endpoint even without PIM.
Unfortunately we are not able to scope administrator access to a subset of devices, so the user becomes an administrator on all Azure AD joined devices in the organization. Hopefully Microsoft will add this in the future.
Click the Manage in PIM button in the ribbon at the top to start the Privileged Identity Management Setup.
Privileged Identity Management Setup
You should now be at the Privileged Identity Management overview screen. In order to assign PIM roles the Privileged Role Administrator role is required (this is automatically assigned to the first user who activates PIM). Click the Assign Eligibility button (this is grayed out if you do not have permissions) then select Azure AD Joined Device Local Administrator from the list of roles.

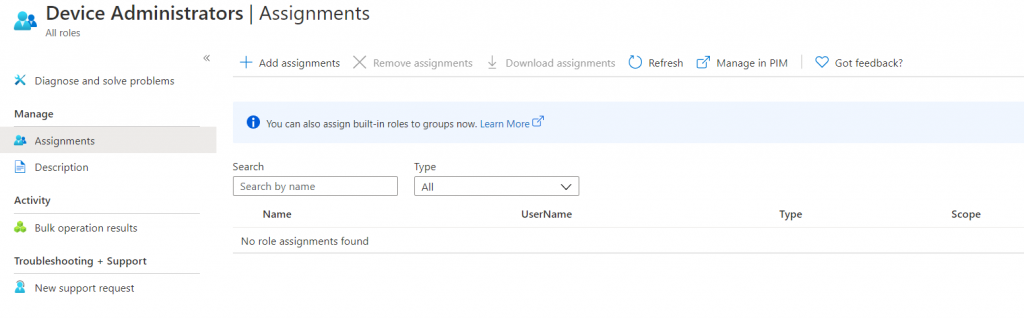
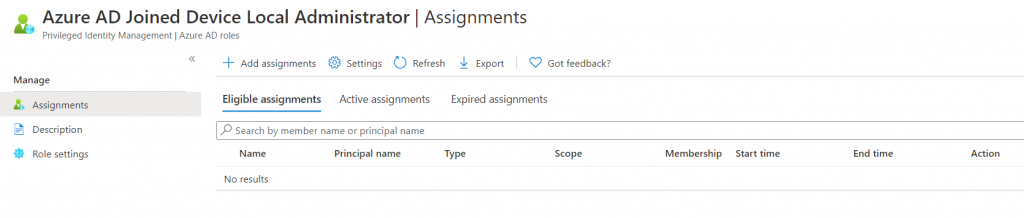
On the Azure AD Joined Device Local Administrator Assignments Page select Add Assignments and specify the users who should be able to activate this permission. Typically this would be anyone in your organization working with end-points such as your helpdesk.
If you click the Settings button it is possible to specify the maximum duration for the role, if justification or a ticket number is required, notification settings or if there should be a secondary approver. These settings are specific for each role.
Activating the Role
Once a member of your organization has been given the role, they should be able to open Privileged Identity Management blade in the Azure Portal and see the Azure AD Joined Device Local Administrator Role under My Roles.

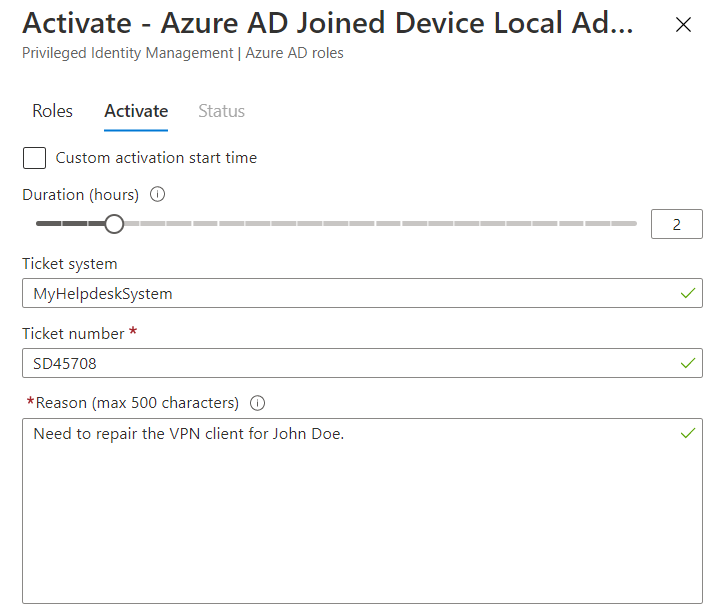
Once the Activate button is pressed the user will need to specify how long they need access, and also reference a ticket in your helpdesk system if this option was enabled for the role.
Elevating on the End User Device
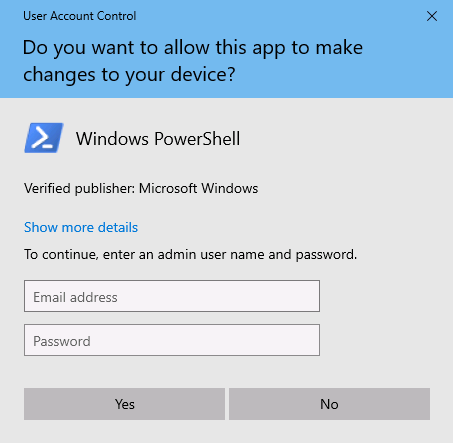
Once the role has been activated the helpdesk technician in our case can elevate their rights and preform tasks on the end-user device by typing in their username and password. PIM will automatically remove the rights once the session duration has expired.