
In these series of posts, we will go through the steps required to install Configuration Manager in a simple LAB environment. The LAB environment will be referenced in future posts as we explore Configuration Manager further. See Part 1 for an overview of the LAB environment.
Quick Jump:
Part 1 – Overview and Domain Controller installation
Part 2 – Management Server Installation
Part 3 – Installing SQL Server
Part 4 – Configuration Manager Prerequisites
Part 5 – Installing Configuration Manager
Basic Server Configuration
In this post we will install SQL Server which will later be used to host the Configuration Manager database. Logon to LABCM01 and lets kick of with some basic configuration.
Rename-Computer -NewName LABCM01
Write-Host "Computer Name Changed"
$AdminKey = "HKLM:\SOFTWARE\Microsoft\Active Setup\Installed Components\{A509B1A7-37EF-4b3f-8CFC-4F3A74704073}"
$UserKey = "HKLM:\SOFTWARE\Microsoft\Active Setup\Installed Components\{A509B1A8-37EF-4b3f-8CFC-4F3A74704073}"
Set-ItemProperty -Path $AdminKey -Name "IsInstalled" -Value 0
Set-ItemProperty -Path $UserKey -Name "IsInstalled" -Value 0
Write-Host "Disabled IE Enhanced Security Configuration"
New-NetIPAddress -InterfaceAlias "Ethernet" -AddressFamily IPv4 -IPAddress 192.168.3.35 -PrefixLength 24 -DefaultGateway 192.168.3.1
Set-DnsClientServerAddress -InterfaceAlias "Ethernet" -ServerAddresses 192.168.3.20
Write-Host "IP address and DNS set"
Set-ItemProperty -Path "HKLM:\System\CurrentControlSet\Control\Terminal Server" -Name "fDenyTSConnections" –Value 0
Enable-NetFirewallRule -DisplayGroup "Remote Desktop"
Write-Host "Enabled Remote Desktop"
Restart-Computer
After the server has been restarted, then lets join it to the domain by executing the following PowerShell command.
Add-Computer -DomainName "lab.local" -RestartUnlike the Domain Controller and Management Server that we setup previously, the Configuration Manager server has multiple disks that need to be setup. Use the quick launch menu (Windows + X, or right click on the start menu) to launch Disk Management.
1. Right click Disk 1 and select “Online”
2. Right click Disk 1 again and select “Initialize Disk”
3. Select GPT as the partition layout and click “OK”.
4. Right click the Unallocated space and select “New Simple Volume”
5. On the Volume Size page, keep the defaults and click “Next”
6. On the Drive Letter page, just keep the defaults and click “Next”
7. On the Format Partition keep the Defaults, but change the label to ConfigMgr
Repeat the process for Disk’s 1-3 but change the name/label so that Disk 1 = ConfigMgr, Disk 2 = DP and Disk 3 = Content. Drive letters can also be changed to keep things tidy, but really doesn’t matter.
The entire process can be automated by using diskpart. Copy the commands below into notepad and save it in a convenient location (for example c:\temp\disks.txt). Open a Command Prompt as an Administrator and navigate to the location of the text file.
Type diskpart /s c:\temp\disks.txt
Note: Make sure this script is only run in the LAB environment. The script will make changes to your drives and modification to work with your setup might be required, use at your own risk.
REM Change the CDROM drive letter to G:
select volume 0
assign letter=G

REM Partition and format ConfigMgr Drive
select disk 1
attributes disk clear readonly
online disk
create partition primary
format fs=ntfs label="ConfigMgr" quick
assign letter=D

REM Partition and format Distribution Point Drive
select disk 2
attributes disk clear readonly
online disk
create partition primary
format fs=ntfs label="DP" quick
assign letter=E

REM Partition and format ConfigMgr Content Drive
select disk 3
attributes disk clear readonly
online disk
create partition primary
format fs=ntfs label="Content" quick
assign letter=F
SQL Service Users
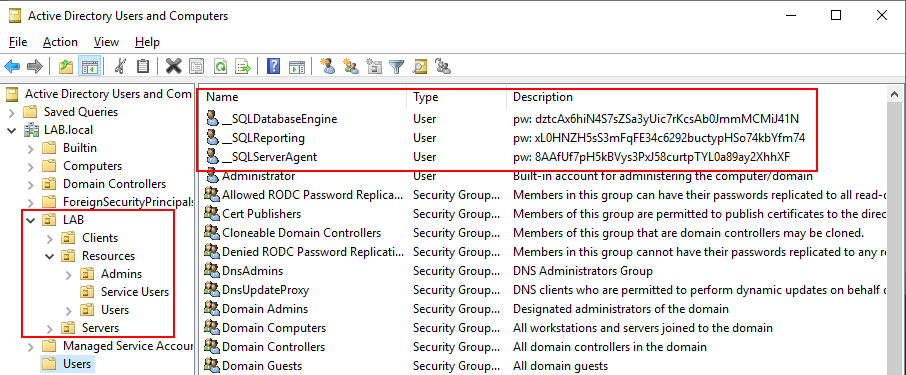
With some basic server setup out of the way we can move on the the SQL tasks. Before we start with the SQL installation itself we need to create a couple of service users in Active Directory. Below is a script that will generate 3 Service Users with a 40 character random password. Two underlines are used as a prefix to identify service users, some might prefer svc or some other prefix. Modify the script to suit your needs. The password will be output in the PowerShell session but will also be written in the description field so it won’t be forgotten. This is of course a horrible practice for production environments where service accounts should be documented properly. Since this is a LAB everything is allowed 
$userList = "__SQLDatabaseEngine", "__SQLReporting", "__SQLServerAgent"

function New-Password
{
	$char = "abcdefghijkmnopqrstuvwxyzABCEFGHJKLMNPQRSTUVWXYZ0123456789"
	$pwlength = 40
	$password = ""
	$random = New-Object System.Random

	for ($i = 0; $i -le $pwlength; $i++)
	{
		$password = $password + $char[$random.Next(0, $char.Length)]
	}
	return $password
}

foreach ($user in $userList)
{
    if (Get-ADUser -Filter { sAMAccountName -eq $user })
	{
		Write-Host "$user allready exists"
	}
	else
	{
		try
		{
			$pw = New-Password
			$pw_secure = ConvertTo-SecureString -String $pw -AsPlainText -Force
			New-ADUser -SamAccountName $user -Name $user -Description "pw: $pw" -AccountPassword $pw_secure -PassThru | Enable-ADAccount
			Write-Host "Created User: $user with password: $pw"
		}
		catch
		{
			Write-Host "Failed to create User: $user with password: $pw."
		}
	}
}
After the script is run, 3 SQL Service accounts should be present in Active Directory. The service users should be moved into the Service Users OU that was created earlier.
Install SQL Server
In Part 1 it was mentioned where software can be obtained, in case you have not acquired the SQL setup files, they are available from Microsoft Evaluation Center. SQL Server 2019 is supported starting in Configuration Manager 1910 and at the time of writing Configuration Manager 1902 is the only version available in the Evaluation Center, which is the reason we will be installing SQL Server 2016 and migrating to SQL Server 2019 in a later post.
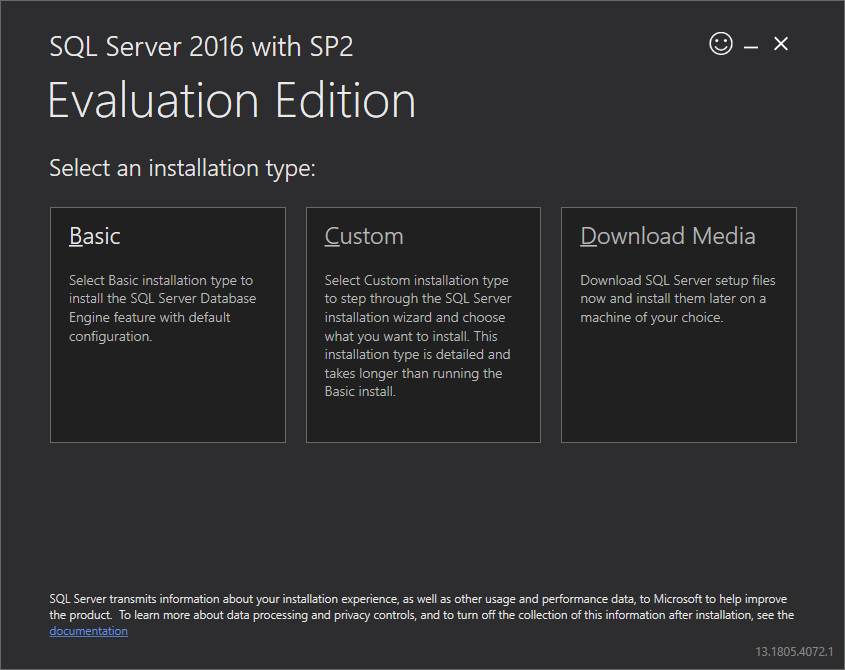
After downloading the SQL Server 2016 Evaluation Setup form the Evaluation Center, run the SQLServer2016-SSEI-Eval.exe file and the following screen will appear. Select Custom.
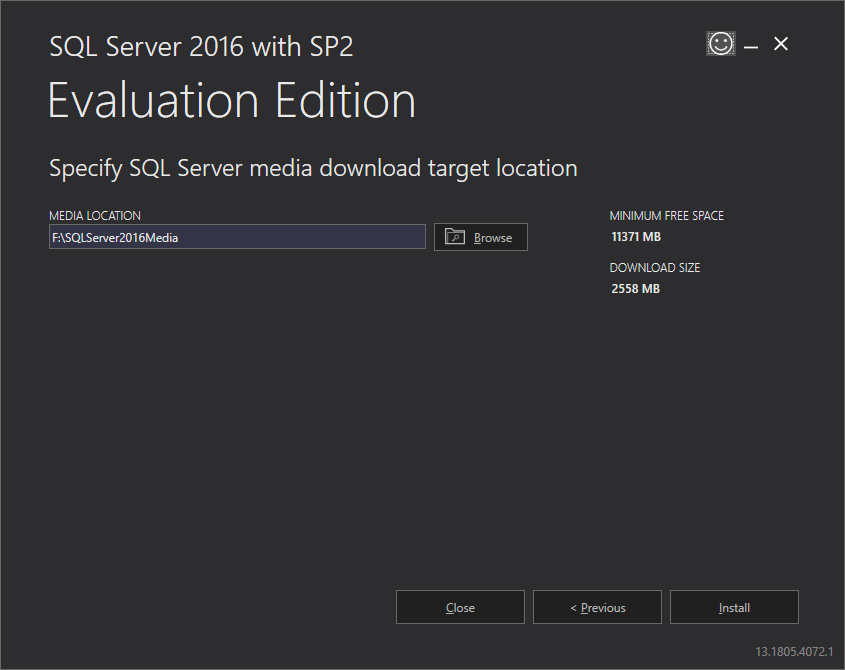
Select a folder to download the SQL Setup files. I would recommend using the Content drive for this purpose. Select a folder and select Install to begin the download.
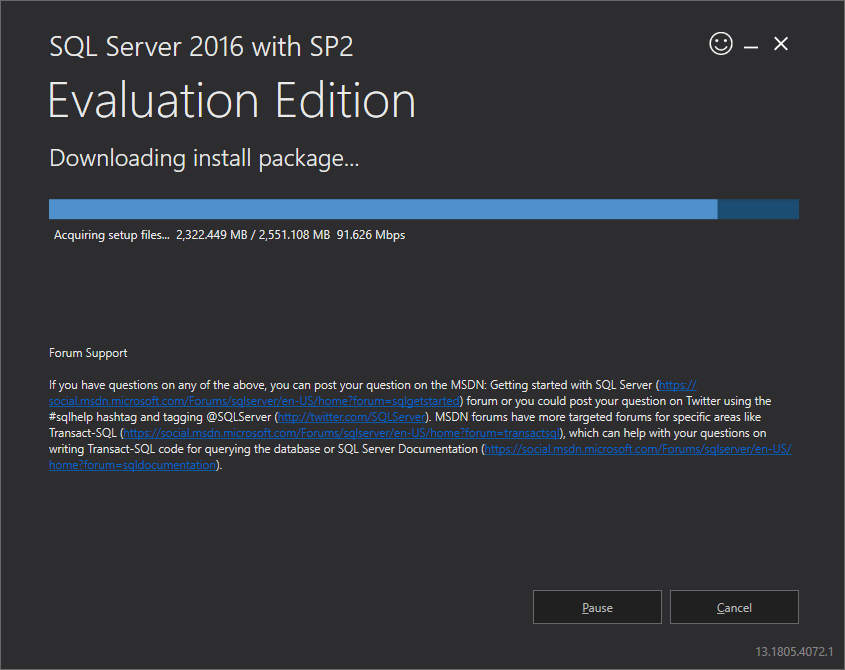
The SQL download is rather large so it could take a few minutes depending on your internet connection.
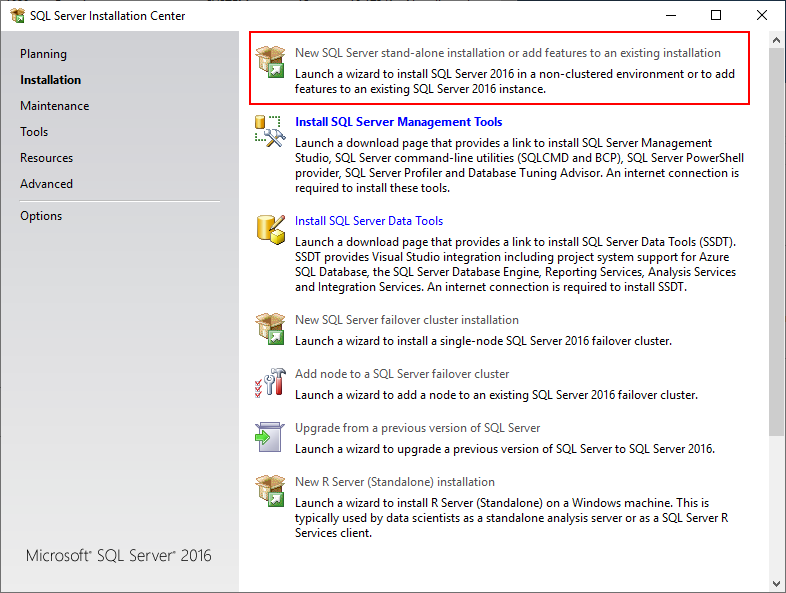
Once the SQL files have been downloaded and extracted the SQL Server Installation Center should appear. On the left hand side select “Installation” and select the first option “New SQL Server Stand-alone Installation”
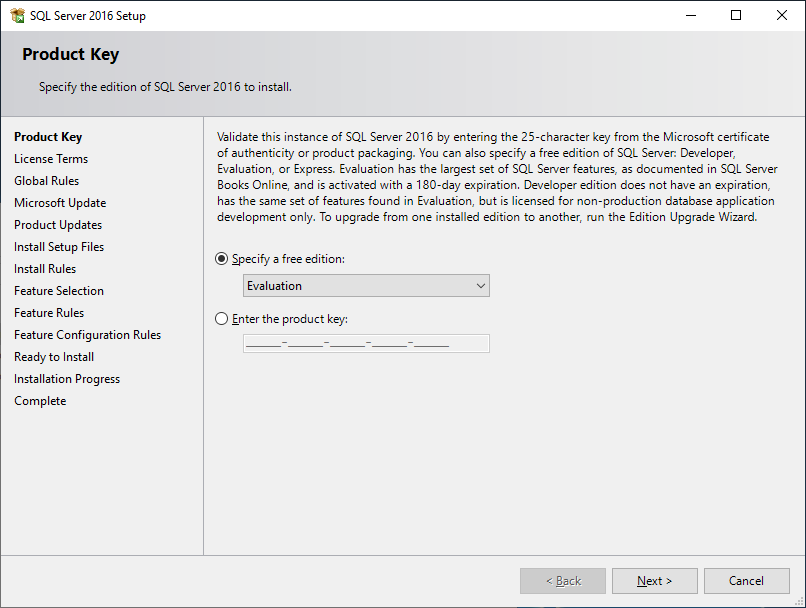
Enter your license key if you have one, otherwise select Evaluation and press “Next”
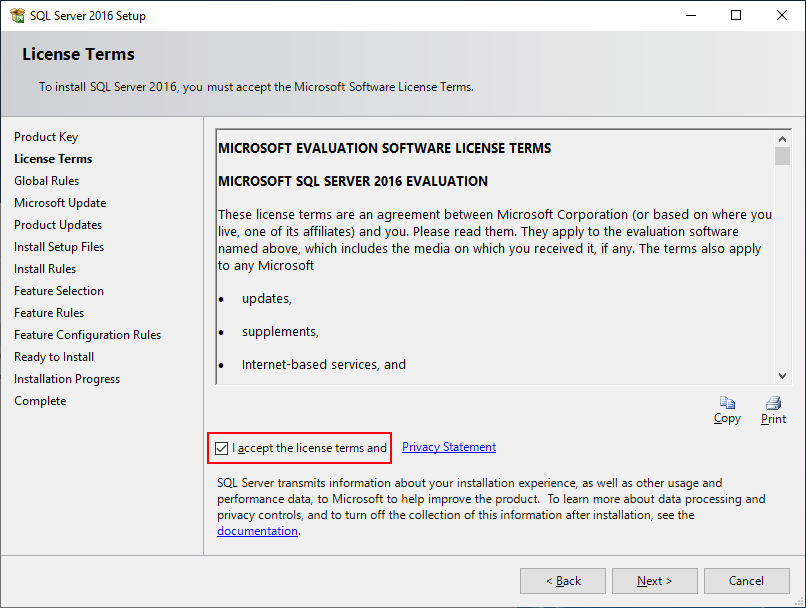
Accept the license terms and press “Next”
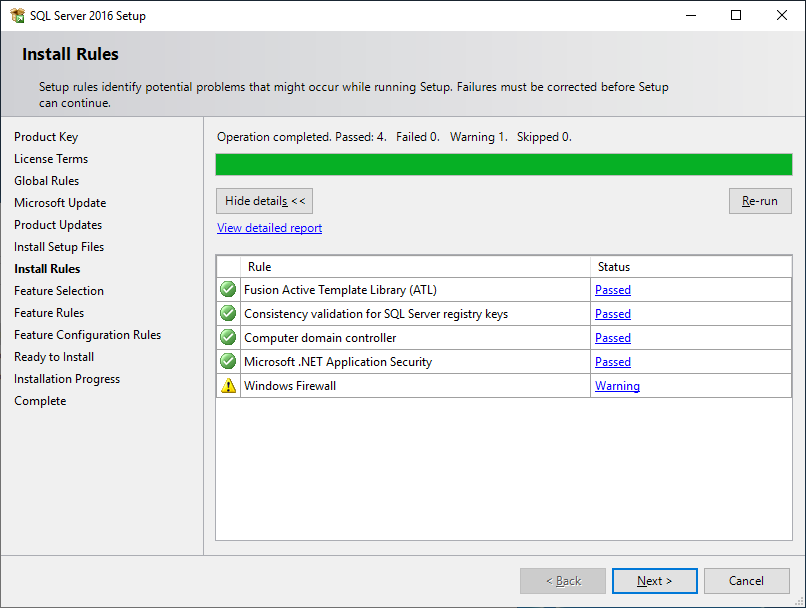
The SQL installer will do some checks and you might see a warning on Windows Firewall, this can be safely ignored. Press “Next”.
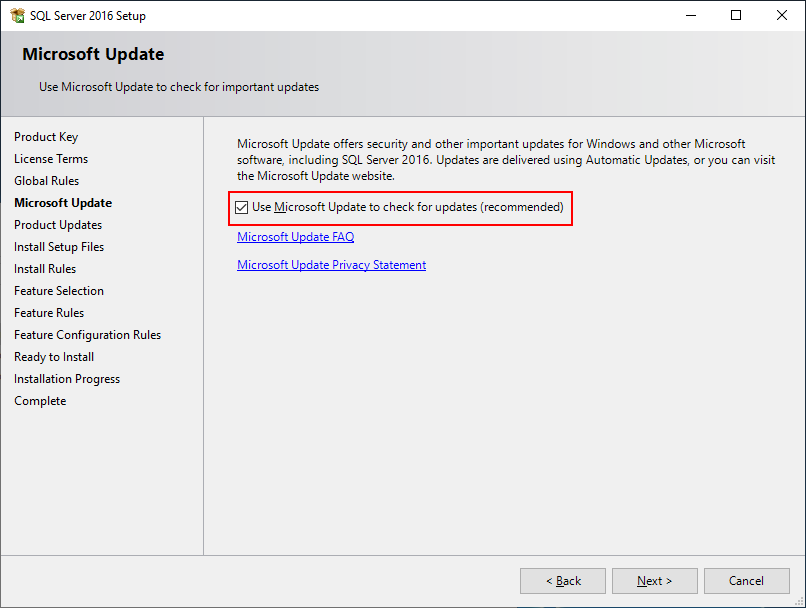
Select the box to use Windows Updates and press “Next”
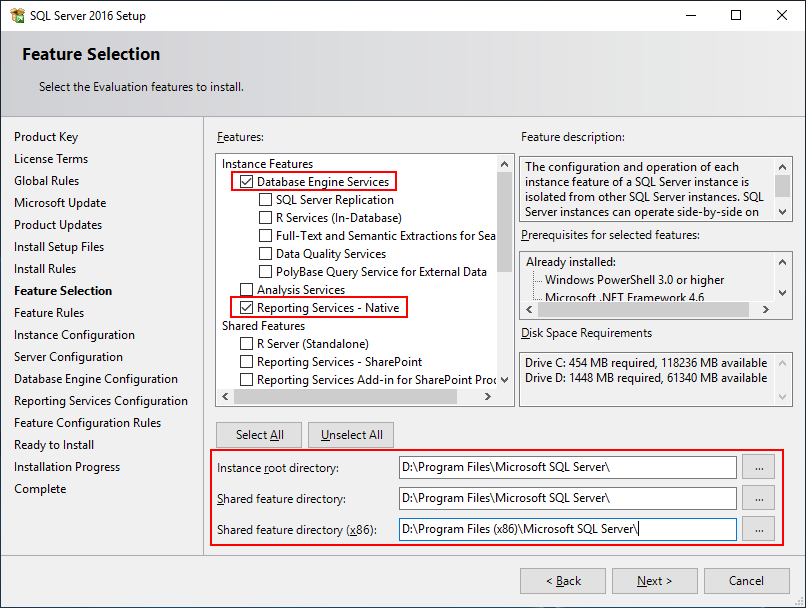
Select the SQL features to install. For our purposes we only need the Database Engine and Reporting Services. Also make sure to change the SQL installation directory to the ConfigMgr drive (D:). Even though it is considered a best practice to install Configuration Manager and SQL on separate drives we won’t do this here as our virtual drives are on the same physical drive anyway.
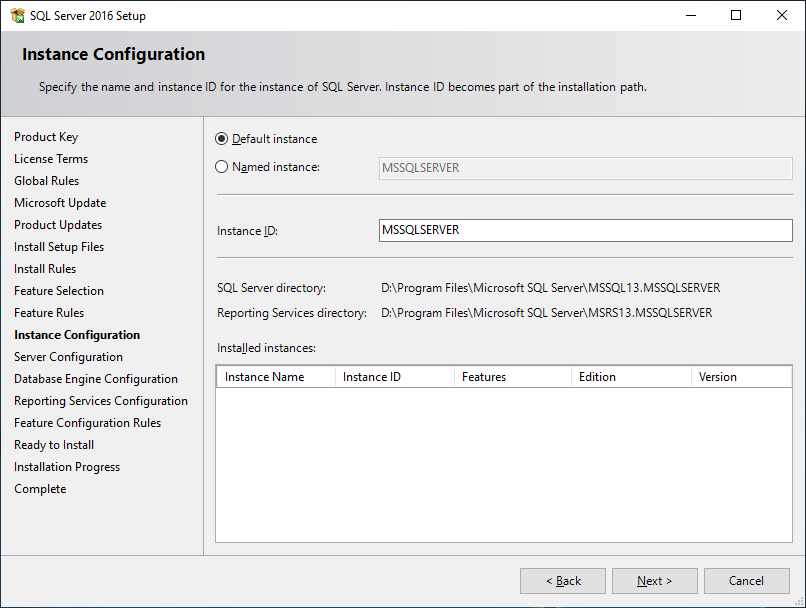
Unless there is a specific reason keep the default instanceID and press “Next”.
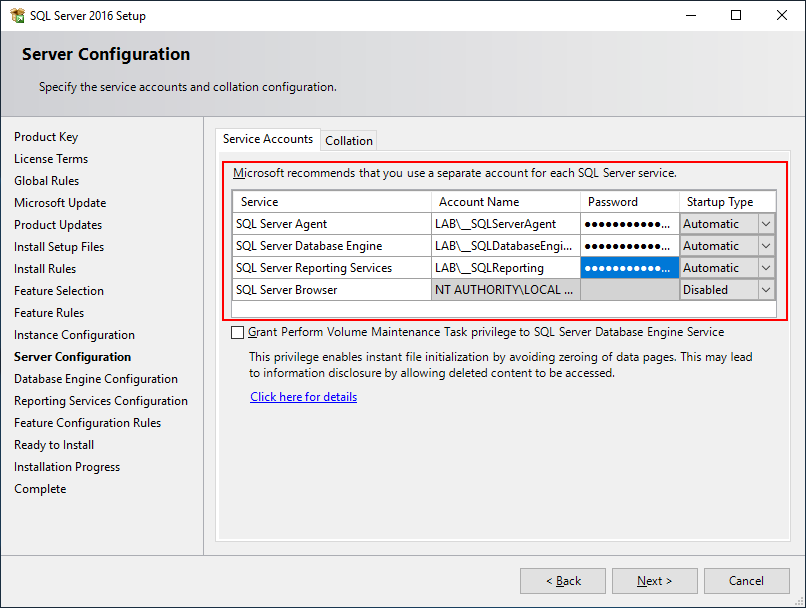
On the Server Configuration Screen enter the Service Accounts and passwords that we created earlier and change the startup type to Automatic.
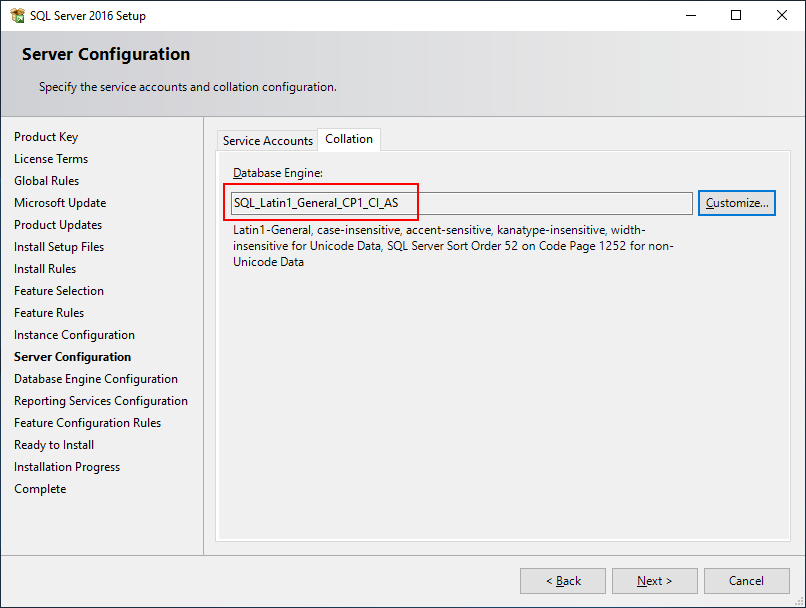
On the Collation tab select Customize and select SQL_Latin1_General_CP1_CI_AS and press “Next”
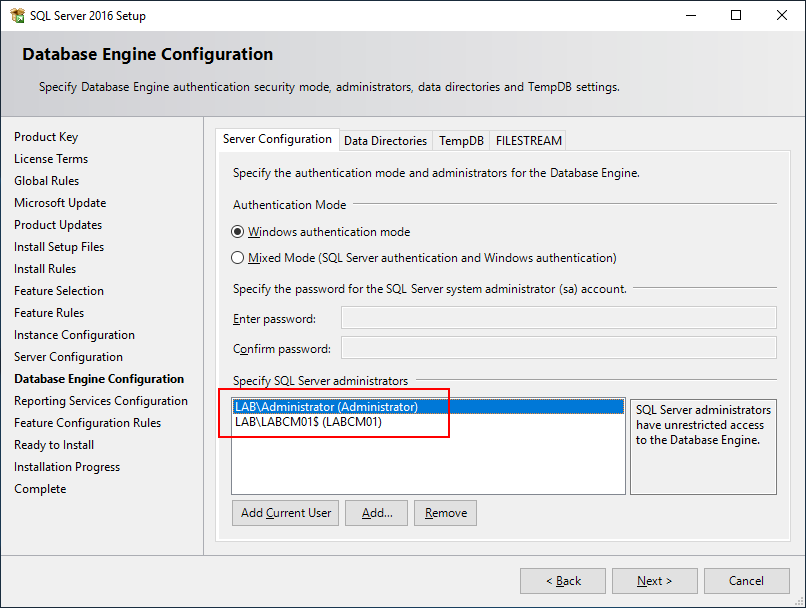
In the Database Engine Configuration select “Add Current User” to add the LAB\Administrator user. Then select “Add” and add the computer account LABCM01 and press “Next”
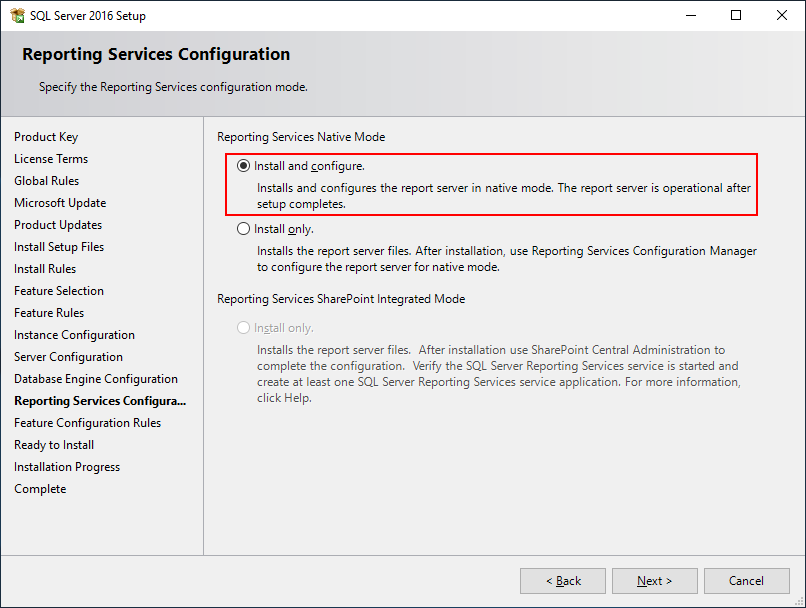
For the Reporting Services select “Install and Configure” and press “Next”
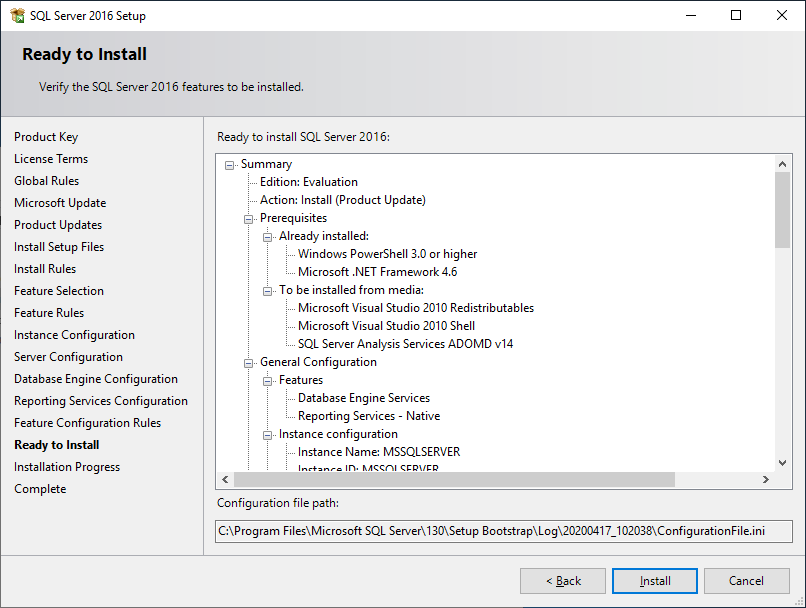
Review the selected configuration and press “Install”.
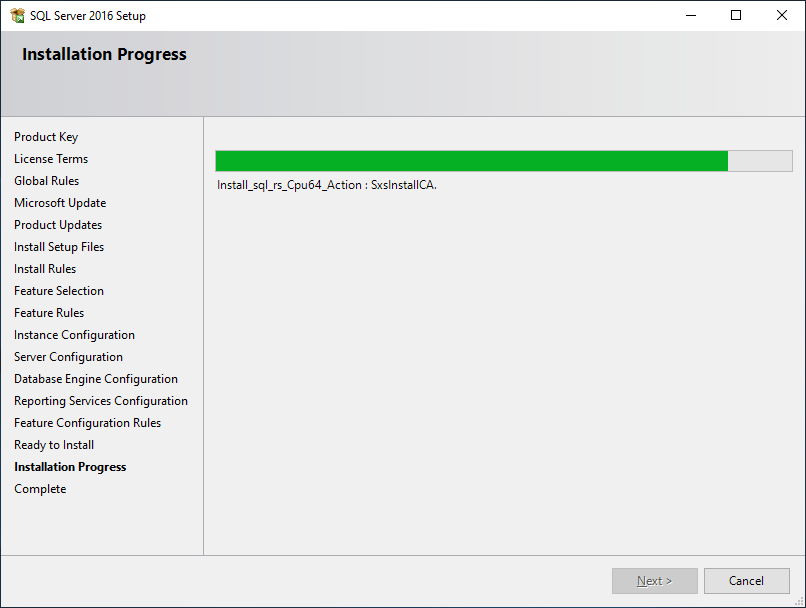
Wait for the installation to complete.
Once completed verify that all the components where installed successfully
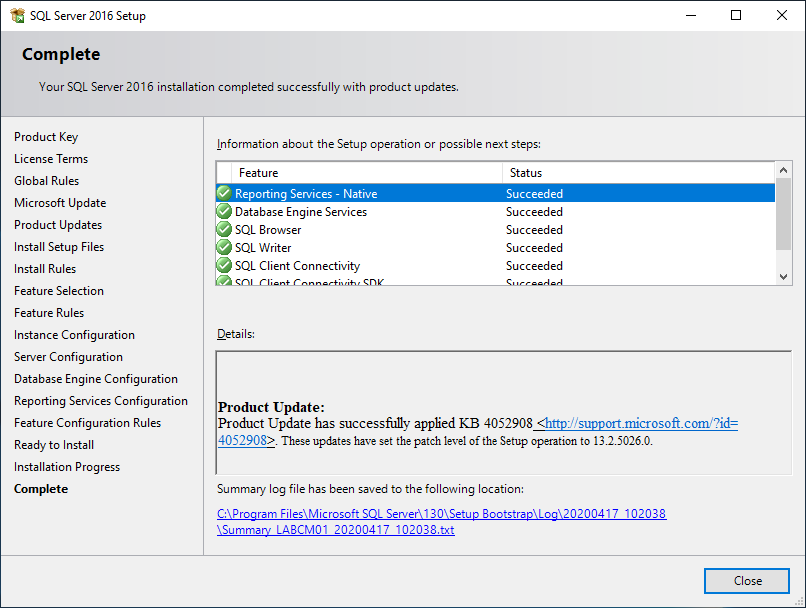
SQL Server 2016 is now installed and this would be a good time to install any SQL updates from Windows Update. Close the SQL Server installation wizard and restart the server before and after installing updates.
SQL Management Studio
Next we need to install the SQL Management Studio so we can manage our SQL Server. This should also be done on our management server LABADM01 later so that we can manage our database from that server as well.
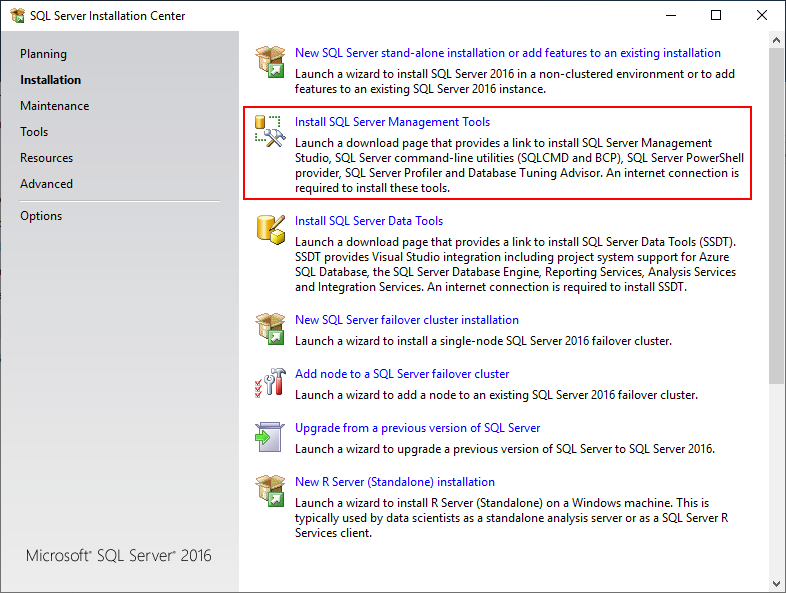
The SQL Server Management tools is a separate download and be directly downloaded from here, or open the download page by clicking the link from the SQL Server Installasjon Center. Save the downloaded SSMS-Setup-ENU.exe file on the Content drive (F:).
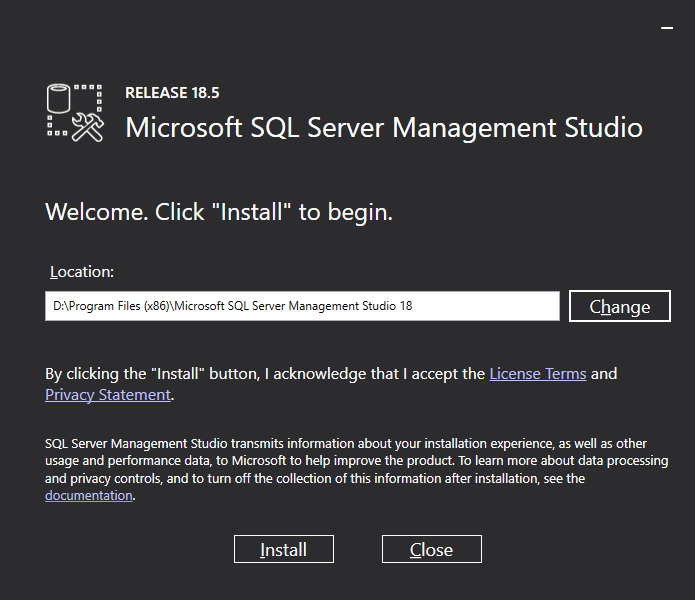
Specify a location to install SQL Server Management Studio, in this case i am using the ConfigMgr drive (D:) for this purpose.
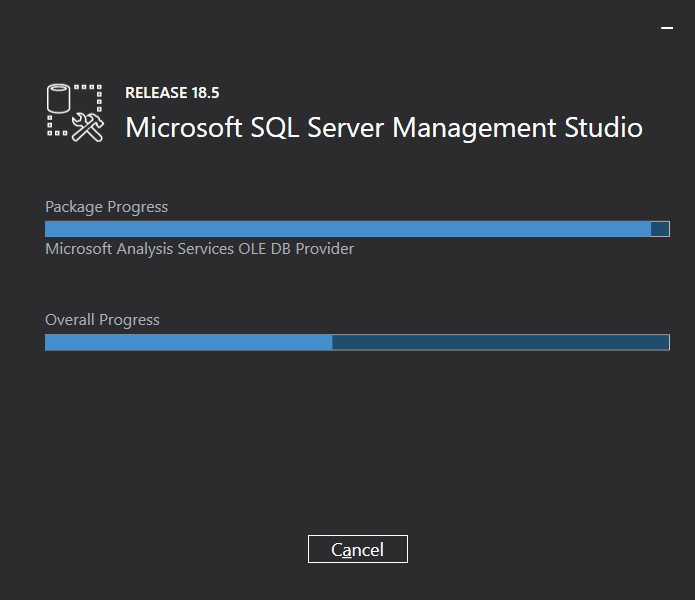
Wait for the installasjon to complete, this could take a few minutes.
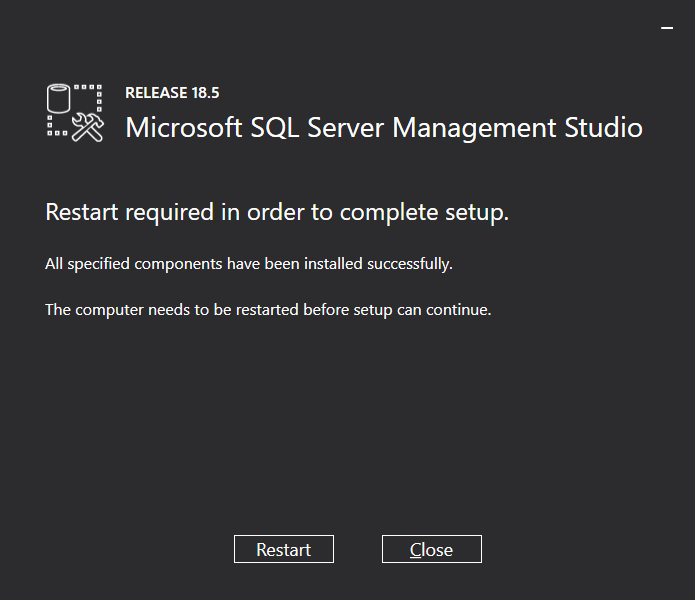
Once complete the server needs to be restarted, click “Restart” to continue.
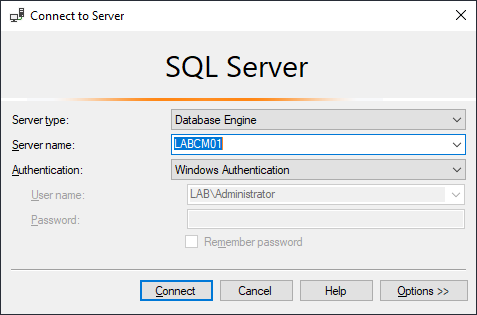
Once the server has been restarted, open SQL Server Management Studio from the start menu and click the “Connect” button.
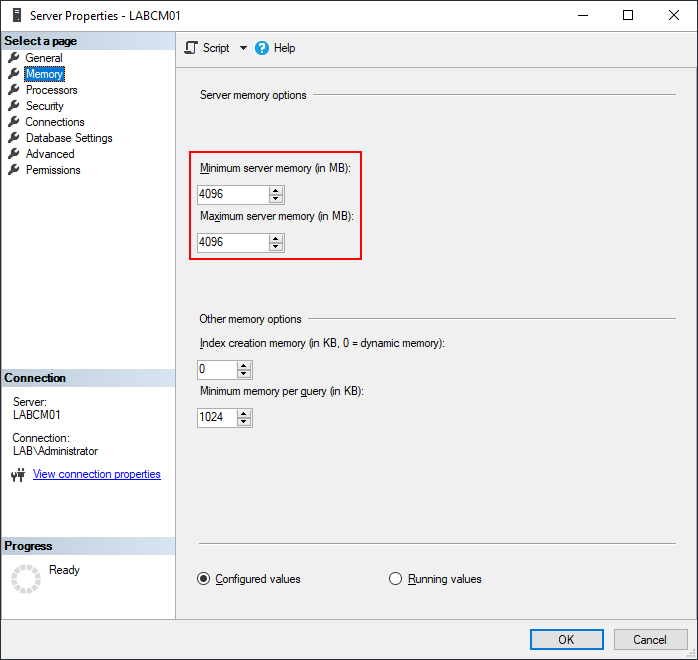
Once connected right click LABCM01 and select properties, then on the Memory tab specify a minimum and maximum server memory depending on how much memory is available. As noted below Microsoft recommends allocating 50-80% when Configuration Manager is installed on the same server as the SQL Server, as it will be in our case. Microsoft states that 8GB of RAM is used for the SQL server, although it works with less. Read all the SQL recommendations here.
When you use a database server that is co-located with the site server, limit the memory for SQL Server to 50 to 80 percent of the available addressable system memory. When you use a dedicated SQL Server, limit the memory for SQL Server to 80 to 90 percent of the available addressable system memory. Configuration Manager requires SQL Server to reserve a minimum of 8 gigabytes (GB) of memory in the buffer pool used by an instance of SQL Server for the central administration site and primary site and a minimum of 4 gigabytes (GB) for the secondary site. This memory is reserved by using the Minimum server memory setting under Server Memory Options and is configured by using SQL Server Management Studio.
In my case LABCM01 has a total of 8GB RAM so we will set minimum and maximum server memory to 4GB as we need the rest for SCCM later.
Once the server minimum and maximum server memory has been set, restart the SQL server by right clicking LABCM01 and selecting “Restart”. The SQL server is now ready to host the Configuration Manager database. In the next post we will be installing and configuring all the Configuration Manager prerequisites.

