
In these series of posts, we will go through the steps required to install Configuration Manager in a simple LAB environment. The LAB environment will be referenced in future posts as we explore SCCM further. See Part 1 for an overview of the LAB environment.
In this final post we will extend the Active Directory Schema and install Configuration Manger.
Quick Jump:
Part 1 – Overview and Domain Controller installation
Part 2 – Management Server Installation
Part 3 – Installing SQL Server
Part 4 – Configuration Manager Prerequisites
Part 5 – Installing Configuration Manager
Obtain Software
In Part 1 it was mentioned where software can be obtained. In case you have not acquired the Configuration Manager setup files, they are available from Microsoft Evaluation Center.
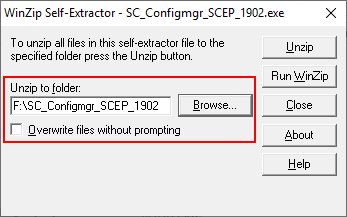
Open the SC_Configmgr_SCEP_1902.exe self-extracting file and unzip the files to the Content (F:) drive.
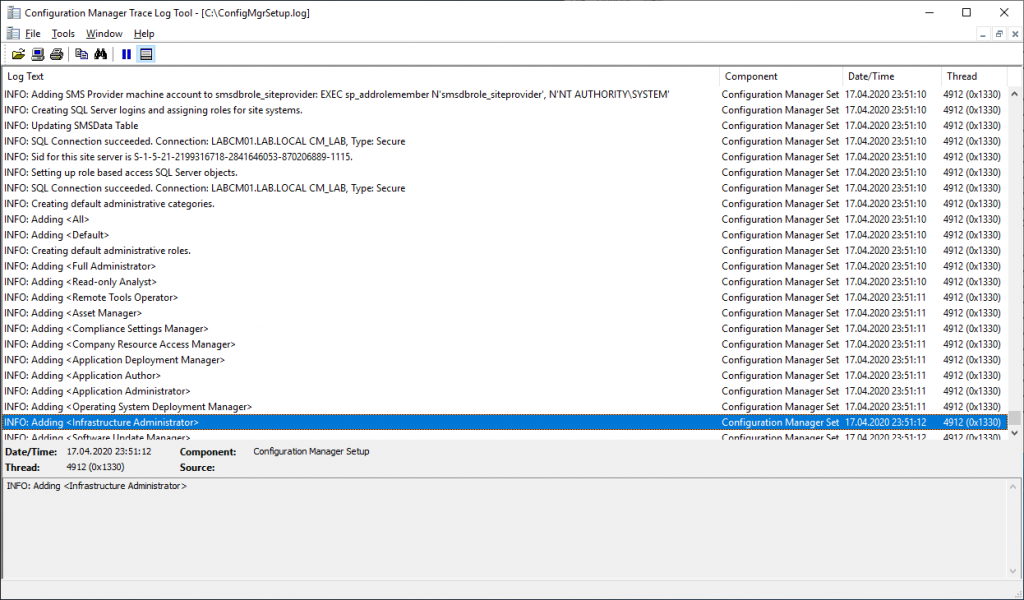
CMTrace
CMTrace is a really nice utility for reading log files and will be your best friend when it comes to reading Configuration Manager logs. I strongly recommend to copy the utility to all your servers and clients. By copying the CMtrace.exe file into the Windows directory will allows us to type CMtrace in any command prompt or PowerShell window for easy access. The command below copies CMTrace from the installasjon media to the local Windows folder.
Copy-Item F:\SC_Configmgr_SCEP_1902\SMSSETUP\TOOLS\CMTrace.exe C:\Windows\System32\Tip: Open CMTrace and when asked to be the default application for .log files click Yes. When doing troubleshooting and reading logs later the log files will automatically open in CMTrace.
Extend the Active Directory Schema
In order to populate Active Directory with a few attributes specific to Configuration Manager, we will need to extend the Active Directory Schema. This is an optional step but is required in order to publish site information to the System Management Container we created in the previous post.
Note: This operation must be done by a member of the Schema Admins Active Directory group. By default the domain Administrator (LAB\Administrator) has this permission.
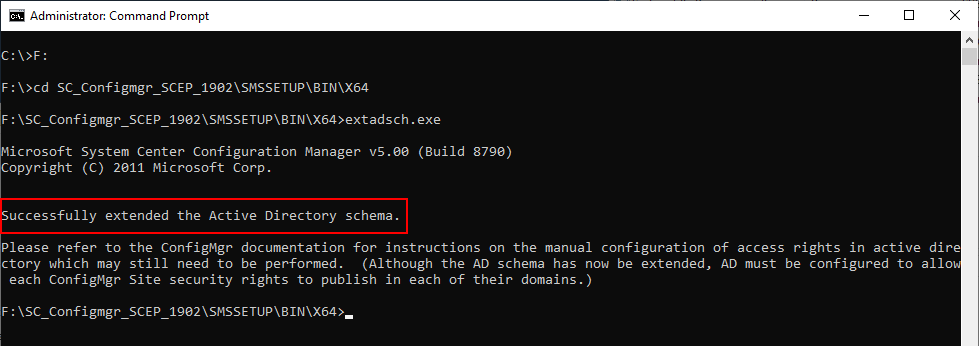
Open a Command Prompt as Administrator and navigate to the F:\SC_Configmgr_SCEP_1902\SMSSETUP\BIN\X64 directory where F:\ is the drive where the Configuration Manger setup files were extracted. Then type extadsch.exe to start extending the Active Directory Schema.
Install Configuration Manager
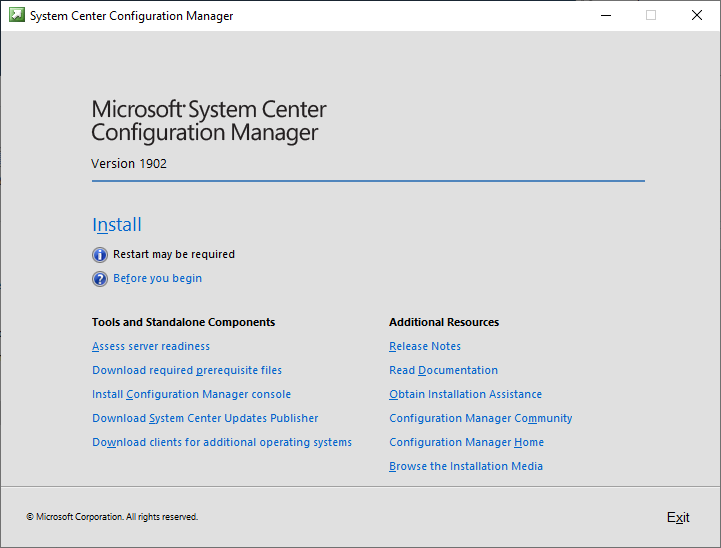
Open the SC_Configmgr_SCEP_1902 folder on the Content drive and run the file called splash.hta, this will start the Configuration Manager install wizard.
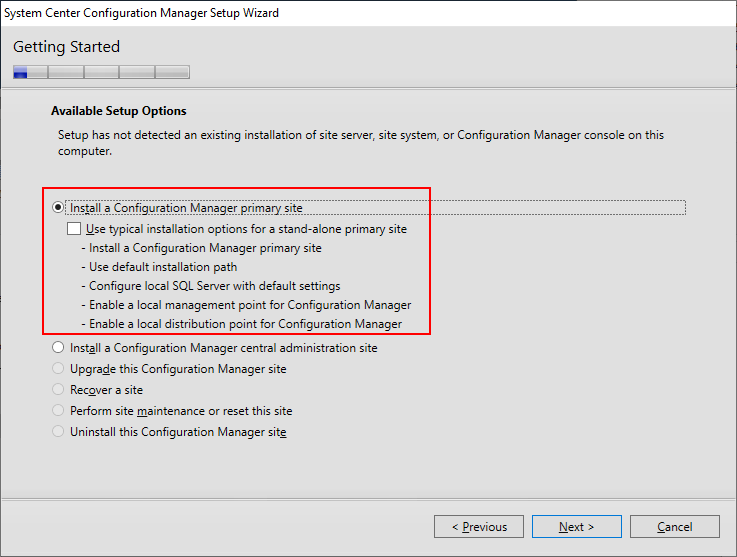
Select “Install a Configuration Manager primary site” and click “Next”
If you have a product key enter it here, else select evaluation and click “Next”. It is possible to upgrade from an evaluation to the full version later.

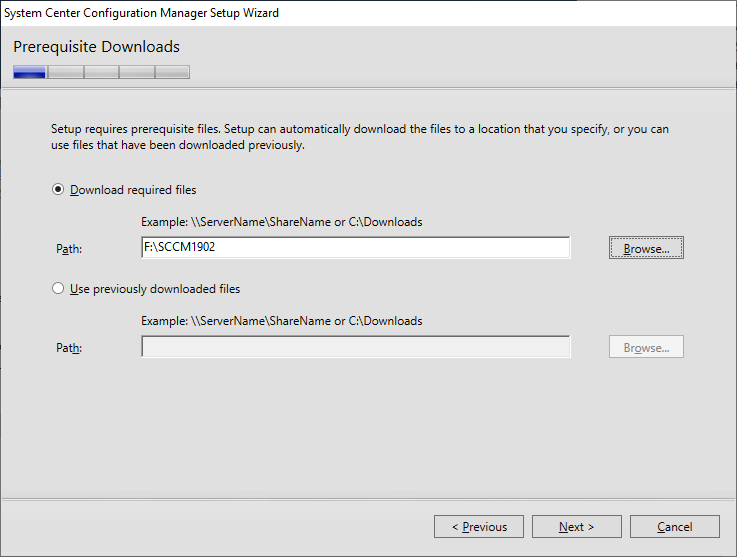
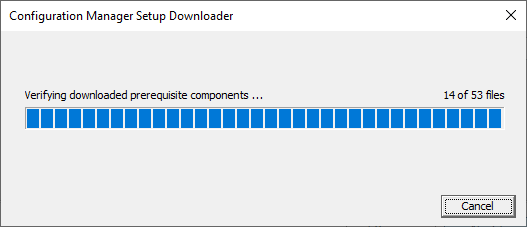
Configuration Manager needs to download a couple of extra files (primarily language files), specify a folder to download these and click “Next”
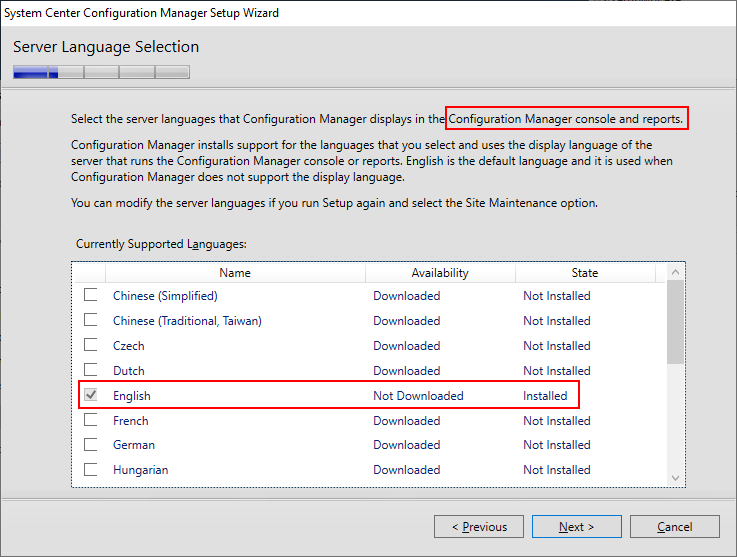
Select the language that should be used in the Configuration Manager console and any reports generated and click “Next”
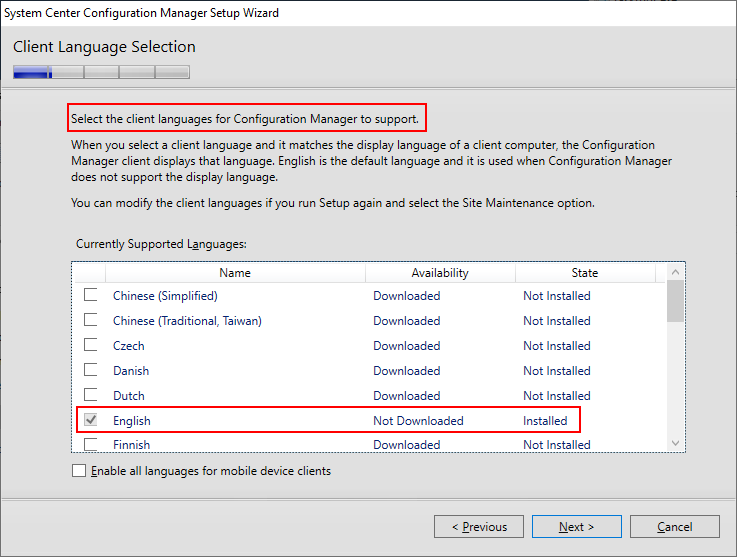
Select the language the Configuration Manger client will support and click “Next”
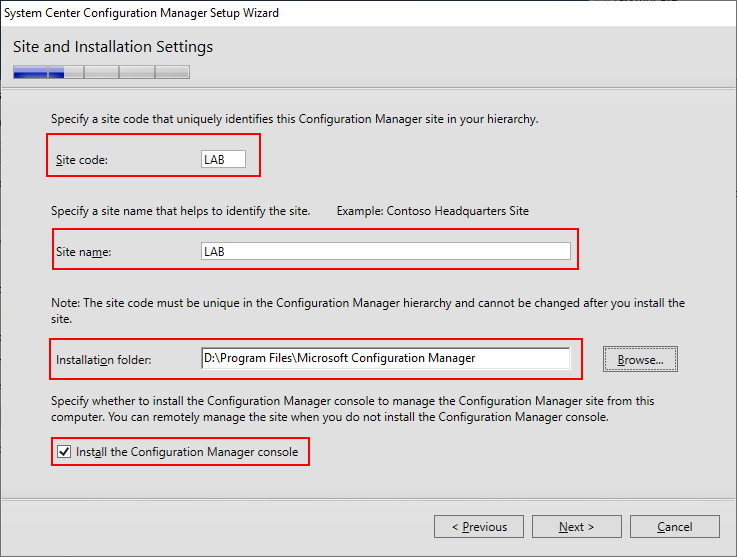
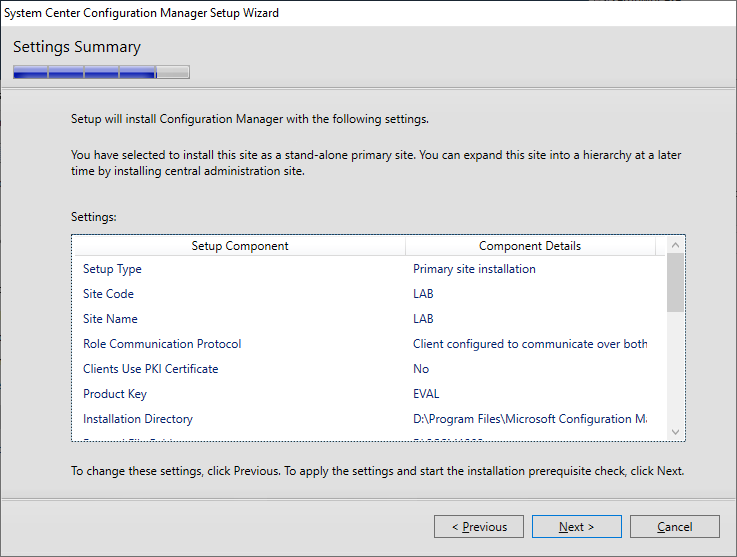
Specify a site code, site name and installation path and click “Next”. Note that the site code and site name cannot be changed later. Use the ConfigMgr (D:) disk for installation.
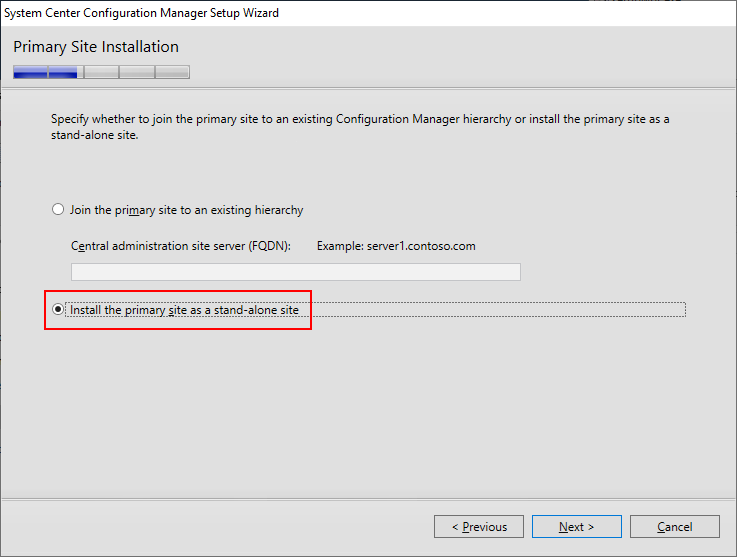
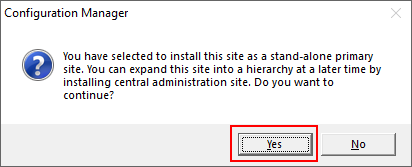
Since we dont have an existing hierarchy the server will be installed as a stand-alone site.
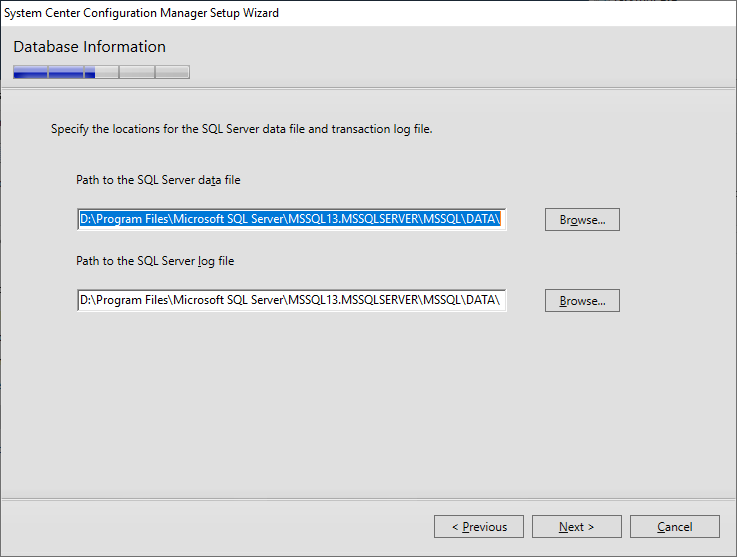
On the database page just keep the defaults. If the SQL Server has been installed on another server or if you want to change the database name, make the required changes here and click “Next”

For the SQL log files just keep the default and click “Next”
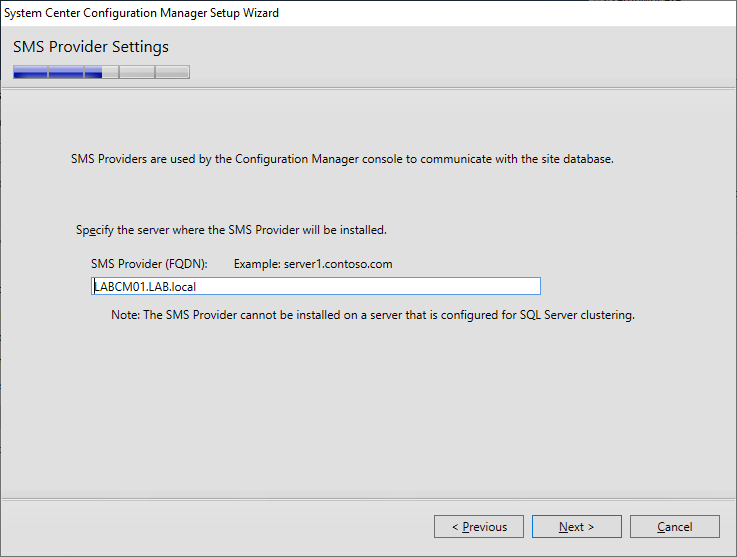
Enter the server name where the SMS provider will be installed, keep the defaults and click “Next”
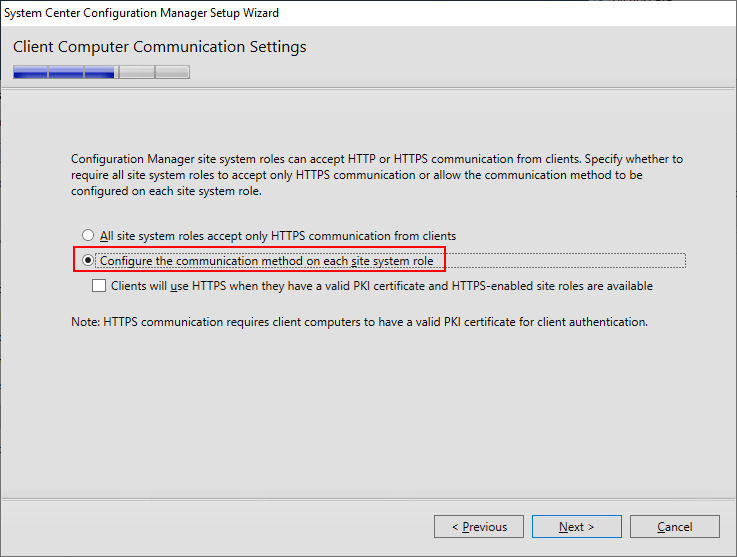
We haven’t implemented any PKI (Public Key Infrastructure) in the LAB environment yet so we cant use HTTPS communication. We will change from HTTP to HTTPS in a later post.
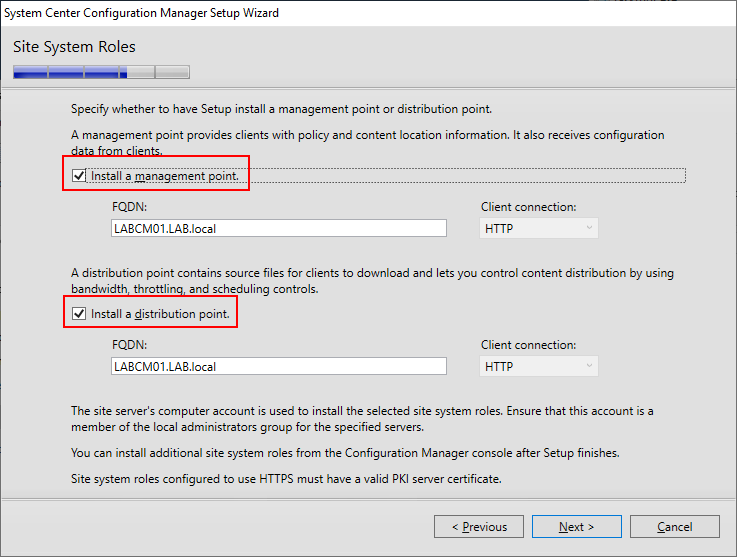
Check the boxes to install a Management Point and Distribution Point and click “Next”
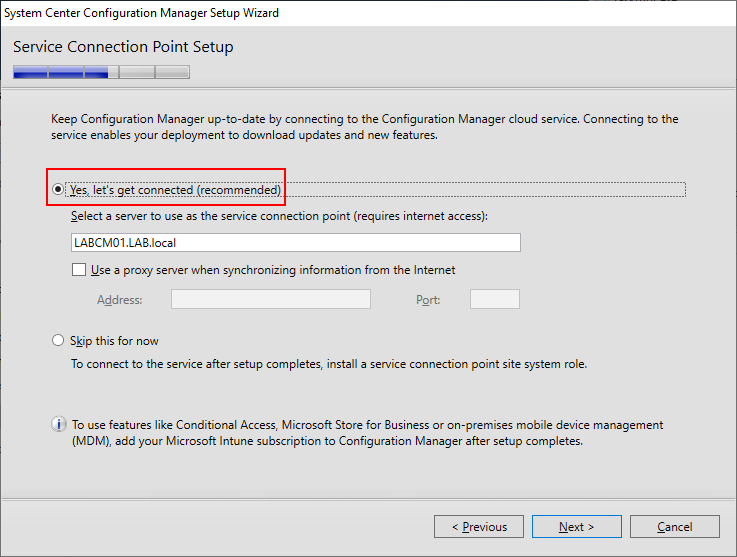
In order to receive Configuration Manger updates we need a service connection point. Click “Yes” and click “Next”
Review the settings and click “Next”
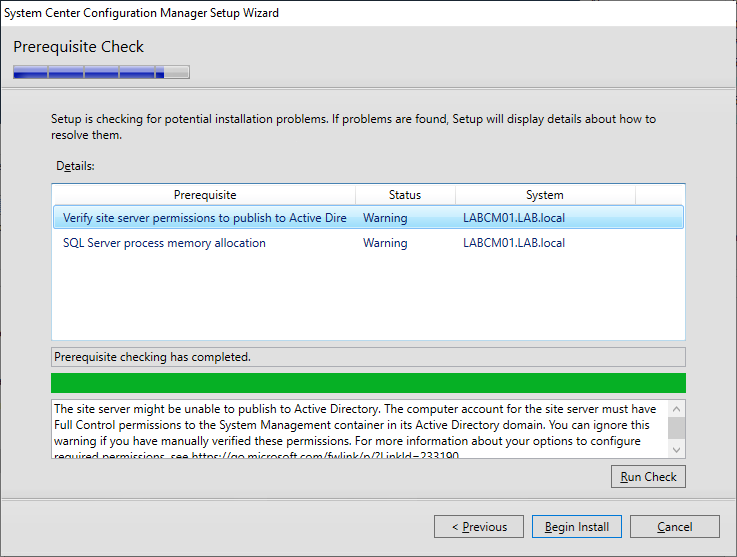
At the prerequisite check page there might be a couple of warnings. In this example the first warning is telling us that there could be a problem with the permissions for the System Management Container, but the warning can be ignored if we verified the permissions. The SQL warning appears because our SQL Server is configured with less than 8GB of memory. In this case both warnings can be dismissed and we can click the “Begin Install” button.
The Configuration Manager install can take sometime to complete. Allow as much as 30-90 minutes depending on hardware.
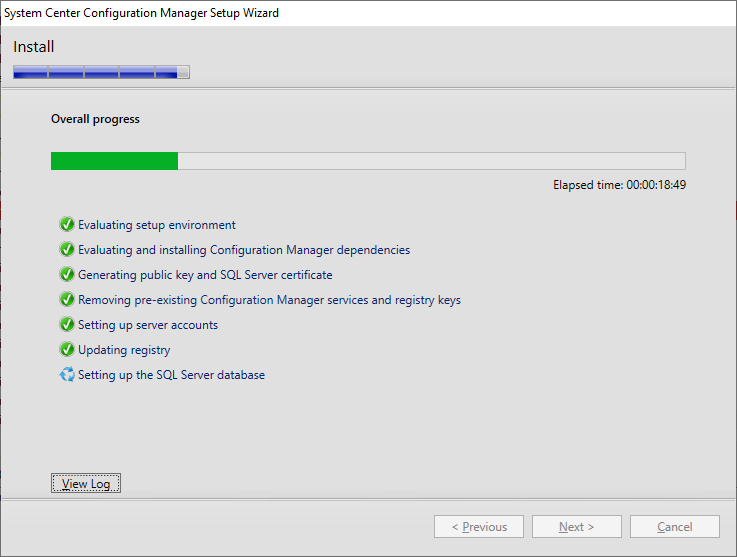
Click view to open the ConfigMgrSetup.log file the file will open automatically if CMTrace is set as the default application for opening log files.
Once the installation completes open the Configuration Manager Console from the start menu.
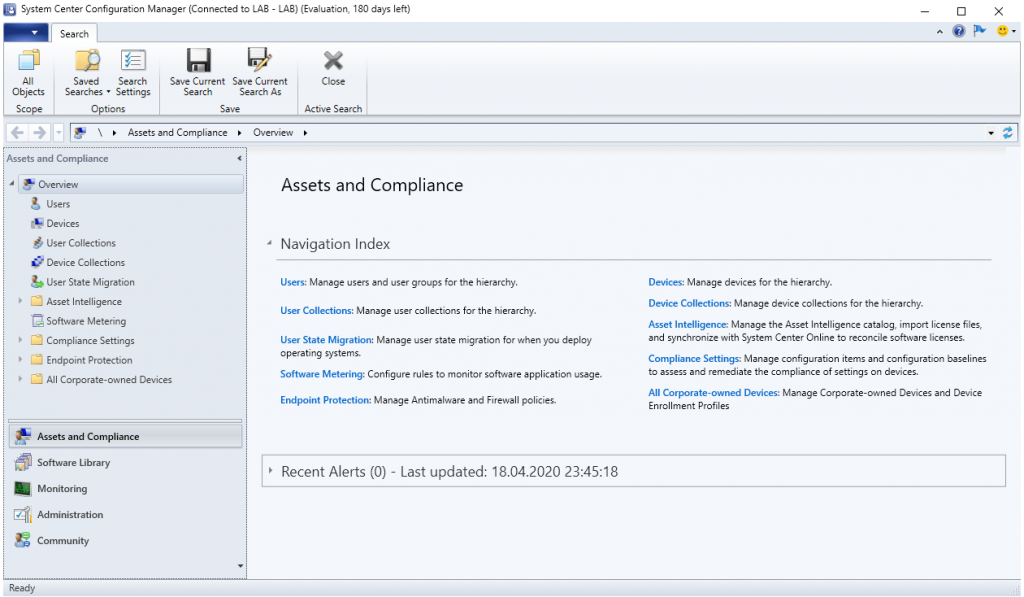
To check the Configuration Manager version click on the blue button in the top left corner then select “About Configuration Manager”.
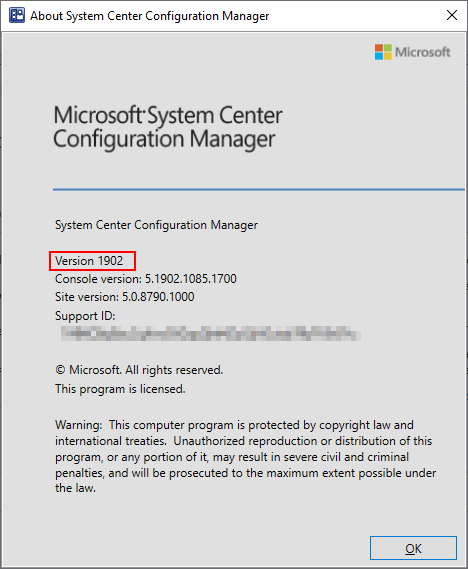
Congratulations! We now have Configuration Manager installed. Even though the installation wizard is complete, Configuration Manager is still installing components under the hood. The completion of these components could take as much as an hour or more to complete. Dont be afraid of using the console during this time, but its something to be aware of. A good next step is to install the Configuration Manager Console on LABADM01.
This concludes the installation series but in future posts we will be doing basic configuration, upgrading to the latest version, creating applications and packages, convert from evaluation to a full install, convert from HTTP to HTTPS communication and adding new roles to our existing installation to mention a few.

